نویسنده: post bot

  • How to Transform Your Art Room with Zones to Simplify Your Life

    How to Transform Your Art Room with Zones to Simplify Your Life


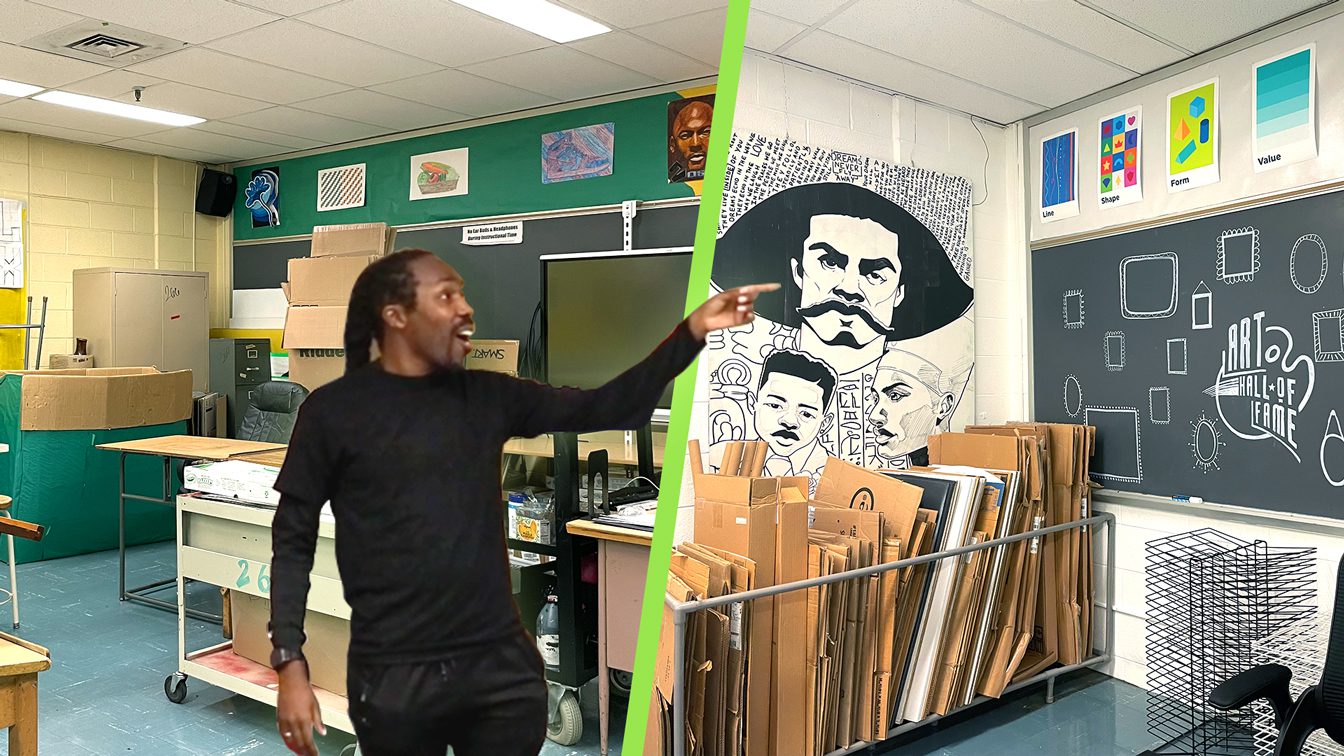
    Managing a busy art room can be overwhelming, especially when juggling multiple student needs, materials, and projects at the same time. One of the most effective ways to bring order to the creative chaos is to set up art zones. Whether you’re working with elementary students or high school artists, designing clear, purposeful zones in your art room will help with classroom management, student independence, and workflow efficiency.

    Let’s explore how art zones in the art room can revolutionize your teaching and create a more organized, engaging space for students to explore their creativity.

    paint bottles

    What are art zones?

    Art zones are specific areas within your art room that serve a dedicated purpose. Instead of a one-size-fits-all setup, divide your classroom into areas to guide students through different aspects of the creative process. Students will be able to navigate the studio more independently as artists. Plus, it will free you up to provide meaningful instruction instead of constantly directing traffic. 

    Let’s take a look at six art room zones:

    1. Material Zone
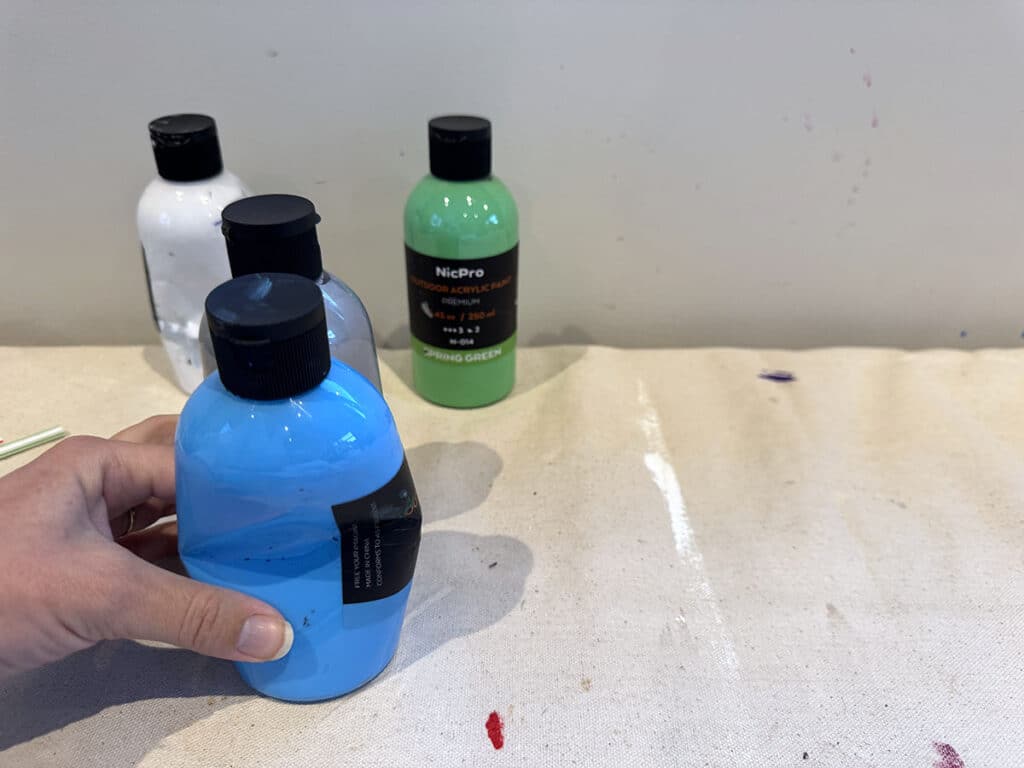
      Keep supplies accessible with a Supply Shack, open shelving with labeled bins, “grab and go” caddies for daily essentials, or a checkout system for specialty items.
    2. Creation Zone
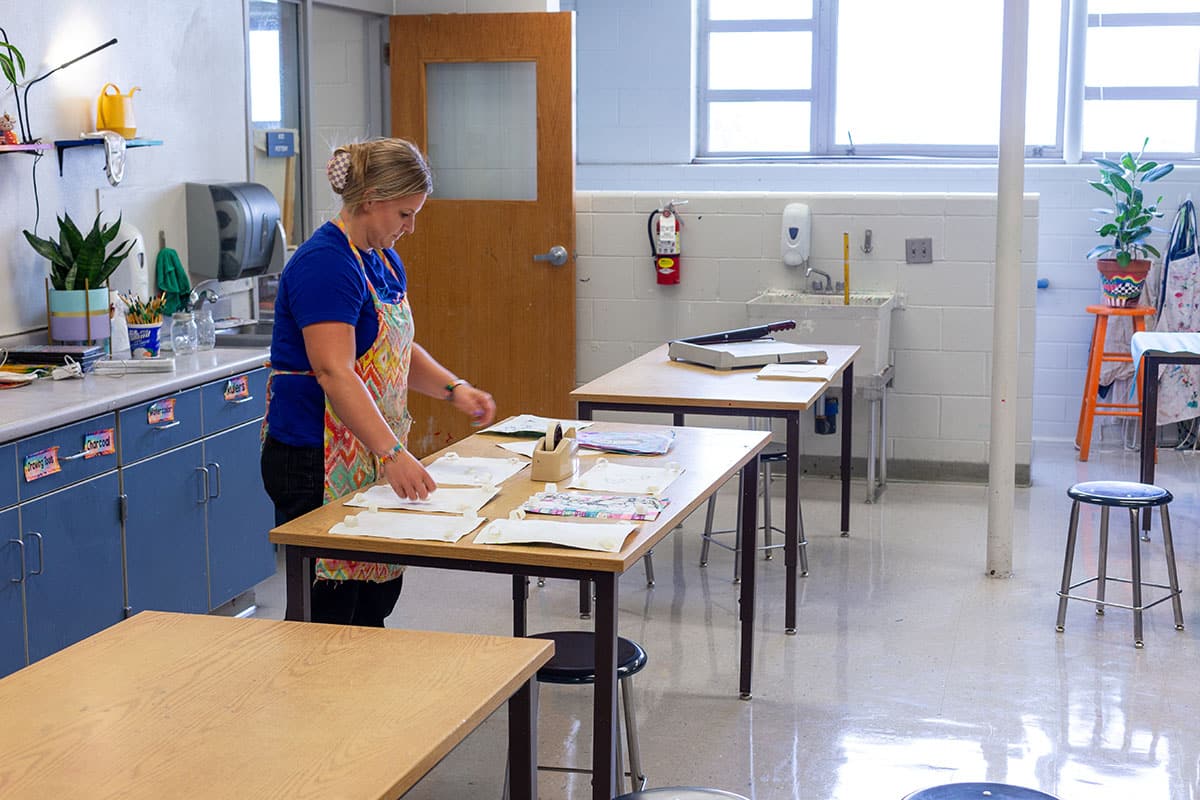
      This is your students’ space for making art and is the heart of the art room! Consider flexible seating options, further zones by media, and easy access to reference materials and resources.
    3. Cleanup Zone
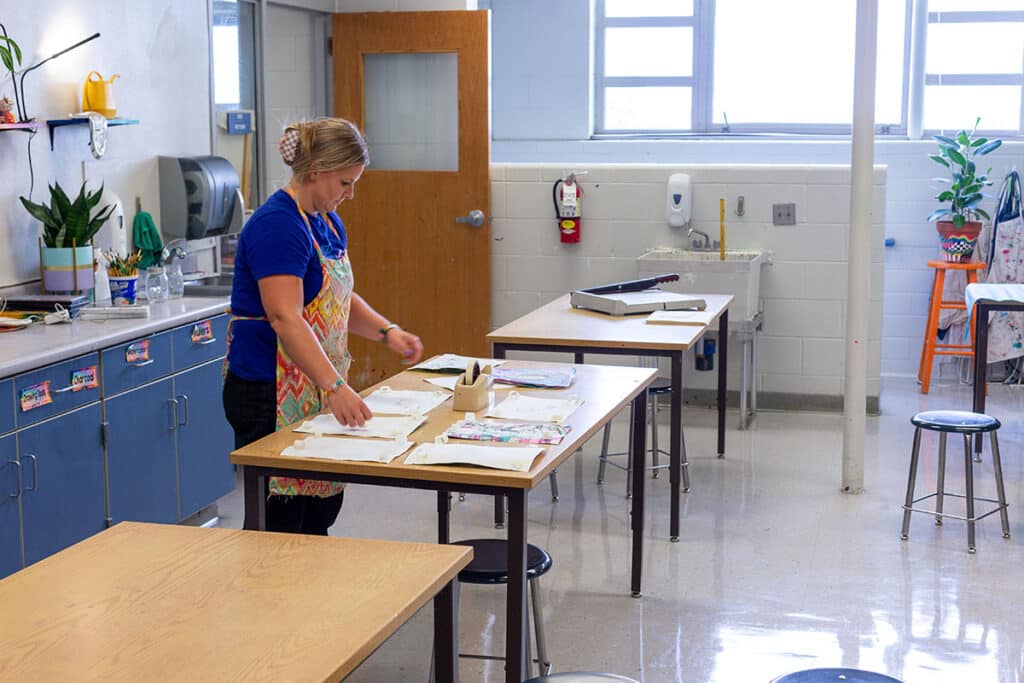
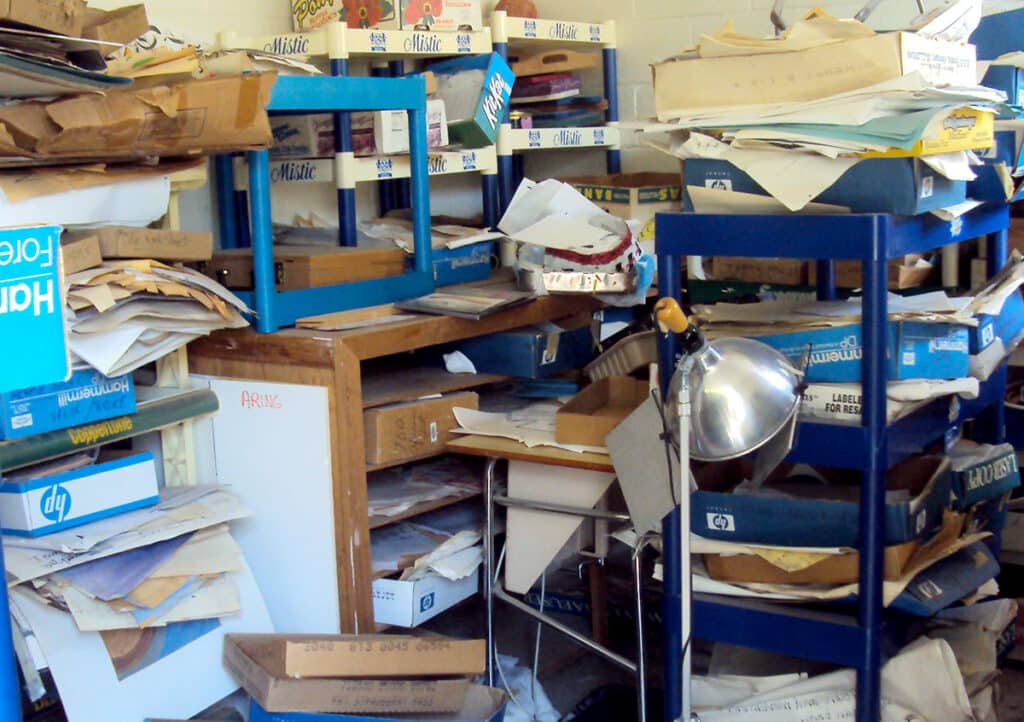
      Transform cleanup into the smoothest part of your class routine and boost student ownership. Maintain order with a sink or handwashing area and clearly marked bins for trash, recycling, and reusable scraps. Make tossing trash fun with a basketball hoop!
    4. Artwork Zone
      Have clear systems and locations to store completed and in-progress works. Not only does this keep tracking student work more efficient and organized, but it protects work from getting damaged or lost.
    5. Reflection Zone
      Encourage thoughtful artmaking with a spot to slow down. Include sketchbooks and artist statement prompts. For a twist on the “reflection” theme, include mirrors for self-portrait studies!
    6. Early Finishers Zone
      Include extension activities for both elementary and secondary, like drawing prompts or a rotating collection of art books and magazines.

    art teacher in classroom

    How do I set up effective art zones?

    Creating art zones doesn’t have to be a complete classroom overhaul. Start small and redesign one key area that needs improvement. As you start implementing your zone, adjust based on student needs. You can always add a new zone each year!

    Ask yourself these questions to determine what zone you should focus on first:

    • What questions do students ask me the most?
    • What routine is consistently not hitting home for most students?
    • Where and when in my classroom is there a bottleneck of traffic?

    Then, consider these questions to navigate design and setup:

    • What big furniture items can I move/swap and which do I need to work with?
    • How can I ensure each component is easy to identify and clearly labeled?
    • What is the best way to visually separate this zone from others?

    Use these questions to guide how you teach and reinforce zone expectations:

    • What’s the most engaging way to tour the zone with students?
    • How can I model how to move through and use the zone as I teach?
    • What is specific encouragement I can give to reinforce correct zone usage?
    • What signage or anchor charts can I add for helpful reminders?
    • What are classroom jobs I can assign to maintain the zone?

    paintbrushes and cups in the sink

    What are some common challenges I may face setting up and implementing art zones?

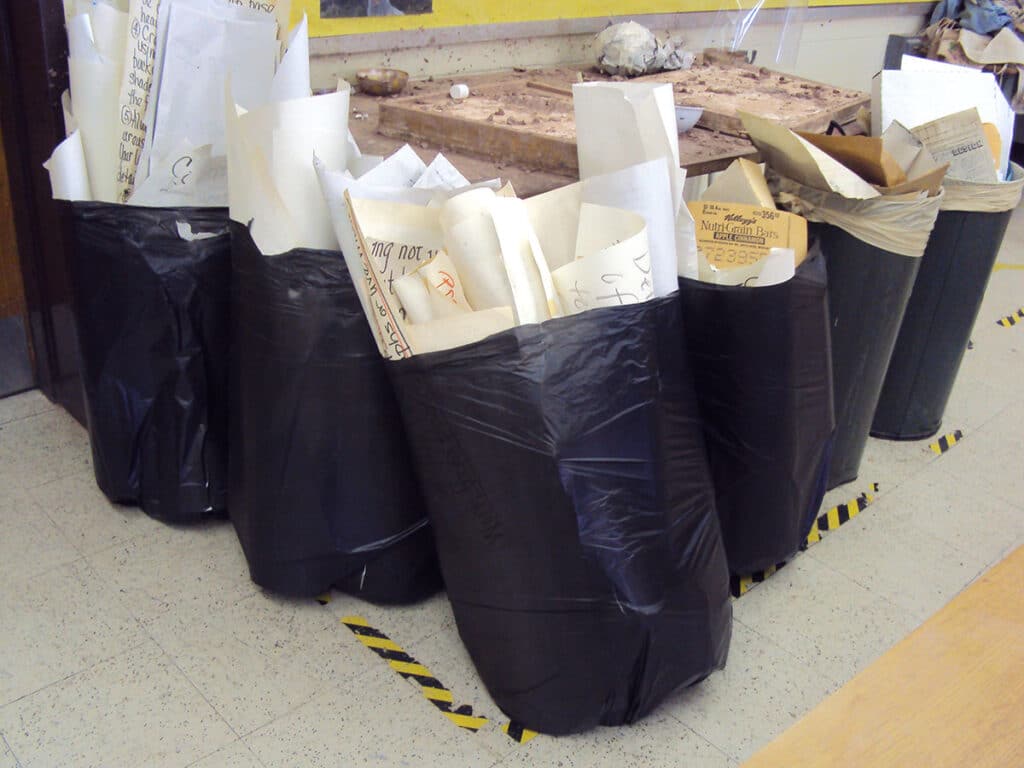
    Even the best systems take time to perfect! That said, there are a few tips to avoid common art zone pitfalls. For example, you’ll have students that ignore the zones and ask for help anyway. If this is a widespread class issue, pause and regroup. Reteach the zone’s purpose and how to use it with the entire class. Model it and have students practice it together, much like a fire drill! If this is specific to one student, have a brief discussion to determine where the disconnect may be. 

    Another potential struggle may be that your zone gets messy—particularly the Cleanup Zone. Get ahead of the clutter and delegate cleanup jobs to foster leadership. Leave enough time at the end of class to clean and double-check before the bell rings. Use a fun animated timer or cleanup song to keep the energy up!

    Lastly, you may notice that your Early Finishers Zone is a distraction. Students may rush through their work to go play or they’re not engaged with the options. Ensure you keep artwork expectations high with clear rubrics. Provide structured choices and rotate the activities so there’s always a fresh selection.

    Discover more ways to make the most of your classroom space with the Rethinking Art Room Space Pack in PRO Learning. Watch these quick videos to find out why classroom space is so important and how to create and alter your existing space on a budget.

    You probably already have designated areas in your art room. Level up your classroom management with intentional zones to increase engagement and efficiency. When you spend less time on cleanup, missing artwork, or locating supplies, students will have more energy to focus on creating, communicating, and camaraderie! With clear zones, they’ll also gain confidence, independence, and a greater sense of responsibility.

    What art zone will you implement in your studio first?

    To chat about art room zones with other art teachers, join us in The Art of Ed Community!

    Magazine articles and podcasts are opinions of professional education contributors and do not necessarily represent the position of the Art of Education University (AOEU) or its academic offerings. Contributors use terms in the way they are most often talked about in the scope of their educational experiences.


    Source link

  • Happy Leyendecker Baby New Year 2025! – Lines and Colors

    Happy Leyendecker Baby New Year 2025! – Lines and Colors


    Happy Leyendecker Baby New Year 2025!
    Happy Leyendecker Baby New Year 2025!

    As I’ve done every New Year’s Eve since 2005, I’ll wish Lines and Colors readers a Happy New Year with one of J. C. Leyendecer’s New Year’s covers for the Saturday Evening Post, in this case marking the arrival of 1925.
    For more Leyendecker to while away your New Year’s day, check the list of Lines and Colors J C. Leyendecker posts at the end of this article.
    I wish you all a new year rich with artistic exploration and inspiration!


    Source link

  • Toss or Keep? 8 Simple Guiding Questions to Declutter Art Supplies

    Toss or Keep? 8 Simple Guiding Questions to Declutter Art Supplies


    Many of us inherited someone else’s art room… and someone else’s treasures. Piles of old artworks, interesting collections of still life objects, and boxes of archaic slides fill the shelves. You could definitely use the extra space but are you allowed to toss these items? Perhaps you’re the one who carefully curated the piles of art supplies in your art room. You blinked and now your space is overflowing. You need to reprioritize but would like an extra voice giving you permission to undo all of your efforts.

    Let’s walk through eight simple guiding questions to determine what art supplies you can toss and what you should keep in your art closet.

    Are you having trouble finding the motivation to tackle your messy art room? If you’re not sure how you’re going to make it to the end of these eight questions, pause and go binge-watch Art Room Makeover on YouTube. This short series will inspire you to channel your inner declutterer with a super satisfying and relatable art room cleanout and makeover.

    https://www.youtube.com/watch?v=YgjyHYeVioE

    Isn’t tossing wasteful?

    Art teacher budgets are often very tight. The idea of throwing something away that you can use to make great art and stretch your budget may make you cringe! Don’t worry—there are several other ways to pass on art supplies without throwing them in the dumpster.

    Here are five ways to be generous with your surplus:

    1. Donate to another art teacher in your building or district.
    2. Create a bin of “free” art supplies for students to take home.
    3. Gift to another colleague in your building.
    4. Drop off at your local arts council or community studio space.
    5. Post in your local buy-nothing group.

    trash bags of artwork and paper

    1. Will you use it this school year?

    We often collect items because “one day we’ll use them.” Before you know it, you have an art closet of curiosities overflowing with weird things. Will you use the item this school year and does it fit in with the media, techniques, and concepts in your curriculum and scope and sequence? If not, it’s time to toss it or rehome it.

    For example, you have a pile of large butcher paper that students painted on. You don’t want to toss it because it’s a lot of paper. If you know you have a paper mache unit next quarter, keep it to recover the tables. If you need a few extra messy mats, cut them up into individual sizes and laminate them.

    On the other hand, if you find garbage bags of plastic drink bottles, and you know you won’t have time to clean them and do an upcycled sculpture project with them anytime soon, drop them in the recycle bin! If, one day, you decide to do an upcycled sculpture project, do another schoolwide collection and you’ll have a fresh stash of bottles in no time.

    https://www.youtube.com/watch?v=7M70J1ae2Nk

    2. Is it dirty?

    If you can clean the item fairly quickly and easily, go for it! Say you found a bin of watercolor palettes where each cake is smeared with black paint. Grab a sponge and wipe them off; in a few minutes, they’ll look brand new! If the item has dirt, mold, bugs, or mouse feces—throw it away. The item is no longer sanitary and safe and is not worth salvaging.

    piles of paper with dirt

    3. Is it district or school property?

    Maybe you uncovered some archaic equipment in your closet, like an overhead projector or slide carousel. You have a stack of broken stools or textbooks from the 1970s. These may be district or school property. Check with your department chair, art supervisor, or school administrator to discover the proper channels and procedures for removal.

    4. Is it hazardous?

    Some art supplies or tools are no longer safe or recommended in schools. For example, you may unearth a set of oil paints and linseed oil or you may dig out a box of old-school super sharp metal compasses. Talk to your maintenance staff to dispose of these items properly or donate them to your local arts council for professional artists to use.

    5. Can you digitize it?

    Do you have drawers of hand-drawn anchor charts, old student artworks, or art history reproduction posters? What about filing cabinets chock-full of handwritten “dittos” or lesson plans generated on a typewriter? Determine if the content is still relevant. If you can use the artworks as exemplars for your projects, photograph them, and organize them digitally. Share those folders with fellow art teachers for them to use too! Sometimes, you find activity handouts that are gold—they just need to be digitally updated as well.

    piles of artwork and plastic shelves

    6. When was the last time you used it?

    Maybe, the items you’re uncovering are things you’ve collected. Think back to the last time you touched it and used it. Was it recently? How often do you use it? Let’s say you have a giant box of pinecones for students to draw each fall. Instead, take your students outside for 10 minutes to collect their own still life items from nature. When you’re done with the unit, toss the items back out into the woods. Reuse your valuable closet space to store completed relief sculptures for your end-of-year art show.

    7. Is it still functional?

    Broken items tend to creep their way back into our storage spaces because “one day we’ll fix them.” Let’s be real—if you were going to fix them, you would have fixed them! Does the item still serve its intended purpose? Does the tablet turn on? Do you still have the power plug to the printer? Do you have all of the pieces for the loom? If you don’t have the time or funds to fix the item before the end of the quarter, give yourself permission to move on.

    However, you can save some items with minimal effort and money! Clay is expensive and it’s usually worth it to rehydrate a block of dried clay. You can also save really nice paintbrushes by soaking them in a solution to remove dried acrylic paint.

    https://www.youtube.com/watch?v=bCZdZ0simOs

    8. Do you have duplicates?

    Sometimes we get it into our minds that we need to have a whole class set of each item or supply. You can end up with a huge hoard of tools that you don’t regularly use! For instance, you may have 30-40 brayers taking up two bins in your closet. However, you may only use 10 because you usually do printmaking in small groups or stations. Think about how you teach and the flow of your studio and consider gifting spares to another art teacher. You can always borrow them back if needed!

    Decluttering your art room isn’t just about tossing old art supplies—it’s about making an inspiring space that fuels creativity and efficiency. By applying these eight guiding questions, you’re reclaiming control over your classroom. Every decision, from determining whether an item fits into your current curriculum, to deciding if it’s worth repurposing or donating, brings you one step closer to a space that truly works for you and brings you freedom.

    What guiding questions would you add to this list?

    Are you an art teacher who tosses or keeps?

    To chat about decluttering with other art teachers, join us in The Art of Ed Community!

    Magazine articles and podcasts are opinions of professional education contributors and do not necessarily represent the position of the Art of Education University (AOEU) or its academic offerings. Contributors use terms in the way they are most often talked about in the scope of their educational experiences.


    Source link

  • 7 strange myths of Mycenae that changed ancient Greece – Veronica Winters Painting


    From Perseus to Trojan War: 7 strange myths of Mycenae that changed ancient Greece


    Mycenae is the ancient archeological site near Mykines in Argolis, Greece. It’s a fascinating place to visit when you learn about its connection to the ancient Greek history. 16th century BC to be exact. It’s a place of one of the oldest known cultures in the world- the Mycenaeans. They wrote in Linear B text, the cyclopes built walls and people worshiped the Earth goddess. Perseus founded Mycenae and Agamemnon, king of Mycenae, set out against Troy in the Trojan War. Go on a journey to discover myths and art of ancient Greece.

    Video on YouTube: https://youtu.be/V1iCUh91qD0

    To read and see pictures about Mycenae, Greece: https://veronicasart.com/from-perseus-to-trojan-war-7-mind-blowing-myths-about-mycenae-that-changed-ancient-greece/

    Subscribe & rate this podcast on Spotify and Apple | Show your support for the podcast: here | Host: Veronica Winters, MFA | veronicasart.com


    Source link

  • Philip de Laszlo – Lines and Colors

    Philip de Laszlo – Lines and Colors


    Portrait paintings by Philip de Laszlo
    Portrait paintings by Philip de Laszlo

    Hungarian born painter Philip de László, who was active in the late 19th and early 20th centuries, spent much of his life and career in the UK, where he was noted for his portraits of royalty and the wealthy.

    The de Lazlo Archive Trust website features information about the artist, as well as a catalogue raisonné of his work.


    Source link

  • Ep 140 Little Things that Can Make a Big Difference to Your Art Part 1

    Ep 140 Little Things that Can Make a Big Difference to Your Art Part 1


    Welcome to today’s art podcast episode. Today we’re going to chat about how sometimes the smallest things can make a big difference to our art. It’s those little aha moments that can thrust our art forward.


    Subscribe: iTunes | Stitcher | Spotify | Amazon Music | RSS

    This podcast is sponsored by Evolve. Evolve can teach anyone how to paint in a realism style to a professional level in a year. They offer online lessons, support and also provide the materials you need. To find out more sign up for a free masterclass at https://kickinthecreatives.com/evolvewebinar

    evolve oil painting how to

    Little things that can make a difference to your art

    • Using hard and soft edges
    • Drawing what you see rather than what you think you know
    • Squinting so you can see the lights and darks and making sure you have enough contrast in a piece
    • Using basic colour theory – eg. complementary colours to make a colour pop
    • Doing a little bit regularly rather than a lot in one go.
    • sketching with a pen to force you to commit
    • using the rule of thirds – I can remember how much this helped me when I first started painting again. Thinking about elements you can place on those thirds can really help a painting look good.
    • Balancing colours – don’t just put a colour in one place try and inject a little somewhere else to balance and create harmony
    • committing to one thing for a period of time – eg. 30 days to practice drawing hands or learn the basics of watercolour – this can really help you improve, rather than skipping around.
    • Using proper watercolour paper for watercolour and mixed media (less puddles)/sometimes using better materials helps.
    • Using a softer pencil for smoother shading – 2B and softer

    Presenting your art

    • Giving your art a title
    • photographing your art in good light
    • Wrapping your art nicely before posting
    • Writing a handwritten message to say thank you when someone buys your art
    • writing something about your art or a story to go with it on Social media. It could be how you created it, why you created it or just a story that you can link to the art.
    • depending on the type of art considering a mount or border between your art and frame if you are framing it.
    • Use an app to show what your art could look like in a room scene Frame X is a cheap one and I also use Smartist. If you know how to use Photoshop you can also find some good royalty free frame images.

    Support us on Kofi

    Kofi buy us a coffee

    This week’s creative question

    Q. What topic would you like us to cover in a future episode and why?

    What topic would you like us to cover in a future episode and why?

    The best answers will be read out on a future podcast.

    You can Tweet us your answers @KickCreatives or let us know in the Facebook Group, which by the way if you haven’t already joined, I highly recommend that you do! We will put the question up there and also on the Facebook page… and of course, on our Instagram page @kickinthecreatives.

    join the Kick in the Creatives Facebook Group

    If you have any suggestions for the podcast or our challenges please feel free to get in touch.


    Source link

  • Vermeer’s Girl with a Pearl Earring – Lines and Colors

    Vermeer’s Girl with a Pearl Earring – Lines and Colors


    A Fresh Look: Vermeer's Girl with a Pearl Earring - reversed
    A Fresh Look: Vermeer's Girl with a Pearl Earring - reversed

    Hopefully — even if only for a moment — you got to see in the top two images Vermeer’s iconic painting with fresh eyes. The images are reversed left to right.

    It is not an uncommon practice for artists to pause in the process of working on a painting or other artwork and view the work in a mirror. This briefly provides a fresh view of the work, a contrast to the the kind of familiarity that makes it difficult to see something objectively.

    We can use the same effect to view images that are so culturally familiar they are difficult to see in the way we might have when first encountering them. The effect doesn’t last long; we soon become accustomed to the “new” view, but it’s nice to get a fresh view of something so familiar.

    I’ve included an image of the painting in its normal orientation at the bottom.

    Wikimedia Commons has a high resolution image of the painting, available from this page.

    I did the same thing back in 2006 with Da Vinci’s Mona Lisa, and in the process, I believe I gained some insight into her enigmatic smile/not smile.


    Source link

  • Kay Wyne Fine Art Blog: Desert Colors


    Desert Colors

    10″ x 10″ Oil on RayMar Panel

    (Framed, 13″ x 13″)

    Contemporary Landscape

    This painting is all framed up ready for a new home!  The colors of the desert and Tucson foothills is amazing.  I wanted to paint a trail with all of it’s scrubby, natural growth.  This painting is available.  Contact Kay for more info.  Thank you, KMW


    Source link

  • Ep 141 Little Things that Can Make a Big Difference to Your Art Part 2

    Ep 141 Little Things that Can Make a Big Difference to Your Art Part 2


    Welcome to today’s art podcast episode. Today we’re going to chat about how sometimes the smallest things can make a big difference to our art. It’s those little aha moments that can thrust our art forward. This is part two of two.

    Ep 141 Little Things that can Make a Big Difference to Your Art Part 2


    Subscribe: iTunes | Stitcher | Spotify | Amazon Music | RSS

    This podcast is sponsored by Evolve. Evolve can teach anyone how to paint in a realism style to a professional level in a year. They offer online lessons, support and also provide the materials you need. To find out more sign up for a free masterclass at https://kickinthecreatives.com/evolvewebinar

    evolve oil painting how to

    Little things that can make a difference to your art

    • Using hard and soft edges
    • Drawing what you see rather than what you think you know
    • Squinting so you can see the lights and darks and making sure you have enough contrast in a piece
    • Using basic colour theory – eg. complementary colours to make a colour pop
    • Doing a little bit regularly rather than a lot in one go.
    • sketching with a pen to force you to commit
    • using the rule of thirds – I can remember how much this helped me when I first started painting again. Thinking about elements you can place on those thirds can really help a painting look good.
    • Balancing colours – don’t just put a colour in one place try and inject a little somewhere else to balance and create harmony
    • committing to one thing for a period of time – eg. 30 days to practice drawing hands or learn the basics of watercolour – this can really help you improve, rather than skipping around.
    • Using proper watercolour paper for watercolour and mixed media (less puddles)/sometimes using better materials helps.
    • Using a softer pencil for smoother shading – 2B and softer

    Presenting your art

    • Giving your art a title
    • photographing your art in good light
    • Wrapping your art nicely before posting
    • Writing a handwritten message to say thank you when someone buys your art
    • writing something about your art or a story to go with it on Social media. It could be how you created it, why you created it or just a story that you can link to the art.
    • depending on the type of art considering a mount or border between your art and frame if you are framing it.
    • Use an app to show what your art could look like in a room scene Frame X is a cheap one and I also use Smartist. If you know how to use Photoshop you can also find some good royalty free frame images.

    Support us on Kofi

    Kofi buy us a coffee

    This week’s creative question

    Q. What topic would you like us to cover in a future episode and why?

    What topic would you like us to cover in a future episode and why?

    The best answers will be read out on a future podcast.

    You can Tweet us your answers @KickCreatives or let us know in the Facebook Group, which by the way if you haven’t already joined, I highly recommend that you do! We will put the question up there and also on the Facebook page… and of course, on our Instagram page @kickinthecreatives.

    join the Kick in the Creatives Facebook Group

    If you have any suggestions for the podcast or our challenges please feel free to get in touch.


    Source link

  • ‘Ukrainian Modernism’ Chronicles the Nation’s Midcentury Architectural Marvels — Colossal

    ‘Ukrainian Modernism’ Chronicles the Nation’s Midcentury Architectural Marvels — Colossal


    During the Soviet era, modernist architecture rose to popularity as a means to express power, prestige, and views toward the future following World War II. Across Eastern Europe, asymmetric details, geometric rooflines, circular footprints, monumental murals, and blocky brutalist structures rose in defiance of pre-war classical and vernacular styles.

    In Ukrainian Modernism, Kyiv-based photographer and researcher Dmytro Soloviov’s first book, the nation’s under-recognized mid-20th-century built heritage takes center stage.

    “Ukraine’s modernist buildings are an extraordinary blend of function, avant-garde aesthetics and ingenious design, but despite these qualities, they remain largely unrecognised,” says a statement from FUEL, which will release the book later this month.

    Soloviov chronicles a buildings that are often stigmatized for their inception during the Soviet era and subsequent neglect and redevelopment over time. In the face of the nation’s struggle to overcome Russia’s ongoing incursion, war continues to threaten historic buildings. Ukrainian Modernism combines Soloviov’s contemporary photos with archival images, exploring the breadth of the region’s architectural marvels.

    Preorder your copy on FUEL’s website.


    Source link