Clay projects are magical! However, managing clay is one of the more labor-intensive tasks in the art room. You have to prepare the clay and slip, shift projects around as they dry, load the kiln, bump the temperature, cool it down, unload the kiln—and repeat. The process is beautiful but it demands time and effort. If you only have one day and a classroom full of energetic students, try single-fire pottery! This time-saving technique skips the bisque stage and lets you build and glaze in one class period. Bring the joy of clay to your students without sacrificing creativity or quality.
Let’s explore how single-fire pottery can turn your art room into a hub of stress-free creativity!
What is single-fire pottery and how does it work?
Single-fire pottery lets students build and glaze clay pieces on the same day. This saves time and uses the glaze’s adhesive properties to your advantage. Normally, you probably warn students not to glaze the bottoms of their pieces to prevent sticking to the kiln. While you still want to do this, with single-fire pottery, use that stickiness to your strategic advantage and streamline the process! Glazing wet clay ensures pieces stay securely attached during firing.
Important Tip:
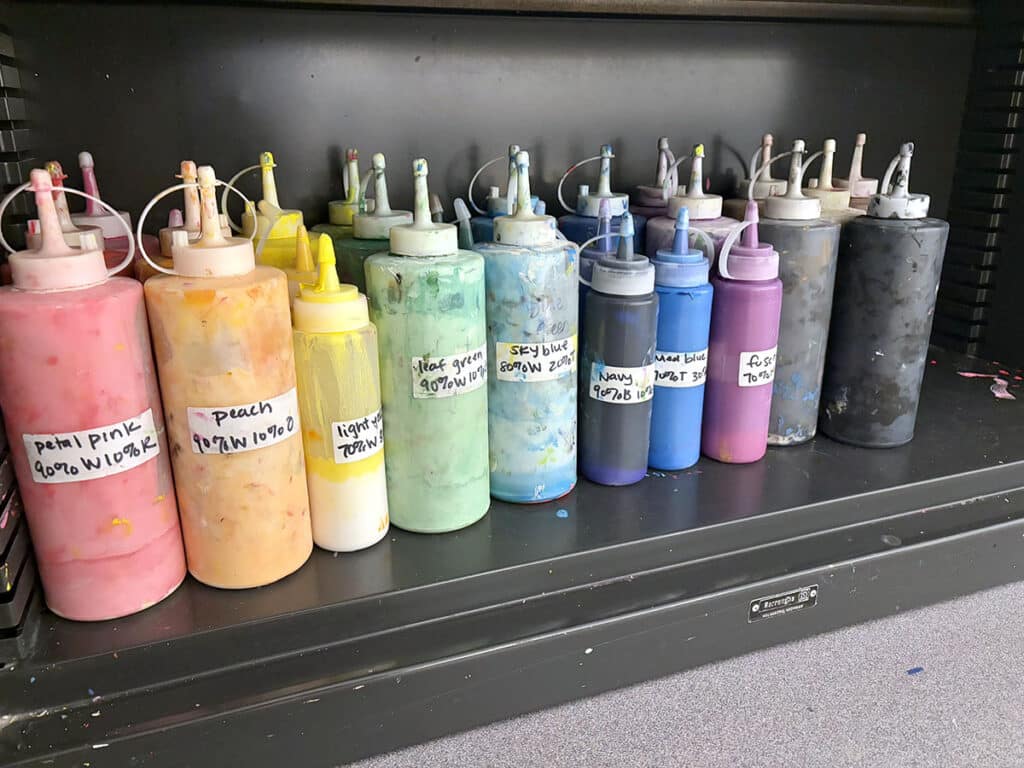
It’s crucial to match the cone of the clay with the cone of the glaze to ensure a successful single-fire process. If you’re using a low-fire (05) clay, pair it with a low-fire (05) glaze. Mismatched clay and glaze cones can lead to underfiring, glaze defects, or incomplete bonding. Always double-check your clay and glaze compatibility to prevent issues and achieve optimal results!
Why try single-fire pottery?
Single-fire pottery isn’t just about saving time. It can transform how you and your students experience clay and how you steward your budget and resources.
Here are four reasons to embrace this innovative approach:
- Conserve Energy
Firing once per project uses less energy, making this method more sustainable and environmentally friendly. - Reduce Material Loss
Because you handle pieces less often, single-firing minimizes the risk of breakage. - Encourage Experimentation
The wet glazing process introduces students to new techniques they can’t achieve with bisque-fired pieces. - Simplify Planning
With fewer steps, you can focus more on the creative process and less on logistics.
How do I tell when it’s ready to fire?
Drying single-fire pottery can be tricky without the color changes in the clay to guide you. For a reliable method, try the temperature test. Simply feel the clay with the back of your hand. If it feels cooler than your skin, it still contains moisture and isn’t ready for the kiln. When the clay matches your skin temperature, it’s ready to fire! When in doubt, it’s always better to give it more time. Waiting four weeks, even in humid conditions, is usually enough to ensure your clay is thoroughly dry and ready for the kiln!
Are you ready to jump on the bandwagon? Here are four one-day projects to get you started!
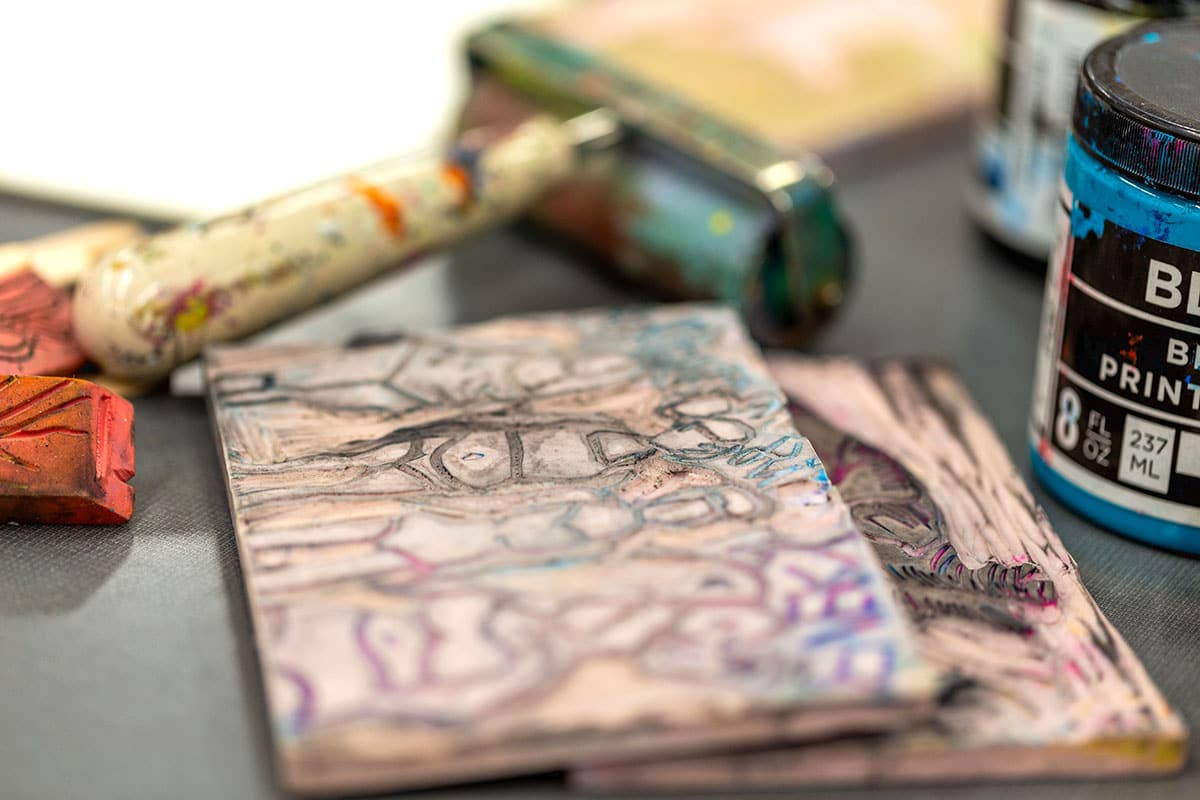
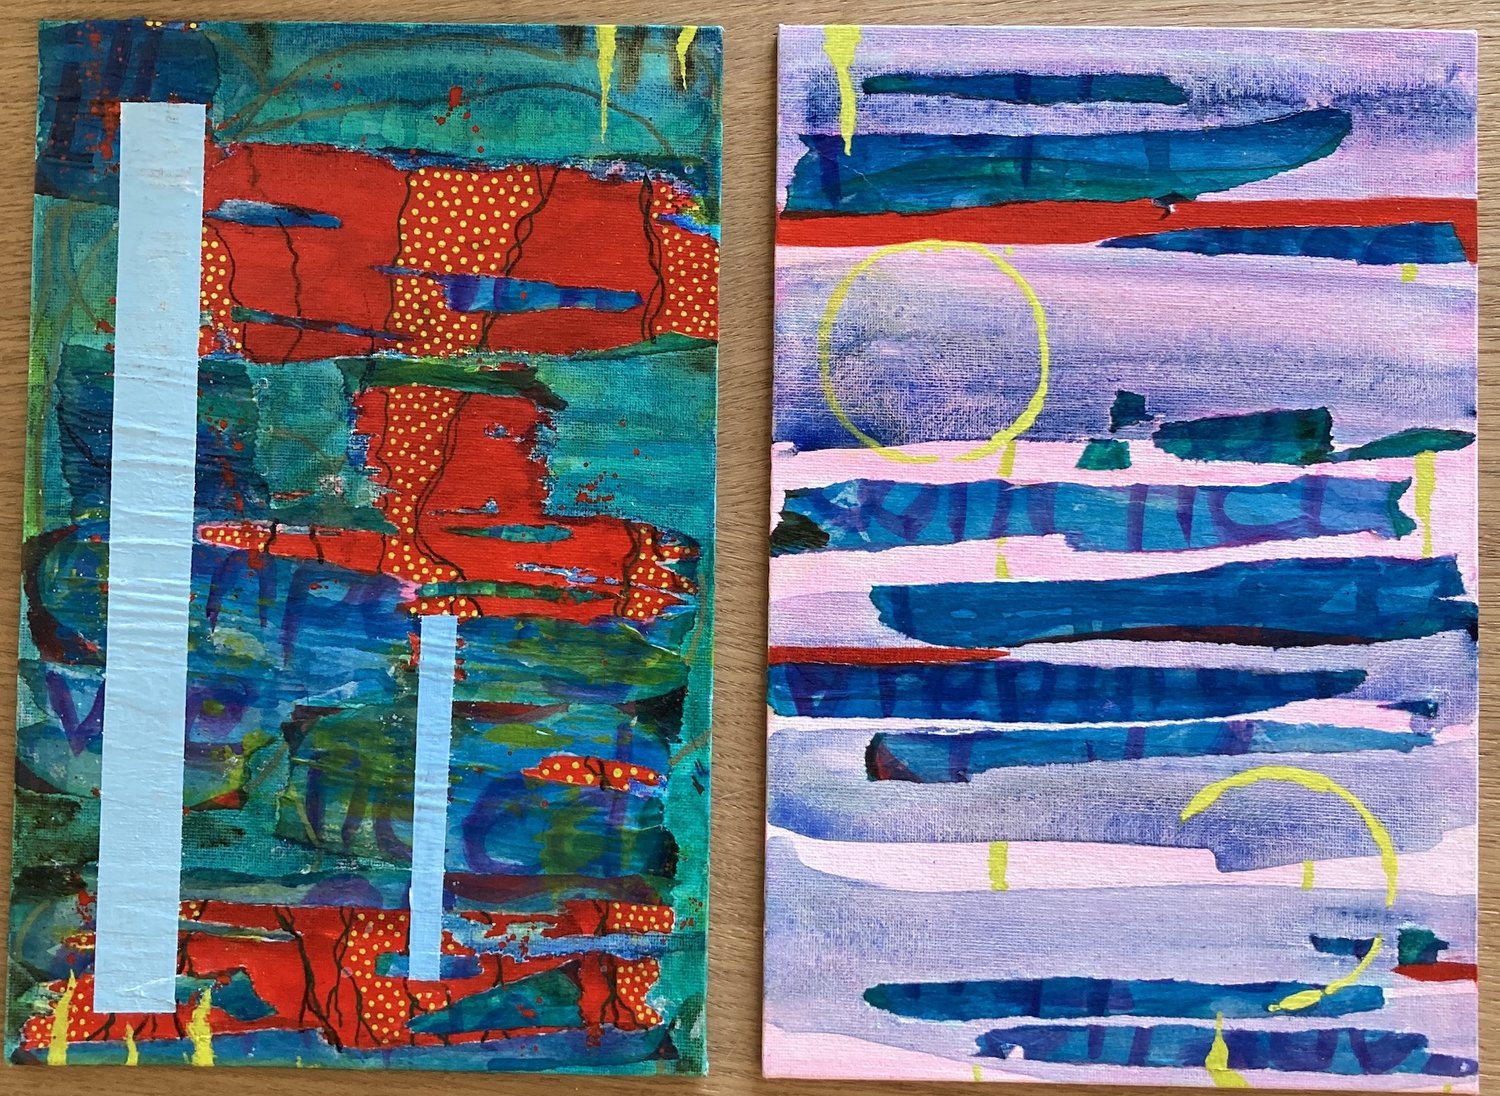
1. Textured Landscape Tiles

Create clay landscape tiles that combine texture, layering, and glaze in one project. Start with a clay slab, trace a frame, sketch a landscape, and add texture. Glaze before adding elements like clouds, trees, and other small features. The glaze acts as the adhesive, eliminating the need for scoring and slipping. Glaze all the details and you’re done! Allow the tile to dry completely before firing for a vibrant, single-fired ceramic masterpiece.

For a breakdown of this lesson, including a planning guide and process photos, check out the Ceramic Landscape Lesson in FLEX Curriculum.
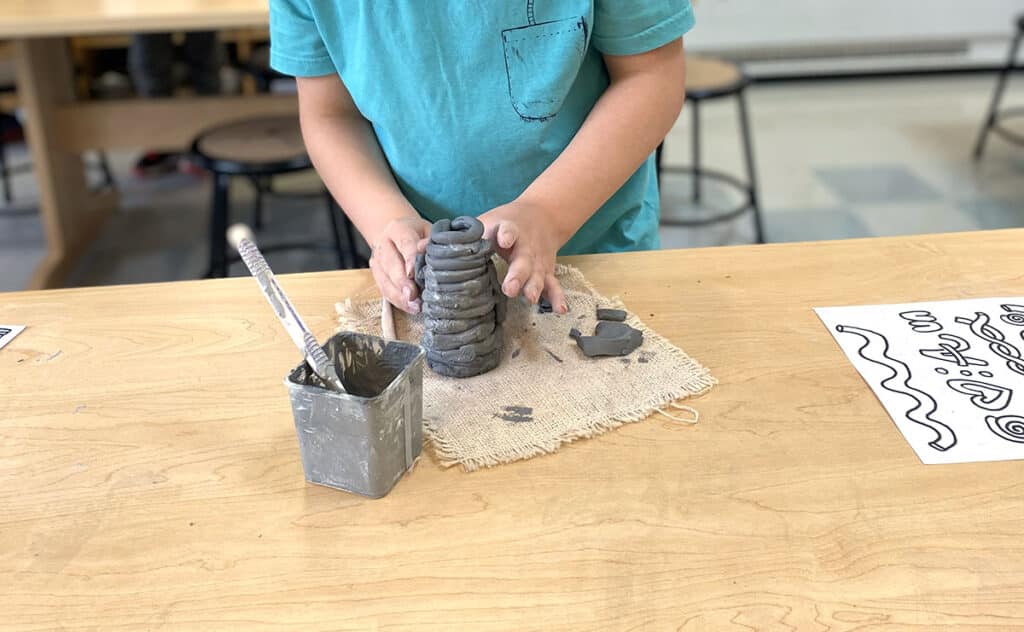
2. Coil Pots
How many times have you pulled coil pots from the kiln only to find separated coils? Avoid this heartbreak by having students build their coil vessels and apply glaze immediately. Follow your basic coil lesson. Scoring and slipping between coils is optional but recommended for added security. Once students construct their pots, glaze immediately. The glaze acts as an adhesive, helping the coils stick together and stay intact through the firing process. No more half-ruined pots lingering in your kiln!

If you don’t have a go-to coil pot lesson, no problem! FLEX Curriulum’s Coil Pottery Lesson is jam-packed with student-facing resources to ensure coil success.
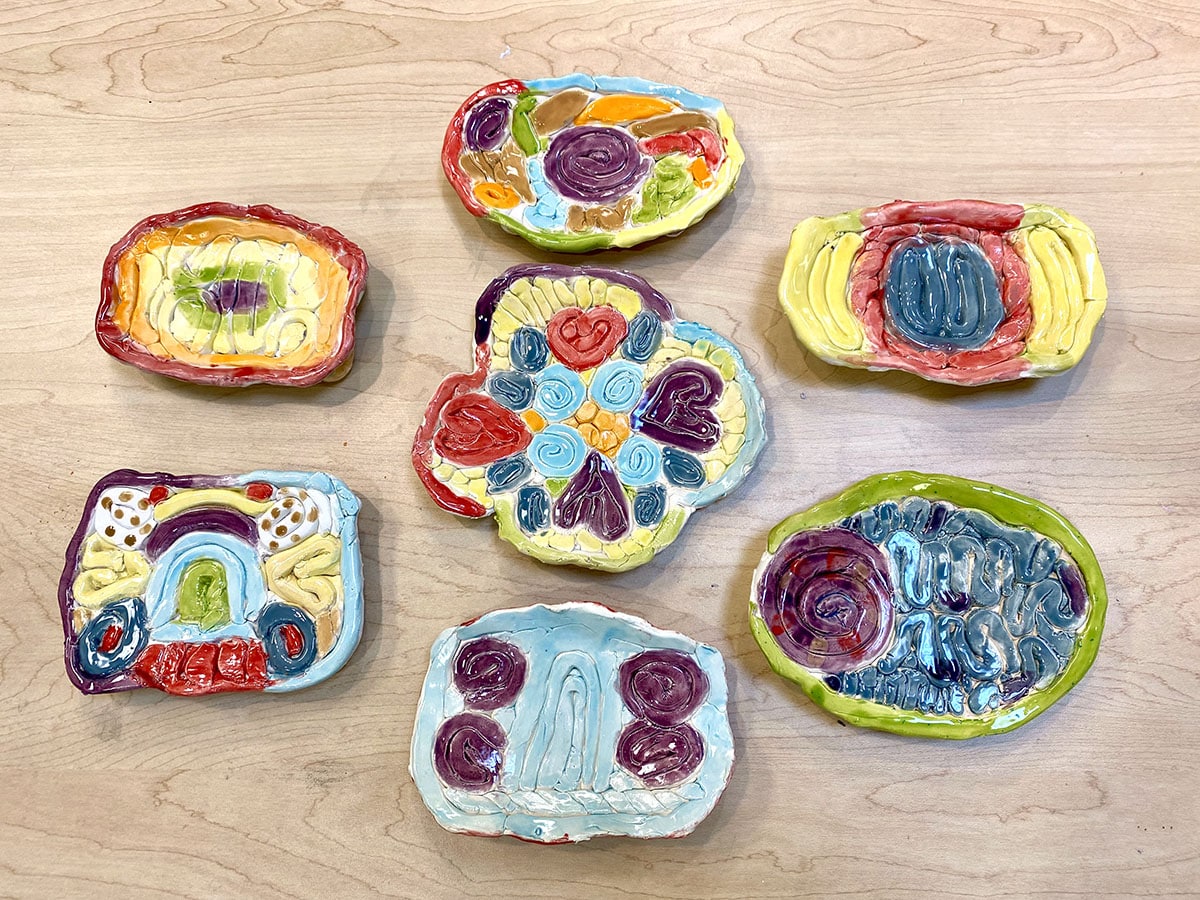
3. Trinket Dishes

Put a creative spin on your coil lesson by building out instead of up! Students start by outlining a dish shape on paper and then build outward from the center with coils, shaping and curling as they go. Roll one long coil and wrap it around the perimeter to keep everything contained. Smooth the bottom side of the dish, flip it over, and immediately apply glaze to the top. Glazing immediately prevents smaller coils from shifting during firing.
Check out the Trinket Treasure Dish Lesson in FLEX Curriculum for step-by-step instructions and coil technique anchor charts!
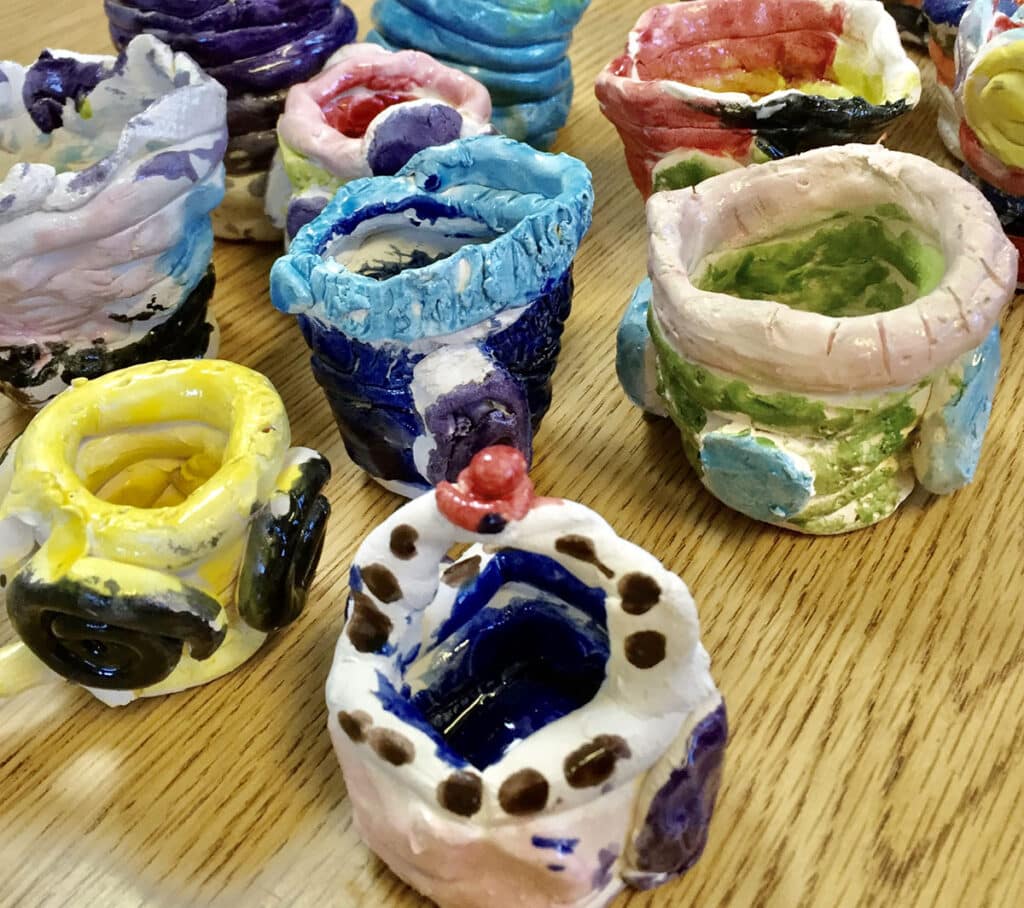
4. Pet Pinch Pots

Start with a basic pinch pot. Let students’ creativity transform it into a unique animal! Add features like legs, heads, tails, fins, or eyes to bring their animals to life. Glaze immediately. Scoring and slipping between pieces is optional since the glaze acts as the adhesive.

Head to FLEX Curriculum to explore student-facing resources, including a visual guide for how to create a pinch pot and assessments to help students reflect on their work and improve their techniques.
Single-fire pottery is more than just a time-saver—it’s a creative shift that can redefine how you and your students experience clay. It simplifies the clay process, freeing up time, energy, supplies, and kiln usage. Single-fire pottery also creates stronger, more durable projects since the glaze acts as an additional adhesive. With fewer steps and more opportunities for innovation, take just one day to explore the magic of single-fire pottery.
What are your student-favorite single-fire projects?
To chat about ceramics with other art teachers, join us in The Art of Ed Community!
Magazine articles and podcasts are opinions of professional education contributors and do not necessarily represent the position of the Art of Education University (AOEU) or its academic offerings. Contributors use terms in the way they are most often talked about in the scope of their educational experiences.