These are free opportunities for artists and creatives with zero tolerance for fees. Just like you, I’m fed up with all the fees that organizations charge to support their businesses at artists’ expense. In my opinion, expenses must be covered by the sponsors, not the artists. So, I’ll be adding new, free contests, grants, and opportunities for artists on this page.
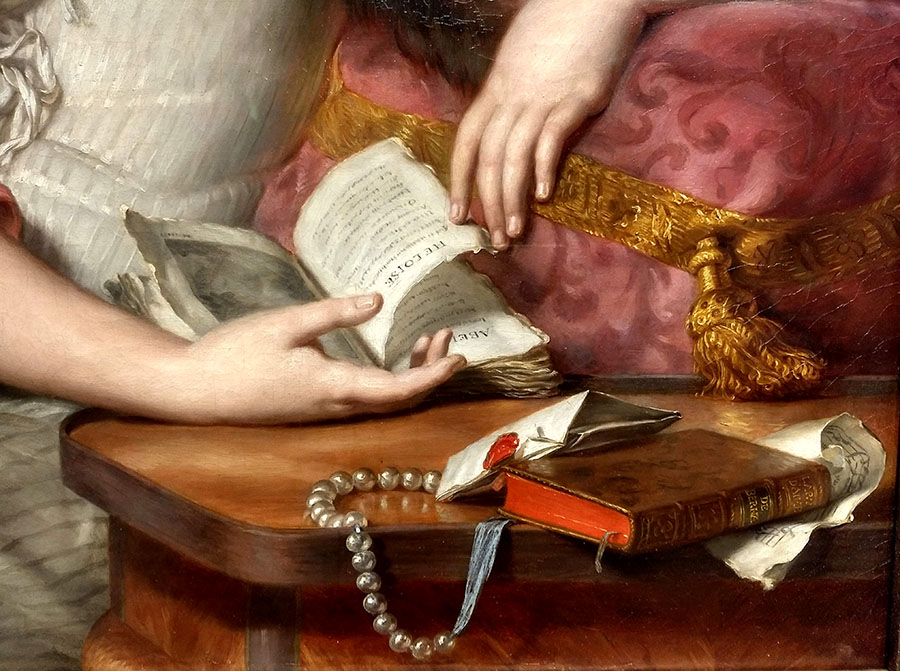
A lady reading letters of Heloise and Abelard-1780 by Auguste Bernard d’Agesci, oil painting, Art Institute of Chicago
The Pollock-Krasner Foundation provides financial resources for visual artists to create new work, acquire supplies, rent studio space, prepare for exhibitions, attend a residency and offset living expenses. The Foundation welcomes, throughout the year, applications from visual artists who are painters, sculptors, and artists who work on paper, including printmakers. There are no deadlines. Grants are intended for one year. The Foundation will review expenditures relating to an artist’s professional work and personal expenses and amounts range up to $50,000. The individual circumstances of the artist determine the size of the grant. Professional exhibition history will be taken into consideration. Artists must be actively exhibiting their current work in professional artistic venues, such as gallery and museum spaces. https://pkf.org/apply/
The Sharpe-Walentas Studio Program awards rent-free non-living studio space to 17 visual artists for year-long residencies in DUMBO, Brooklyn. https://www.thestudioprogram.com/apply
Are you looking for an easy way to do paper weaving with kids?
Are you not wanting to cut all those mats for your students?
In this tutorial, I will show you how to make a paper weaving the easy way – with a FREE template included. I thought I had posted about this template and technique but realized I never did. In a Facebook art teacher group, another member asked for a source to buy paper looms, which gave me the reminder that I wanted to have this template available for others to use. Then, I decided I needed to make a little tutorial to go along with it! This is a staple in my art curriculum and I do this with first graders every year in some form or another.
Choose a Paper Weaving Theme
Want to turn this into a Valentine’s project? Go for reds, pinks, and plenty of hearts! Feeling wintery? Try cool blues, crisp whites, and snowflake designs. Or, you can leave the color scheme and designs completely up to the kids. There are many fun ways to make this project unique.
Here is the FREE paper weaving template I am using in this video. (If you like what you see, be sure to follow me on TPT!) The template comes with written directions on how best to pick the settings on your printer. You will need to cut paper strips for your students to use. I usually cut strips around 1.5″ wide.
With this template, the kids are able to cut completely on their own with minimal help. I find that first grade and up works best for this project. Usually there is a child or two who may be confused and I try to encourage the peers who catch on quick to help out their neighbor.
Art Supplies Used:
Below is a list of some of the products I use in this video (as an Amazon Affiliate I receive a small amount of commission at no extra cost to you):
Heart Shape Stickers: from Michaels craft store in the seasonal section
If you’ve enjoyed this post, please do me a favor and “pin” it to save for later or share with a friend! Your support means a lot. If you have any questions at all, watch the video to see the process in action. Then, download the template which has more detailed specs for printing and using the template. If you still have questions, feel free to comment below and I’ll do my best to help you out!
Get a Free Guide for Easy Art Sub Activities!
If you like what you see on this blog, please sign up for my newsletter! I created a FREE Sub Tub art guide, with 10 easy activities you can leave for sub. By filling out this form you will get the download. Never stress about a sick day again!
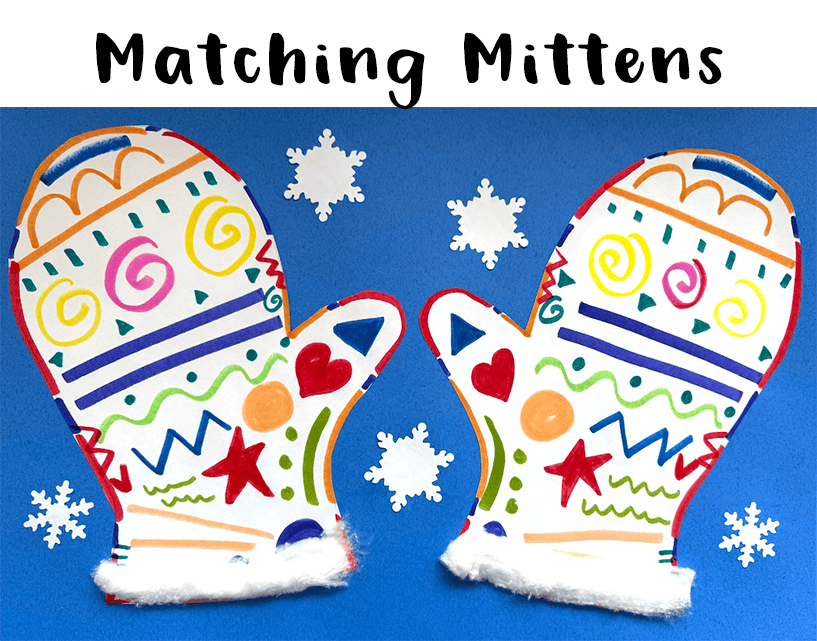
This is a fun winter art project that allows students to use their creativity to make matching mittens, exploring symmetry and balance! I have been doing this art project for years and years and I keep returning to it every year because I think it’s great for fine motor skills and spatial awareness. It also strengthens their attention to detail as they work to make both mittens match perfectly.
I’m not sure where I originally learned about this art project, but it had to have been about 15-20 years ago. So many of these ideas floating around social media and the internet have been around forever! This is a good one and maybe you haven’t seen it yet. I like to do this with Kindergarten, but I think Pre-K could do a simpler version and older kids could make more detailed mittens.
Why do a Matching Mittens art project?
Objectives:
● Students will develop observational skills by carefully replicating patterns and lines in reverse.
● Students will explore symmetry and balance in art by creating matching mittens.
● Students will practice fine motor skills through tracing, drawing, and pattern-making.
● Students will explore creativity by making unique patterns and designs.
In this art project, students will make a pair of mittens that match. First, the students will design one mitten with patterns and lines. Then, they will copy that design onto the second mitten, but in reverse—like a mirror.
“If you draw a heart on the left side of one mitten, you will need to draw the same heart on the opposite side of the other mitten.”
“If you put a wavy line in the top of one mitten, the wavy line needs to go in the same spot on the other mitten.”
Teacher Prep for the Matching Mittens Art Project
● Print the mitten template onto card stock (thicker paper). (Amazon Affiliate links have been used for art supply links at no extra cost to you. The small commission earned goes towards maintaining this website.) You can use this as the drawing surface, or you can make them into reusable templates for your students to trace. I have one set of templates and reuse them every year. To do this, trace your mitten on to thicker poster board (I use “railroad board.”). Trace as many templates as you will need and cut them out. Students will then use these to trace on to their larger paper. They will trace it once, flip over the template and trace the other mitten. I do this step, because it is a good skill for practicing fine motor skills. But if you want to save time, you can just have the copies printed out.
Step One:
● Trace the mitten on to construction paper (I like Tru-Ray Construction Paper– 12” x18” paper). Flip the mitten over and trace the other mitten.
Step Two:
● Draw designs on one mitten, using markers or crayons. Emphasize coloring neatly and carefully.
Step Three:
● Then, copy the designs and patterns on to the other mitten, but in reverse, like a mirror. Some students may want to do one shape at a time, going back and forth between each mitten, which is totally fine! Others might like to finish one whole mitten first.
● Some kids might get stuck on the fact that it is very difficult to make an exact mirror image. Explain that they should try the best they can, but it’s okay if it’s not perfect! We are aiming for doing our best and it’s still going to look beautiful even if it’s not perfect.
To download the mitten templates, they are right here.
If you have any questions, feel free to leave a comment! Also, does anyone have any good book suggestions (besides the book The Mitten) that can go along with this project?
Related
Discover more from Art is Basic | Elementary Art Ideas
Subscribe to get the latest posts sent to your email.