برچسب: Printmaking

  • The Top 5 FAQs About Printmaking in the Art Room

    The Top 5 FAQs About Printmaking in the Art Room


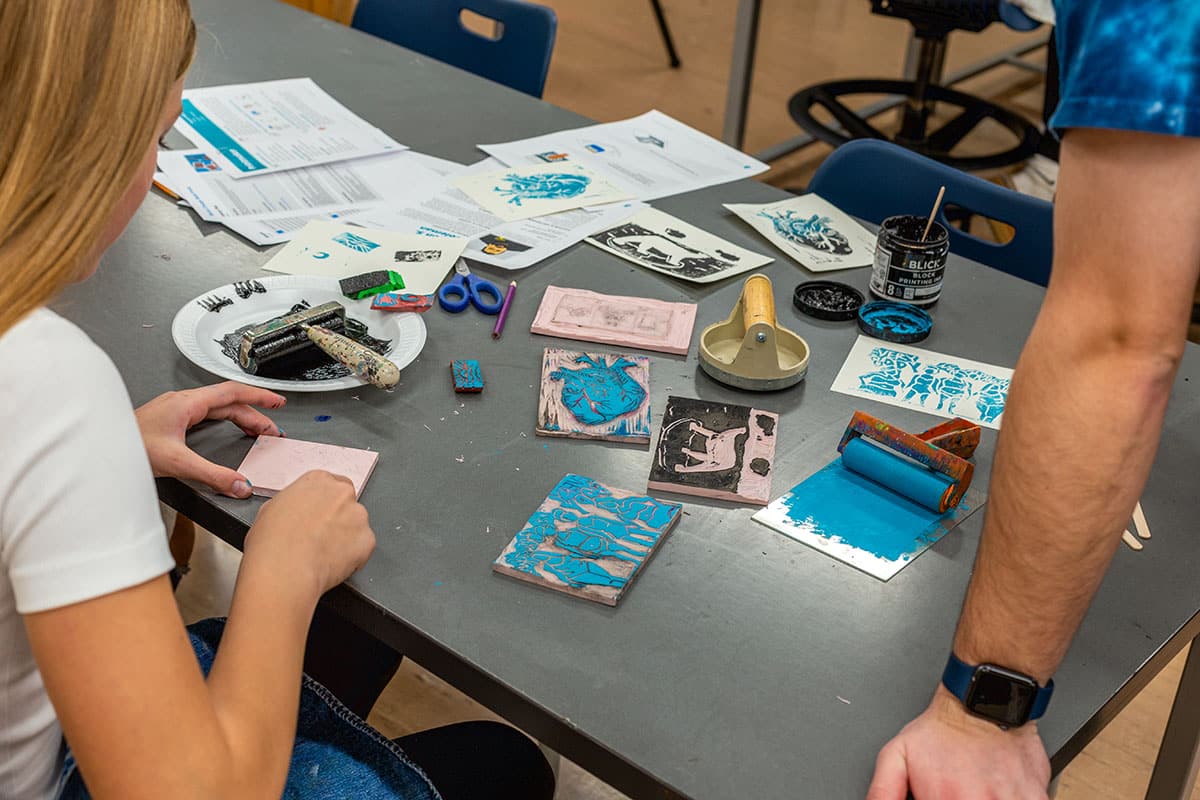
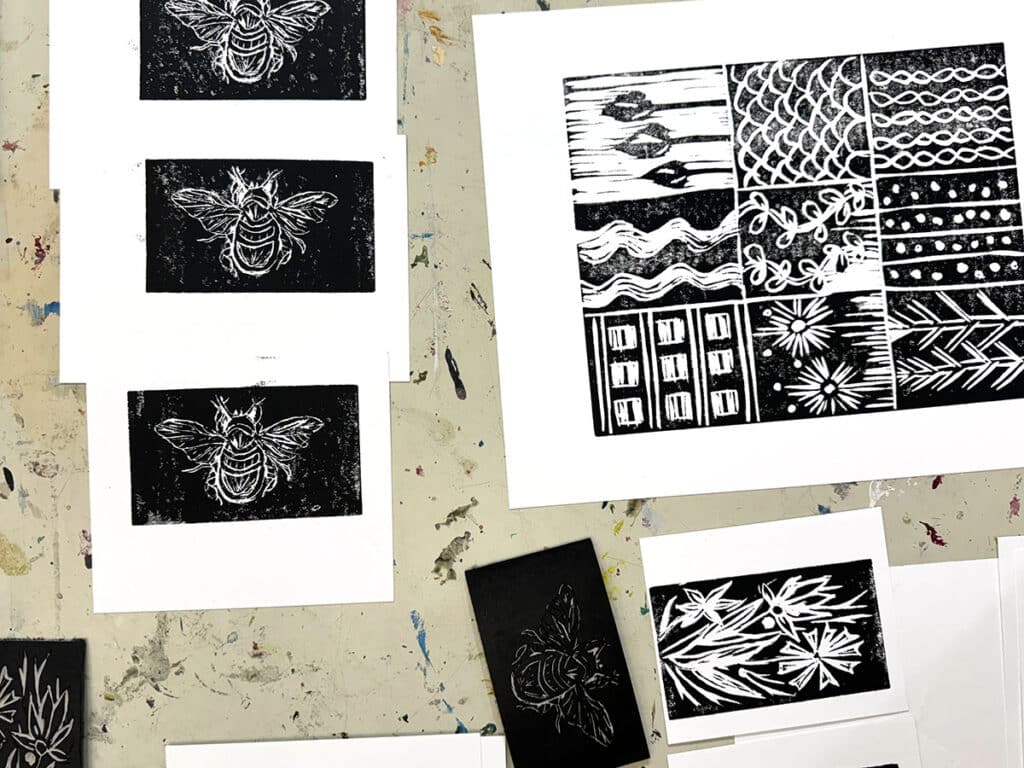
    Printmaking is a powerful process in the art room. It offers students hands-on, engaging artmaking experiences and teaches creative problem-solving and experimentation. The many methods of printmaking make it accessible for all students, classrooms, and budgets. However, this is also what can make printmaking so intimidating! Art teachers just like you in The Art of Ed Community asked their burning printmaking questions and we’re here to deliver practical solutions.

    Let’s answer your top five most frequently asked questions about printmaking in the K-12 art room!

    spread of prints

    1. “I’m not comfortable teaching printmaking. Where do I start?”

    Printmaking can be an overwhelming medium—there are so many forms, lots of tools and equipment, and several stages in the printmaking process. It can feel like a lot to teach on top of classroom management, ideation, assessment, and more. The great news about printmaking is that there is a process for everyone at every comfort and skill level!

    Start with simple techniques and processes like foam tray printing or stamping. These two methods are great entry points and are a good segue into block printing. They do not require any fancy printmaking tools and you probably already have the supplies you need in your closet. Boost your confidence by incorporating mediums you love! For example, if you love drawing, painting, or mixed media, try monoprinting or collagraphy.

    Another tip is to experiment first. Try exploring foam tray printing or stamping on your own for fun. Then, host a laidback Art Night event at your home with friends or at school with colleagues to practice teaching a mini-lesson. This can help you troubleshoot any considerations before you bring it to your students.

    Embrace imperfection! Printmaking is all about trial and error and the process. Don’t think you need to know everything about printmaking before diving in! Invite students into the creative process and show them how to learn from mistakes and discoveries.

    linocut plate and carving tool

    2. “I studied printmaking, but I still avoid teaching it. Why?”

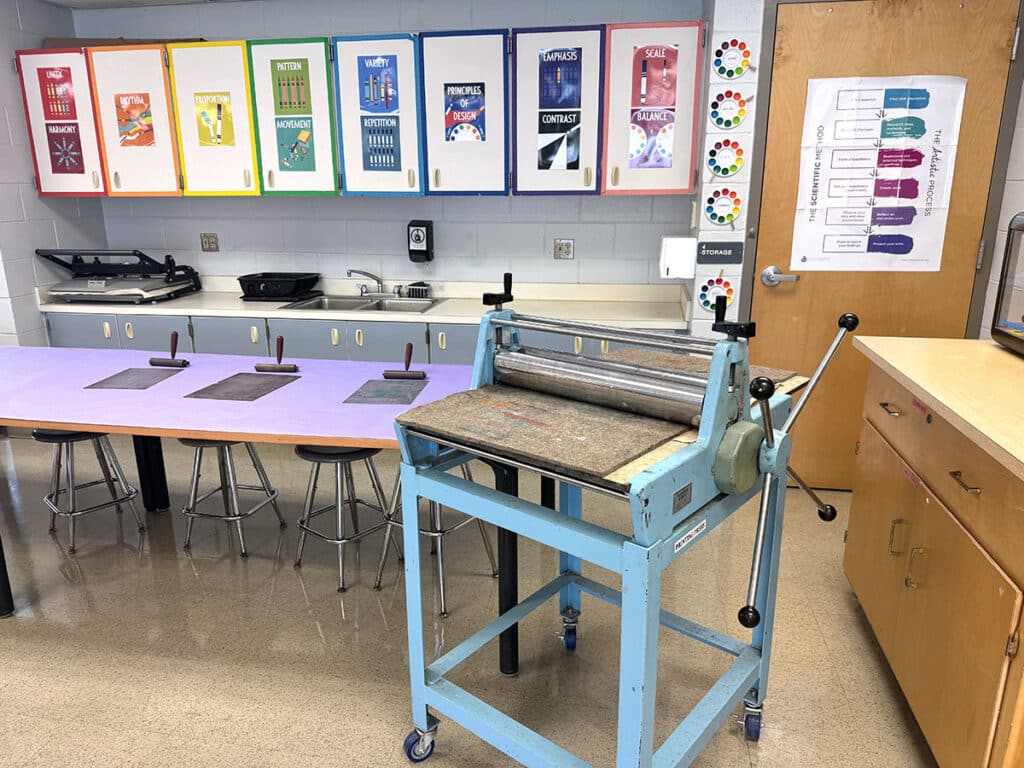
    Even if you are comfortable with printmaking in your own artmaking, bringing it to students can be a whole different ball game. Printmaking can seem messy and intimidating if you have large classes and limited studio space. With a little intentional planning, printmaking can be a smooth process that is engaging for all of your students.

    Just like you’d scaffold a difficult skill with your students, scaffold the lesson and process for your instruction. Break down the printmaking process into small steps. Teach each step as an individual lesson and move on when the class as a whole is ready. For example, spend one class sketching ideas and then the next carving. When you get to “Printing Day,” set up student-led stations with clear roles to reduce chaos. Let the first round of printmaking be an experiment to see how everything works before diving in again to make more fully realized and final prints.

    Perhaps you love printmaking so much that you don’t know where to start because you want to bring every form to your students! This is a wonderful “problem” to have. Instead of overloading your students with every possibility, pick one very simple process and let your passion trickle down to your students. Once they’re hooked, you will be unstoppable together!

    pink ink on paper and brayer

    3. “How do I teach printmaking on a tight (or nonexistent) budget?”

    Certain types of printmaking can be on the pricier side and take up the bulk of your valuable art budget. For instance, lithography traditionally uses heavy blocks of limestone and requires a heavy-duty printing press with lots of studio space. Etching can also use expensive and toxic chemicals that aren’t school-friendly. However, there are many hacks and alternatives to make printmaking accessible to your students!

    Here are some budget-friendly printmaking ideas perfect for the K-12 art room:

    carved plate with black ink

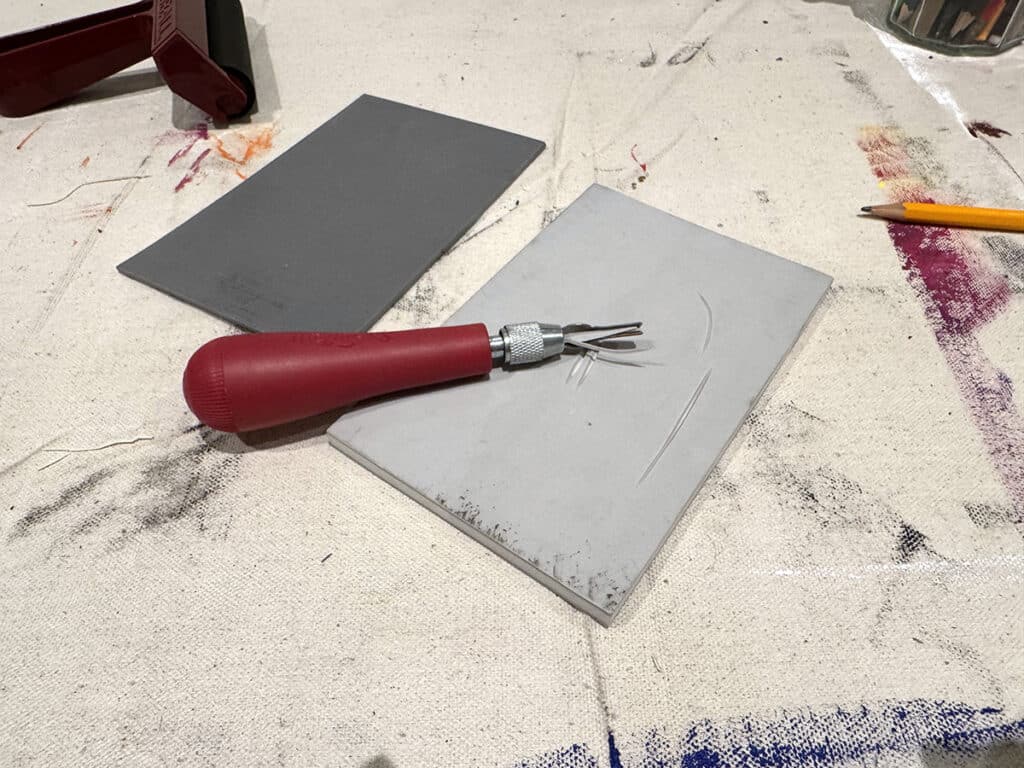
    4. “I want to try block printing, but I’m worried about students cutting themselves!”

    Prioritizing student safety is a part of having excellent classroom management in the art room. Many items used for carving or incising designs, like linoleum cutters or etching tools, are very sharp. Paired with the force and pressure required for carving and many students’ poor hand strength and coordination, you may have cause for concern. With proper instruction, supervision, and limits, you can execute a printmaking lesson with zero injuries!

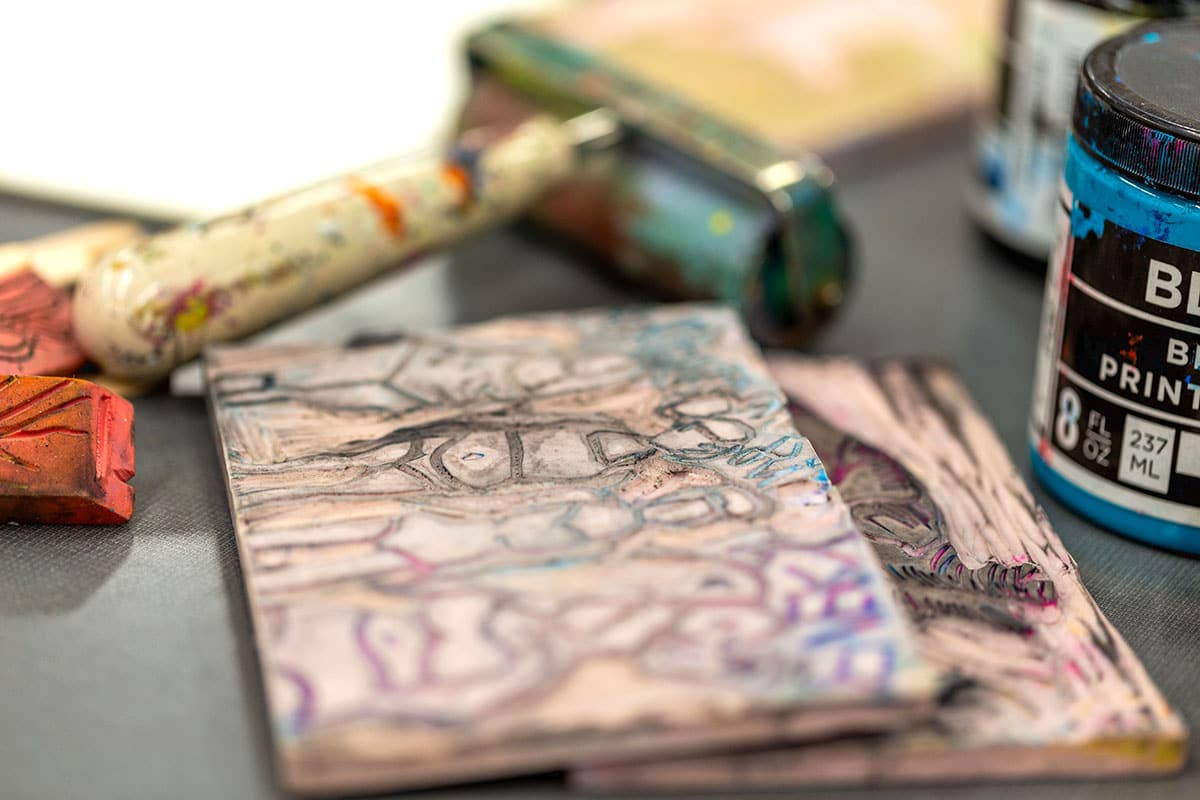
    Start by teaching students about the tools and equipment they will be using. Assume nothing and explain and show everything to ensure everyone is on the same page. Explain what each item is for and how to properly use it. Verbalize and demonstrate safe-cutting techniques, such as carrying sharps pointed toward the ground, cutting away from the body and helper hand, and using a bench hook or scrap board to stabilize the block. Do several exercise drills to get students in the habit of how to behave with, hold, and use these exciting tools!

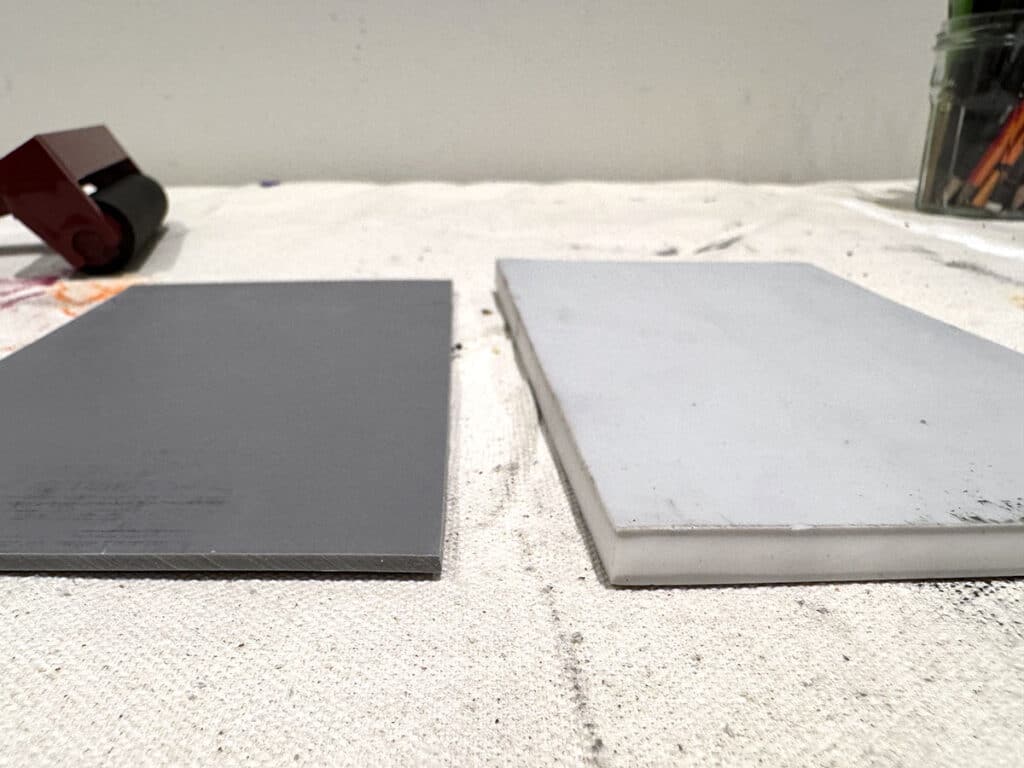
    Another tip is to start with soft-cut materials, such as rubber blocks or foam, instead of traditional linoleum. These require less pressure to carve and often, duller tools. You can also practice the motions of carving with plastic tools and clay slabs before graduating to printmaking materials. These are all great alternatives for younger printmakers.

    two types of printing plates

    5. “How do I keep printmaking from becoming a total mess in my art room?”

    Art teachers spend hours and hours maintaining the art room. There are tons of materials, tools, and projects before adding printmaking to the mix. Plus, printing ink seems to multiply on hands, tables, clothes, and sometimes even the floor! In the chaos of a “Printing Day,” students may not follow cleanup instructions and leave the sink full of inky brayers. Avoid the mess and take a few simple steps to prepare for cleanup before class even starts.

    Take a look at these quick steps to avoid the mess:

    • Set up printmaking zones.
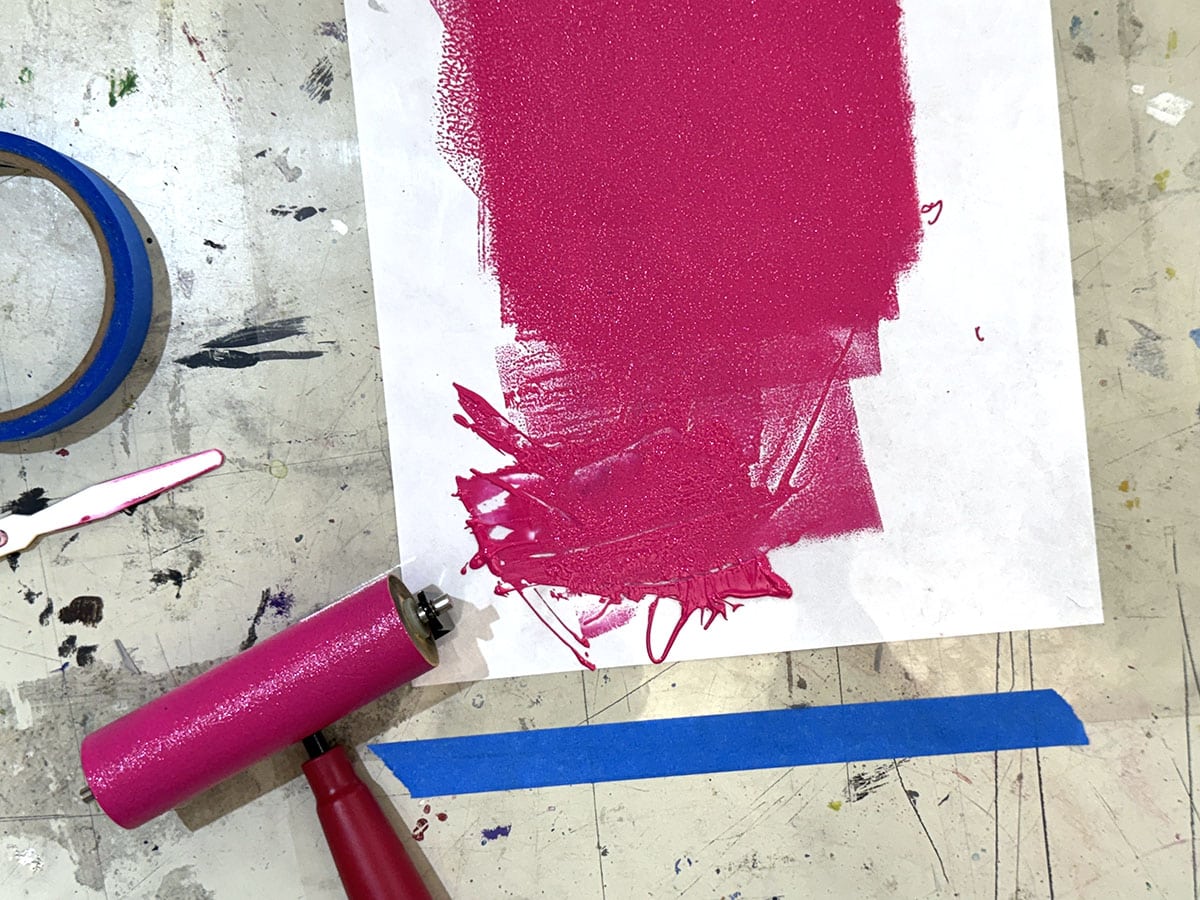
      Designate separate areas for drawing, carving, inking and printing, and drying to keep messes contained.
    • Use minimal ink.
      Show students how much they need and how to roll it out into a thin, even layer. You can even pre-portion ink into small cups so they don’t overuse and waste it.
    • Assign cleanup roles.
      Build ownership in the studio by putting students in charge of wiping tables, cleaning brayers, and organizing prints. This will free you up to supervise the class and the classroom as a whole.
    • Provide wipes and scrap paper.
      Baby wipes—store-bought or DIY—will be your best friend during printing to minimize the spread of ink! Use large scrap paper as “trays” or small scraps as “tweezers” to transport paper and prints without tiny fingerprints.
    • Grab a lot of newsprint.
      Order a bulk pack of newsprint or ask your local newspaper for scrap newsprint. Use this to blot prints to absorb excess ink. This reduces smudging and dry time.

    pink ink on paper and brayer

    Whether you’re new to printmaking or a seasoned expert, you can absolutely teach printmaking to your students! Printmaking may feel overwhelming, but it’s one of the most rewarding processes to teach. The key is to start simple so you will gain confidence and hook your students! From there, try some of the hacks and tips above to keep it budget-friendly and mess-free. Turn your most frequently asked questions about printmaking into your most frequently asked for art lesson!

    What’s your biggest classroom printmaking challenge that we can help with? 

    To chat about printmaking with other art teachers, join us in The Art of Ed Community!

    Magazine articles and podcasts are opinions of professional education contributors and do not necessarily represent the position of the Art of Education University (AOEU) or its academic offerings. Contributors use terms in the way they are most often talked about in the scope of their educational experiences.


    Source link

  • Unlock the Magic of Printmaking: Affordable Printing Press Solutions

    Unlock the Magic of Printmaking: Affordable Printing Press Solutions


    Who says you need a printing press to teach printmaking? Whether you’re working with a fully equipped studio or a handful of rolling pins, it’s time to introduce the magic of printmaking to your studentsA printing press—whether it’s a professional model, a DIY solution, or a clever alternative—can transform your students’ artistic experience and your lesson-planning creativity.

    Hear why you should add a printing press to your art studio and discover creative options for every budget!

    printing press in elementary art classroom
    Image courtesy of Kristy Gaunt House

    Why should I add a printing press to my art classroom?

    While many art teachers can effectively teach printmaking without a professional printing press, there are many benefits to having one in any grade-level art studio. A printing press isn’t just a fancy tool—it’s a game-changer. Take a look at Kristy Gaunt House’s elementary art room and how her students are able to whip out prints in 20 minutes!

    https://www.youtube.com/watch?v=iEjWQdpxVRs

    Here are five other benefits of having a printing press in your art room:

    1. Professional-Level Results
      A printing press applies even, consistent pressure, ensuring your students’ prints come out clear and polished.
    2. Playful Experimentation
      Along the same lines, a printing press provides even pressure with layering, textures, and advanced inking methods.
    3. Increased Print Production
      Having the right tools and equipment will speed up any artmaking process! Your students will be able to produce more prints, which helps with large classes and short periods.
    4. Career Preparation
      Introduce students to tools and techniques they may encounter in a professional print production environment.
    5. Cross-Curricular Goldmine
      Printmaking and learning about printing presses are a bridge to other subjects. Dive into the history of the Gutenberg press, explore the science of pressure and mechanics, play with mathematical patterns and measurements, and create visual storytelling through sequential prints.

    printing plate, print, baren, and wood spoon

    What are my printing press options for the classroom?

    No matter what your budget or space constraints are, there’s a press option for you and your students! Consider how you can provide future printmaking opportunities for your students. Explore grants and harness stakeholder relationships to bring an upgraded press to your studio—without putting a line item in your budget.

    Let’s take a look at four alternative printing presses:

    1. Tabletop Etching Press
      Compact and portable, these presses are perfect for classrooms with limited space. They handle small-scale projects like linoprints, monoprints, and drypoint etching. They are best for high school students ready for advanced techniques.
    2. Relief Printing Press
      Explicitly designed for block printing, these presses make linoprints, woodcuts, and collagraphs a breeze. They’re easy to use and require minimal setup. They’re best for any grade level to explore bold and expressive prints.
    3. Hand Crank Press
      Try a DIY press kit or build your own. These options provide hands-on learning opportunities with mechanical processes. This option is best for classrooms on a tight budget or with students curious about engineering.
    4. Screen Printing Press
      Ideal for textile art, a screen printing press lets students design and create shirts, posters, and more. It’s an exciting way to introduce layering, color mixing, and design thinking. They are best for secondary students interested in commercial and graphic design.

    student making a relief print with a baren

    What are creative alternatives that don’t involve a traditional press?

    If a printing press is still not in the cards, no worries! There are several hacks using tools you already have that simulate the effect of a press. Many art teachers create phenomenal prints with their students—and without fancy equipment.

    Here are six hacks to replace a printing press:

    1. Rolling Pins
      Clean the clay mud off your rolling pins and pull them out for your next printmaking unit. Roll over the back of your print for consistent pressure.
    2. Wooden Spoons
      The next time you’re at the thrift store, grab a bunch of large wooden spoons. Rub the back of your paper firmly with the bottom of your spoon for small-scale prints.
    3. Heavy Books
      Put those dusty textbooks back to use. Stack them over your inked plate and paper overnight for simple yet effective results.
    4. Hands
      The best artmaking tool is an artist’s hands! Apply pressure by rubbing with the palm of your hands as evenly as possible.
    5. Clean Brayer
      Use a clean brayer to roll over the back of your paper to catch the ink. Just be sure to clearly mark which brayers are for inking and which are for transferring.
    6. Barens
      These are circular tools with a handle, specifically designed to apply even pressure to transfer ink from the block to the paper.

    rolling pin and spoons

    Adding a printing press—or a creative alternative—will take your art room to new heights. Whether students are carving linoleum, experimenting with layers, or rolling ink onto foam, they’ll walk away with a greater understanding of printmaking and a massive sense of accomplishment. Search and apply for grants to purchase a professional-grade printing press to provide your students with an incredible printmaking experience! Try a smaller-scale model like a tabletop press or a DIY option to take your processes to the next level. Bring everyday materials to the table for your students to discover the joy of printmaking. Roll up your sleeves, print on, and press forward!

    For more printmaking resources, dive into the following:

    How can access to printmaking tools like a printing press inspire students to explore potential careers in the arts, design, or engineering?

    To chat about printmaking with other art teachers, join us in The Art of Ed Community!

    Magazine articles and podcasts are opinions of professional education contributors and do not necessarily represent the position of the Art of Education University (AOEU) or its academic offerings. Contributors use terms in the way they are most often talked about in the scope of their educational experiences.


    Source link

  • Printmaking Hacks to Transform Cleanup Into Part of the Creative Process

    Printmaking Hacks to Transform Cleanup Into Part of the Creative Process


    Printmaking is one of the most engaging art processes for students, but it can quickly turn your classroom into a disaster zone. Inky rollers, murky water, and sticky plates can make cleanup overwhelming. Plus, it can require alternative materials that may be new to your classroom. With smart and efficient strategies, you can keep your printmaking tools in top shape while teaching students responsibility.

    Gain time-saving hacks, space-saving solutions, and teacher-tested tricks to make printmaking in the classroom easier than ever!

    students printmaking

    Smart Flow Stations

    Instead of having materials scattered across the room, try stations. This helps students move through the printmaking process with more independence. Give a clearly defined purpose and provide anchor charts to remind students about the purpose, steps, and materials for each station. Try breaking your stations down into the following: Inking, Printing, Drying, and Cleaning.

    Here are common materials to include at each station:

    • Inking: Inks, brayers, palettes, wipes, and paper towels.
    • Printing: Printing press, barens, or large spoons, newsprint, printing paper, and scrap paper.
    • Drying: Tables, drying racks, or clothesline and pins.
    • Cleaning: Sponges, buckets, soap, wipes, paper towels, and drying cloths.

    Space-Saving Storage Hacks

    No matter how large or small your teaching space is, printmaking storage requires extra care. Supplies like brayers, printing plates, and rags can pile up fast. To avoid clutter, think in terms of visibility, accessibility, and vertical space.

    Explore these three creative storage ideas:

    1. Brayers
      Brayers are often bulky to store in containers. Glue magnets to the handle and attach them to magnetic strips, or if there are holes in the handle, use small nails or adhesive hooks to utilize wall space.
    2. Printing Plates
      Store a class’s printing plates in a large accordion folder or collect each table’s printing plates in labeled pizza boxes. Ask your local pizzeria for box donations! Plus, they are easy to stack and will keep the plates clean and organized.
    3. Rags
      Dry wet rags and cloths on a retractable clothesline. Once dry, store in an over-the-door shoe or pocket organizer.

    Budget Drying Racks

    Drying prints is one of the biggest space challenges in a classroom because students are often rapidly printing multiples. If you don’t have access to a traditional drying rack, you’ll need to get creative. Immediately hang wet prints up using a clothesline and clothespins. Ask local grocery stores or bakeries for donations of rolling baking racks to store prints on. Tape newspapers under tables or desks and gently place prints under the table. If you have absolutely no space, send prints home the same day. Protect damp ink with “print sandwiches” using newspaper and cardboard.

    drying rack with art

    Team Effort Cleanup

    Are you the last one in the room scrubbing brayers and wiping tables? Cleaning up after a printmaking lesson takes time, but it doesn’t have to all fall on you. Creating a job system gives students ownership and accountability over materials and teaches them to respect the tools they use. Make students feel “official” with fun laminated name tags that have their cleanup role on them!

    Try these fun cleanup roles:

    • Brayer Boss: Cleans and returns brayers.
    • Plate Patrol: Wipes down and stacks plates, palettes, and trays.
    • Ink Inspector: Checks for inky fingers before anyone leaves and distributes wipes accordingly.
    • Table Technician: Ensures all tables are clean and dry.
    • Paper Picker: Picks up and recycles all paper scraps.
    • Print Pro: Organizes drying racks or hanging prints.

    No Sink Printmaking

    It’s easy to stick with drawing if you don’t have sink access. However, with some water-saving tricks and a bit of planning, you can still bring the magic of printmaking to your students! The goal is to remove most of the ink before rinsing and to conserve water. Grab a bunch of cheap spray bottles and pre-fill them with clean and soapy water, and you’re ready to go!

    mini spray bottle

    Follow these easy steps to make cleanup without a sink a breeze:

    1. Cover tables with newsprint or disposable tablecloths and toss them at the end of the period.
    2. Roll off excess ink from the brayers onto scrap paper.
    3. Spray soapy water on the brayers and roll onto a damp sponge or rag.
    4. Wipe the brayers down with a dry cloth and store.
    5. Use paper plates for palettes and throw them away at the end of the period.
    6. Provide wet wipes or DIY ones to clean hands.
    7. Keep shop towels on hand for emergency cleanup!

    Leftover Ink Ideas

    Leftover ink doesn’t have to go straight into the trash. In fact, it can lead to some of the most creative moments in your printmaking unit. About 5-10 minutes before it’s time to clean up, walk around and see if you notice leftover ink. Turn this opportunity into a mini challenge to foster sustainability! Prompt students to create a print using only what’s left on the brayer and plate.

    Here are four ways to use leftover ink:

    1. Pull ghost prints from the same plate.
    2. Save roll-off sheets for future collage or layering.
    3. Play with color mixing and gradations.
    4. Experiment with textured scraps of paper.

    printing plate, ink jar, and brayer

    Printmaking is truly all about the creative process, so why not invite students to extend the experience into cleanup? When you provide students with structure and empower them with responsibility, cleanup will transform from a chore into part of the learning. The key to success is preparing your hacks ahead of time and ensuring all systems are in place with clear expectations before students crack the printing ink open. These small routines build lasting habits and teach students that caring for their creative space is just as important as creating within it.

    What printmaking hack would you add to the list above?

    How do you incorporate cleaning into part of your students’ artistic process?

    To chat about printmaking with other art teachers, join us in The Art of Ed Community!

    Magazine articles and podcasts are opinions of professional education contributors and do not necessarily represent the position of the Art of Education University (AOEU) or its academic offerings. Contributors use terms in the way they are most often talked about in the scope of their educational experiences.


    Source link