Printmaking is a powerful process in the art room. It offers students hands-on, engaging artmaking experiences and teaches creative problem-solving and experimentation. The many methods of printmaking make it accessible for all students, classrooms, and budgets. However, this is also what can make printmaking so intimidating! Art teachers just like you in The Art of Ed Community asked their burning printmaking questions and we’re here to deliver practical solutions.
Let’s answer your top five most frequently asked questions about printmaking in the K-12 art room!
1. “I’m not comfortable teaching printmaking. Where do I start?”
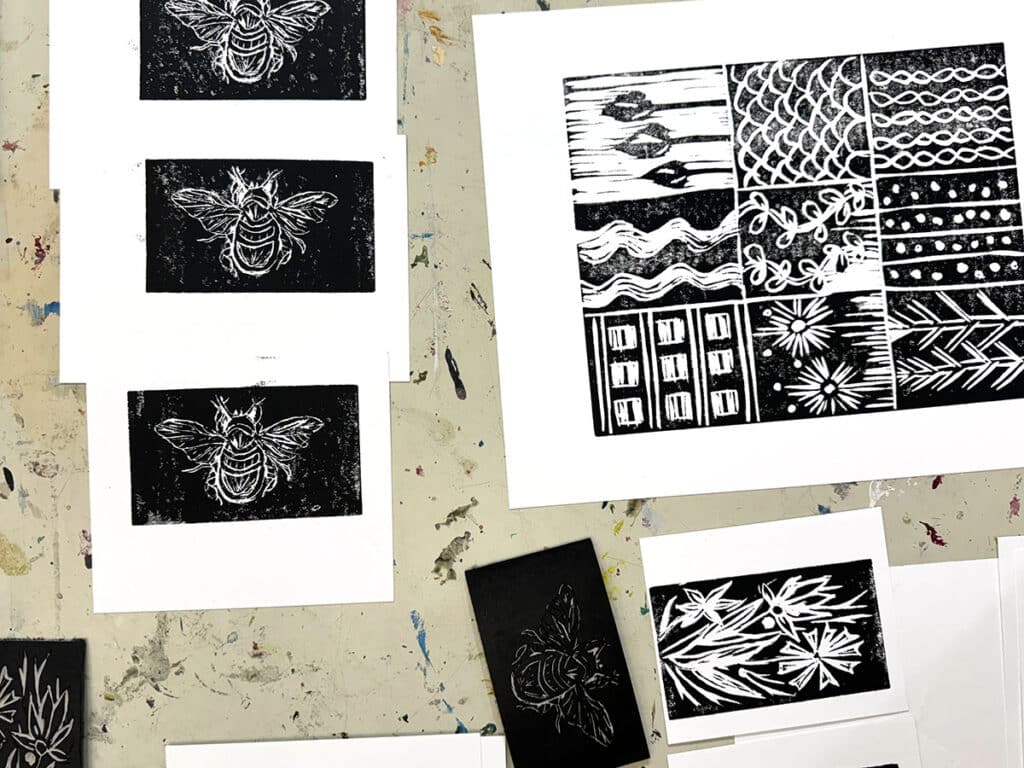
Printmaking can be an overwhelming medium—there are so many forms, lots of tools and equipment, and several stages in the printmaking process. It can feel like a lot to teach on top of classroom management, ideation, assessment, and more. The great news about printmaking is that there is a process for everyone at every comfort and skill level!
Start with simple techniques and processes like foam tray printing or stamping. These two methods are great entry points and are a good segue into block printing. They do not require any fancy printmaking tools and you probably already have the supplies you need in your closet. Boost your confidence by incorporating mediums you love! For example, if you love drawing, painting, or mixed media, try monoprinting or collagraphy.
Another tip is to experiment first. Try exploring foam tray printing or stamping on your own for fun. Then, host a laidback Art Night event at your home with friends or at school with colleagues to practice teaching a mini-lesson. This can help you troubleshoot any considerations before you bring it to your students.
Embrace imperfection! Printmaking is all about trial and error and the process. Don’t think you need to know everything about printmaking before diving in! Invite students into the creative process and show them how to learn from mistakes and discoveries.
2. “I studied printmaking, but I still avoid teaching it. Why?”
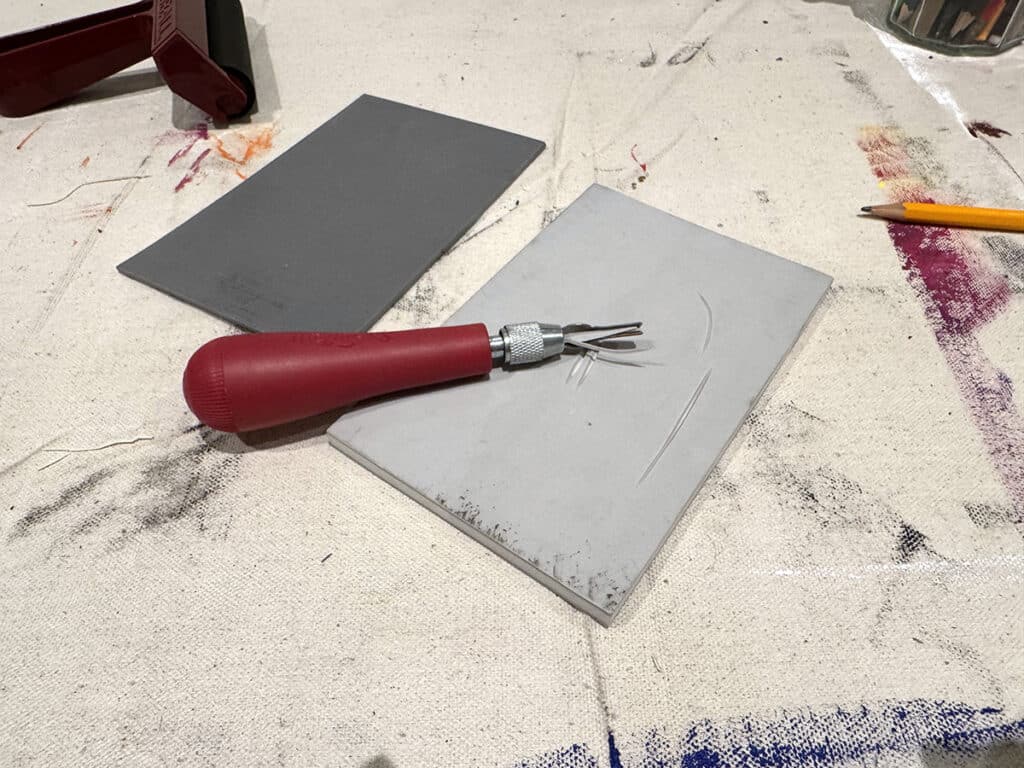
Even if you are comfortable with printmaking in your own artmaking, bringing it to students can be a whole different ball game. Printmaking can seem messy and intimidating if you have large classes and limited studio space. With a little intentional planning, printmaking can be a smooth process that is engaging for all of your students.
Just like you’d scaffold a difficult skill with your students, scaffold the lesson and process for your instruction. Break down the printmaking process into small steps. Teach each step as an individual lesson and move on when the class as a whole is ready. For example, spend one class sketching ideas and then the next carving. When you get to “Printing Day,” set up student-led stations with clear roles to reduce chaos. Let the first round of printmaking be an experiment to see how everything works before diving in again to make more fully realized and final prints.
Perhaps you love printmaking so much that you don’t know where to start because you want to bring every form to your students! This is a wonderful “problem” to have. Instead of overloading your students with every possibility, pick one very simple process and let your passion trickle down to your students. Once they’re hooked, you will be unstoppable together!
3. “How do I teach printmaking on a tight (or nonexistent) budget?”
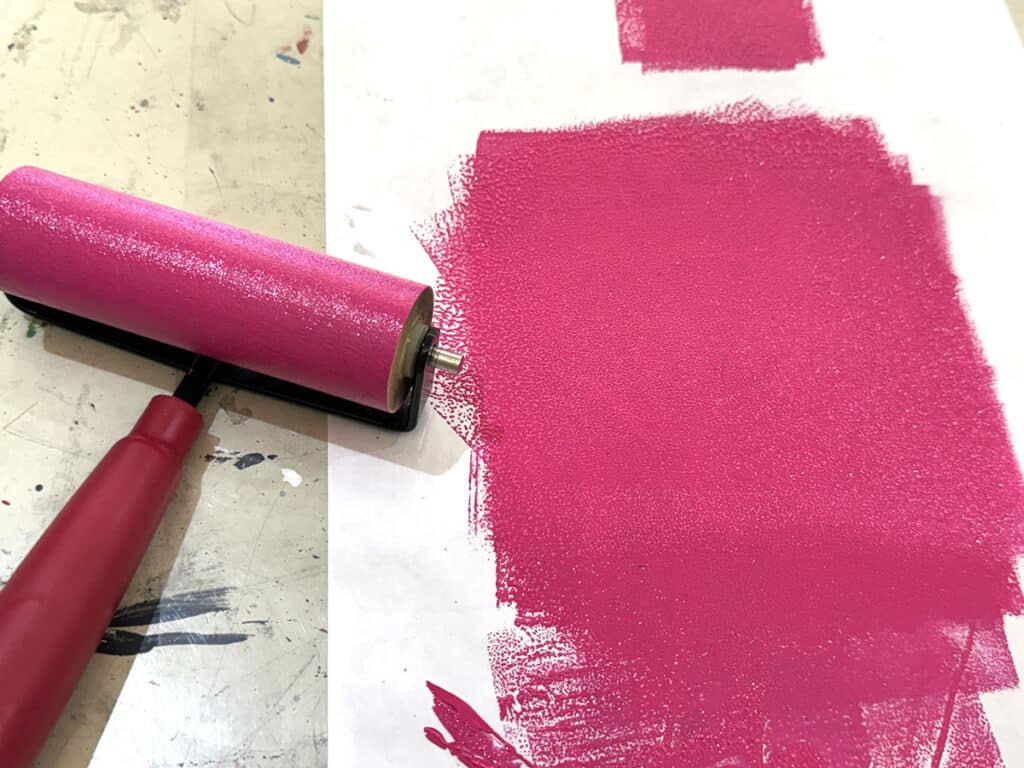
Certain types of printmaking can be on the pricier side and take up the bulk of your valuable art budget. For instance, lithography traditionally uses heavy blocks of limestone and requires a heavy-duty printing press with lots of studio space. Etching can also use expensive and toxic chemicals that aren’t school-friendly. However, there are many hacks and alternatives to make printmaking accessible to your students!
Here are some budget-friendly printmaking ideas perfect for the K-12 art room:

4. “I want to try block printing, but I’m worried about students cutting themselves!”
Prioritizing student safety is a part of having excellent classroom management in the art room. Many items used for carving or incising designs, like linoleum cutters or etching tools, are very sharp. Paired with the force and pressure required for carving and many students’ poor hand strength and coordination, you may have cause for concern. With proper instruction, supervision, and limits, you can execute a printmaking lesson with zero injuries!
Start by teaching students about the tools and equipment they will be using. Assume nothing and explain and show everything to ensure everyone is on the same page. Explain what each item is for and how to properly use it. Verbalize and demonstrate safe-cutting techniques, such as carrying sharps pointed toward the ground, cutting away from the body and helper hand, and using a bench hook or scrap board to stabilize the block. Do several exercise drills to get students in the habit of how to behave with, hold, and use these exciting tools!
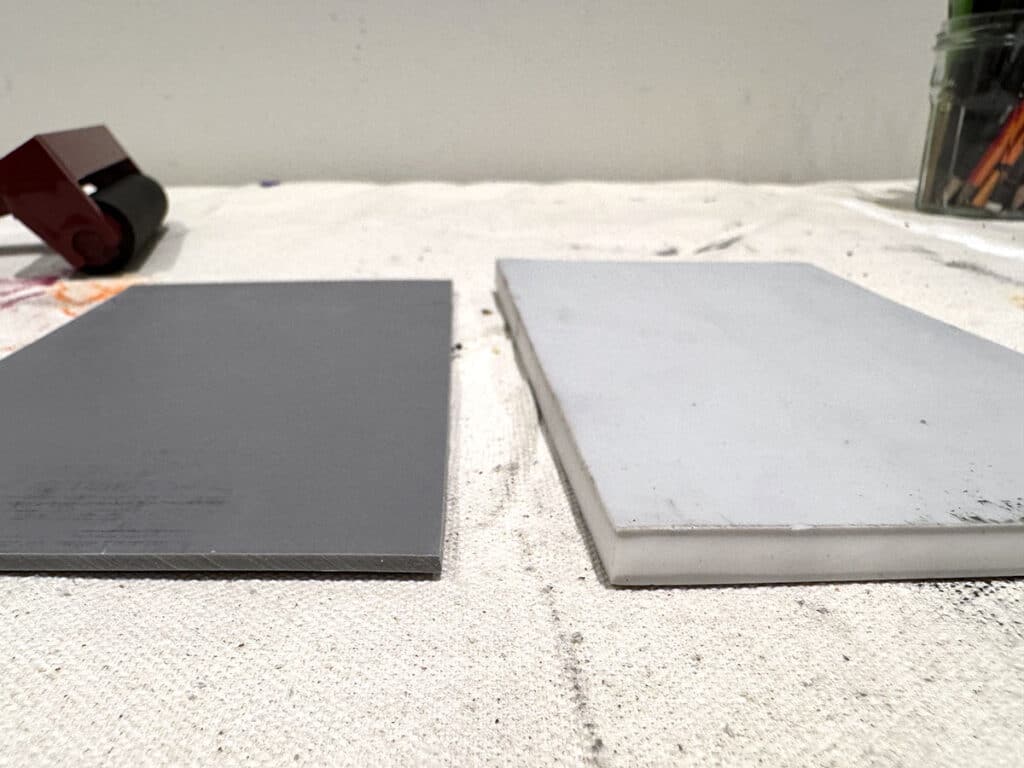
Another tip is to start with soft-cut materials, such as rubber blocks or foam, instead of traditional linoleum. These require less pressure to carve and often, duller tools. You can also practice the motions of carving with plastic tools and clay slabs before graduating to printmaking materials. These are all great alternatives for younger printmakers.
5. “How do I keep printmaking from becoming a total mess in my art room?”
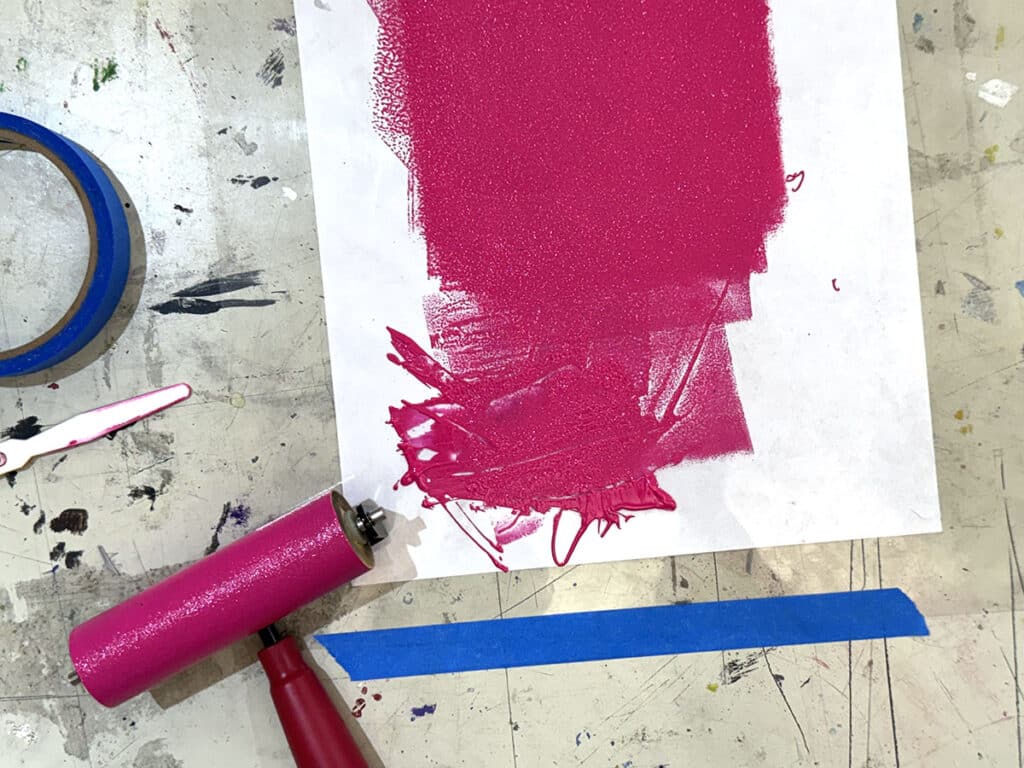
Art teachers spend hours and hours maintaining the art room. There are tons of materials, tools, and projects before adding printmaking to the mix. Plus, printing ink seems to multiply on hands, tables, clothes, and sometimes even the floor! In the chaos of a “Printing Day,” students may not follow cleanup instructions and leave the sink full of inky brayers. Avoid the mess and take a few simple steps to prepare for cleanup before class even starts.
Take a look at these quick steps to avoid the mess:
- Set up printmaking zones.
Designate separate areas for drawing, carving, inking and printing, and drying to keep messes contained. - Use minimal ink.
Show students how much they need and how to roll it out into a thin, even layer. You can even pre-portion ink into small cups so they don’t overuse and waste it. - Assign cleanup roles.
Build ownership in the studio by putting students in charge of wiping tables, cleaning brayers, and organizing prints. This will free you up to supervise the class and the classroom as a whole. - Provide wipes and scrap paper.
Baby wipes—store-bought or DIY—will be your best friend during printing to minimize the spread of ink! Use large scrap paper as “trays” or small scraps as “tweezers” to transport paper and prints without tiny fingerprints. - Grab a lot of newsprint.
Order a bulk pack of newsprint or ask your local newspaper for scrap newsprint. Use this to blot prints to absorb excess ink. This reduces smudging and dry time.
Whether you’re new to printmaking or a seasoned expert, you can absolutely teach printmaking to your students! Printmaking may feel overwhelming, but it’s one of the most rewarding processes to teach. The key is to start simple so you will gain confidence and hook your students! From there, try some of the hacks and tips above to keep it budget-friendly and mess-free. Turn your most frequently asked questions about printmaking into your most frequently asked for art lesson!
What’s your biggest classroom printmaking challenge that we can help with?
To chat about printmaking with other art teachers, join us in The Art of Ed Community!
Magazine articles and podcasts are opinions of professional education contributors and do not necessarily represent the position of the Art of Education University (AOEU) or its academic offerings. Contributors use terms in the way they are most often talked about in the scope of their educational experiences.
دیدگاهتان را بنویسید