برچسب: the

  • 3 Ways to Cultivate Successful Relationships with Paraprofessionals in the Art Room

    3 Ways to Cultivate Successful Relationships with Paraprofessionals in the Art Room


    If you have students with special needs in your art room, they may come to class with a paraprofessional, teacher assistant, or a “one-on-one.” Sometimes, it can be a little vague on what their role is and how to work together. However, when you welcome instructional assistants into your art room and cultivate a great working relationship with them, there are many benefits. Students with special needs will blossom, you’ll spark a love for art in the paraprofessional, and you will be more efficient at your job.

    Foster positive relationships with paraprofessionals in the art room with these three ideas and then, dive into some frequently asked questions.

    1. Make paraprofessionals feel important—because they are important!

    Paraprofessionals are often the experts on our students in special education. They are with these students for most of the day and can answer questions about their skill level, interests, or even behavioral triggers. Ask for input for both the “in the moment” problem solving and the long-term “getting to know” the student. They can have the missing puzzle piece if you’ve tried everything and nothing’s working… or, you want to take a shortcut and go straight to what’s worked before!

    Another way to make them feel valued and respected is to collaborate on the “fun art stuff” too. Talk to them about the neat things they or their student are doing. Be cognizant that you balance bringing up problems and commands with positivity and encouragement. One way to do this is a simple “thank you” at the end of each period. Acknowledge their effort with specific tasks (no matter how small!) to let them know you appreciate them showing up and being an active participant. Another way to show you are grateful is to provide coffee, water, or treats.
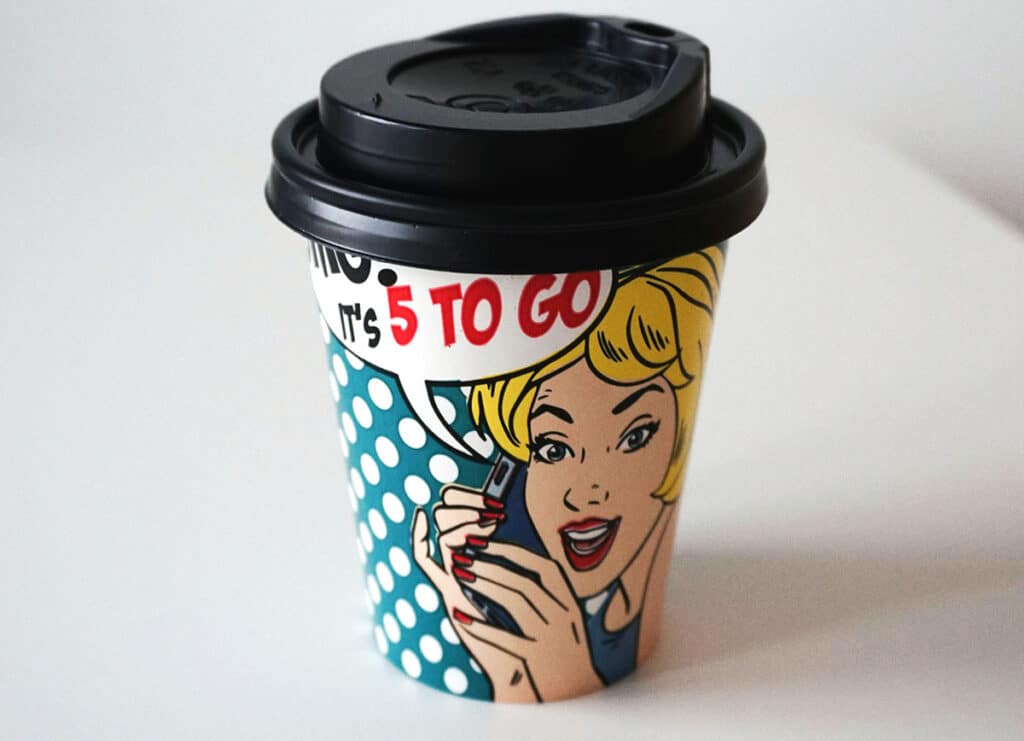
    coffee cup

    2. Help yourself by helping them.

    A lot of people are uncomfortable with art because they feel like they’re “bad at art.” This is evident in the familiar response, “I can’t even draw a stick figure!” Also, many paraprofessionals don’t want to “mess up” a student’s project. Remember these sentiments when building relationships with your paraprofessionals. Although they are adults there to provide support to students, they can also be an extra art student. When you equip them to be more comfortable in the art room, they will be a positive catalyst for your students.

    One simple way to mitigate anxiety is to communicate clear expectations for the whole year and for each class period. Tell them what the students will be doing for the day and what the paraprofessional’s expectations are during this time. Just as you would for a student, provide specific instructions in more than one format, and don’t assume they already know what to do.

    A quick way to provide expectations is to print out a simplified, bulleted, step-by-step list of each action item for the lesson. You can also print the whole lesson and highlight what the students need to accomplish on that particular day. It’s very helpful to have photos showing each step because sometimes a finished art project can be visually overwhelming. If you don’t have the time to compile step-by-step instructions with photos, check out FLEX Curriculum. FLEX is a standards-aligned curriculum that includes detailed step-by-step project instructions with photos and student-facing videos and resources.
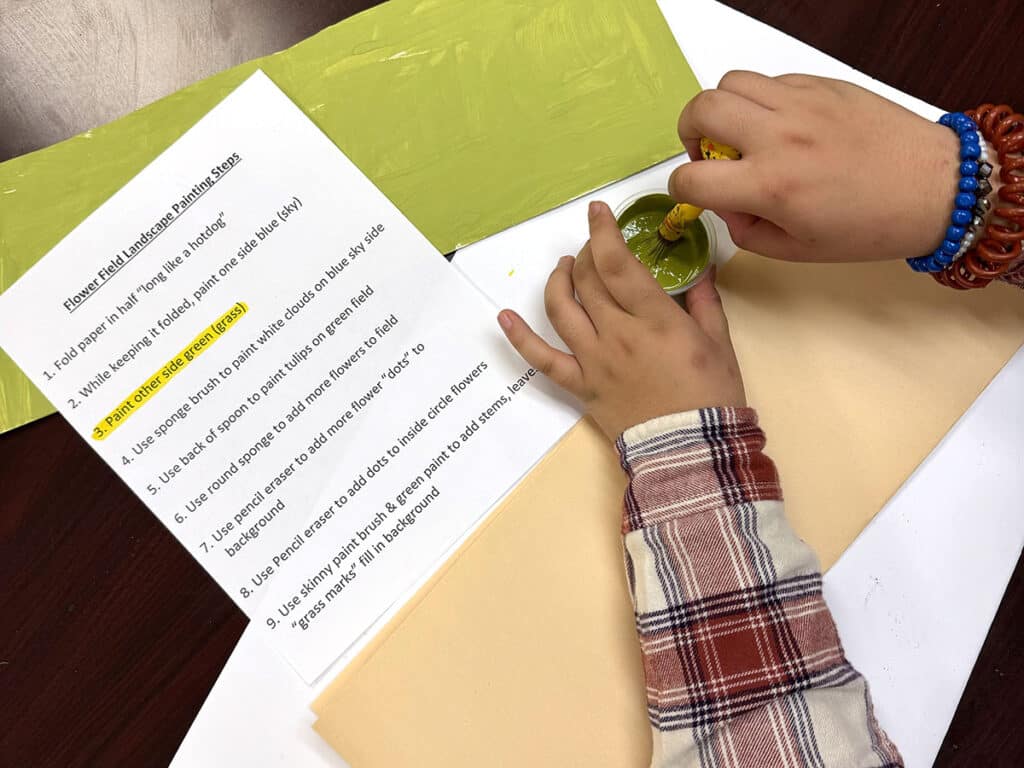
    step-by-step photos

    3. Give paraprofessionals their own art project.

    It can be wonderful when you have an eager and artistically-minded paraprofessional working with your students in the art room. However, sometimes they can be too eager to make art for the student. They are focused on having the project look “perfect” instead of indicative of the student’s true performance.

    One way to mitigate this is to preemptively leave out extra supplies and give the paraprofessionals permission to create their own piece of art next to their students. As long as the students are getting the attention and assistance they need, many paraprofessionals will appreciate the thought. They usually enjoy the opportunity to sneak in a little creative outlet during their day!

    If you’re short on supplies and worried about not having enough, many paraprofessionals can be invaluable support in helping you garner donations and recycled materials. Give them a list of what you’re looking for and chances are, they’ll work hard to collect boxes and bottles from other classrooms throughout the day. This creates many opportunities for them to feel like a contributing member of your classroom community!
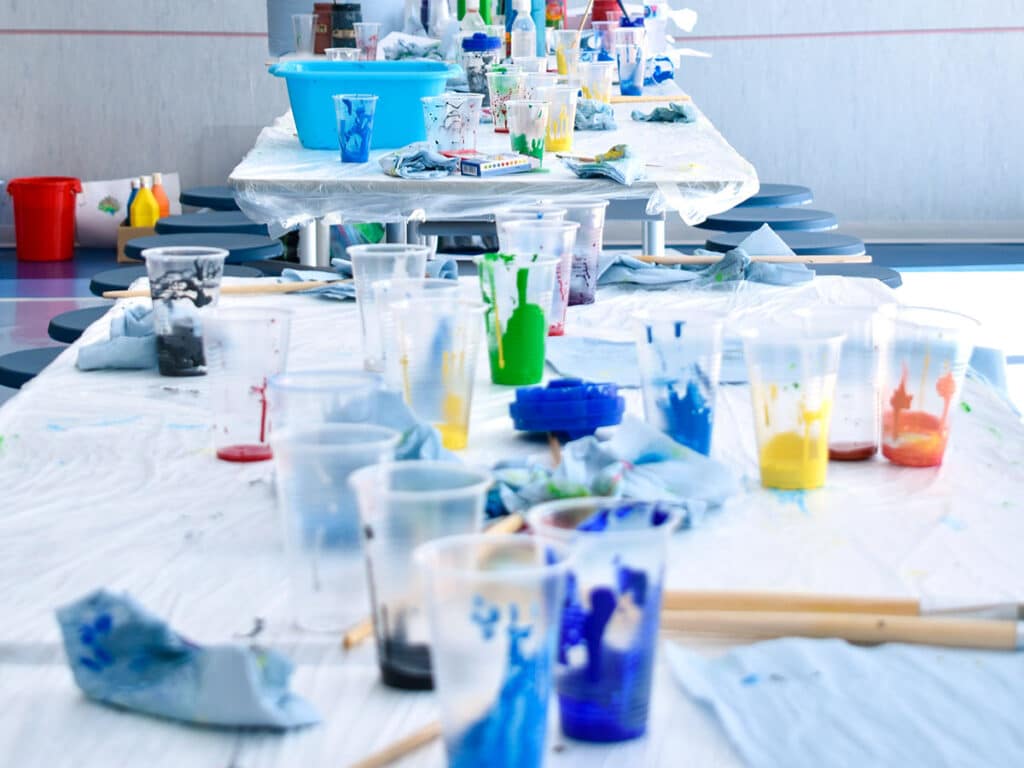
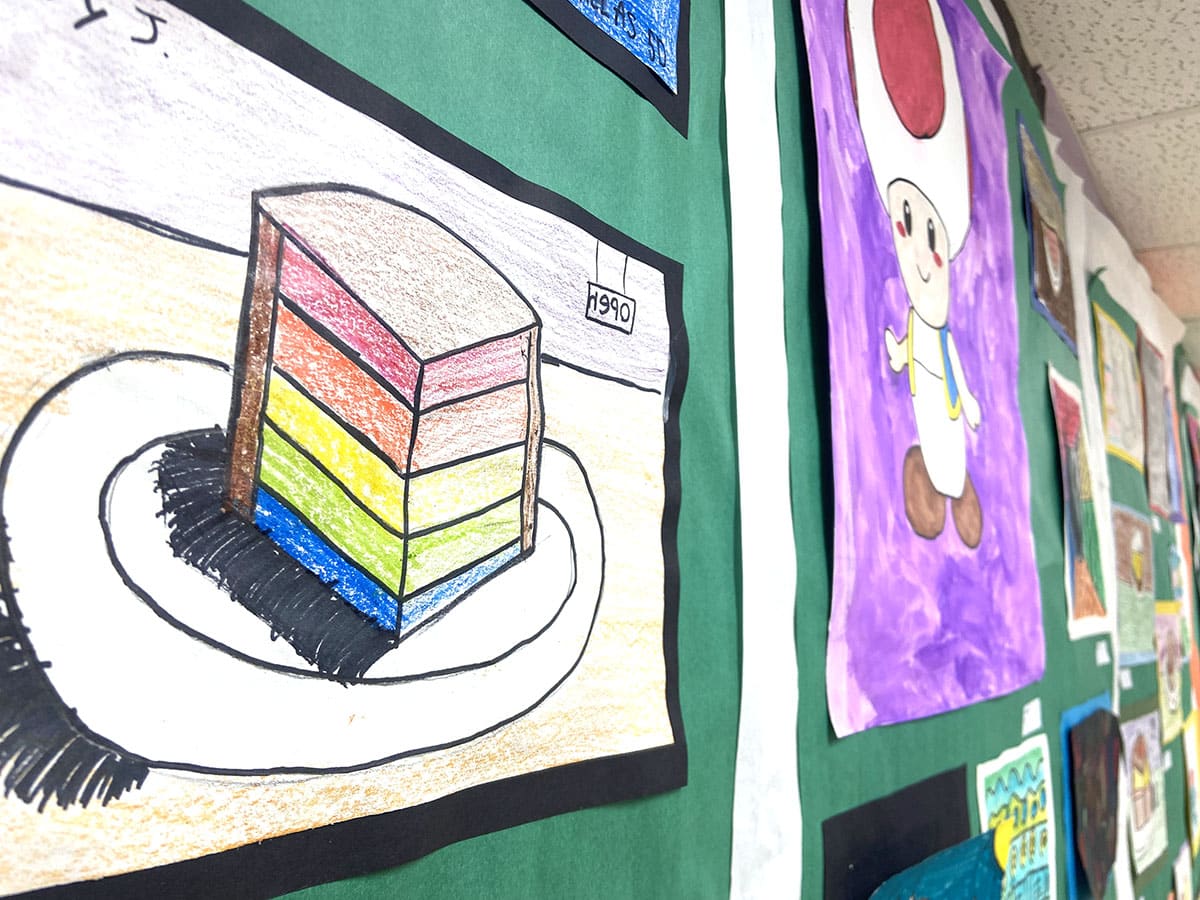
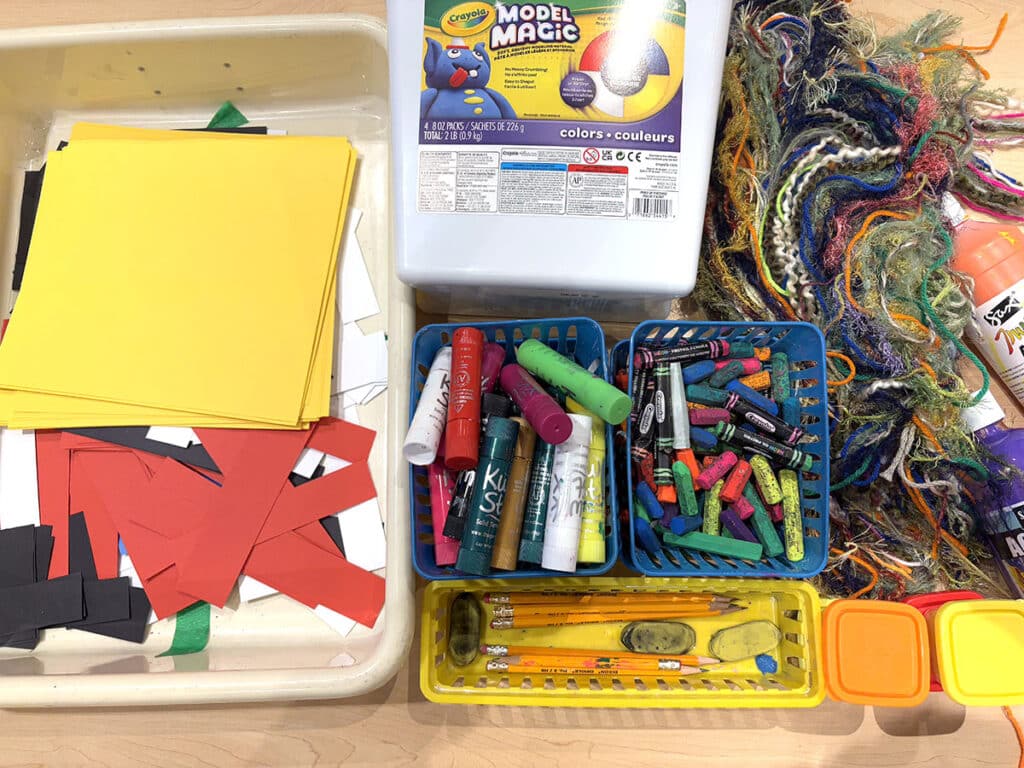
    art supplies

    Let’s answer your most frequently asked questions about paraprofessionals!

    What if a paraprofessional doesn’t show up?

    It can be frustrating when a designated instructional aid doesn’t show up for your art class with their students. If you have a good relationship with them, ask them about it the next time you see them. They may have had an emergency or didn’t think it was a big deal. It’s a great time to remind them of their importance in the art room and how vital they are to maintaining a smoothly run classroom.

    However, what if this happened multiple times already? Email the lead special education teacher to gather thoughts and ask for guidance. The lead teacher often has a solid relationship with them since they work closely all day. The email will also create a paper trail documenting their absences.

    What if the paraprofessional does too much or too little of their student’s art project?

    If the paraprofessional is doing too much of a student’s project, provide enough supplies so they can make their own. If they’re not helping enough, pull them aside before class to reset expectations. Show them examples of what you need them to do and give them a quick list of written instructions. An example of a reminder expectation can sound like, “I really value your extra set of hands and eyes. Please sit at the same table with students, phone-free so you can be readily available to assist.

    What if the paraprofessional frequently leaves or disappears?

    As aforementioned, pull the paraprofessional aside to reset expectations. Remind them that they are an integral and important member of your class and it can be disruptive for students if they don’t have a steady source of support. Your chat can sound like, “I noticed you stepped out the other day. I’d really appreciate it if you remained here during class. I really rely on the support you bring because you know [insert student’s name] the best.” If the behavior persists, email the lead special education teacher for advice and follow their guidance.

    Bonus Tip

    If you’ve already had a friendly chat to reset expectations and tried emailing the lead special education teacher, you can also seek out the guidelines used in the paraprofessional’s training. This can reiterate that you, the art teacher, aren’t the one “coming up with” the rules and that they are a part of the job requirements.

    Building positive relationships with paraprofessionals in the art room is essential for fostering a collaborative and supportive learning environment. Not only does it model these skills for your students but it streamlines instructional tasks, strengthens classroom management, and bolsters individualized student support. Plus, when teachers and assistants work harmoniously together, they boost each other’s morale. Make your art room a welcoming and appreciative spot for paraprofessionals with the tips above so they’ll look forward to your class and spread a vigor for art to your students!

    What’s one thing you do to make paraprofessionals feel welcome and included in your classroom?

    How do you navigate challenging situations with paraprofessionals in the art room?

    To continue the conversation, join us in The Art of Ed Community!

    Magazine articles and podcasts are opinions of professional education contributors and do not necessarily represent the position of the Art of Education University (AOEU) or its academic offerings. Contributors use terms in the way they are most often talked about in the scope of their educational experiences.
    Source link

  • The Top 5 FAQs About Printmaking in the Art Room

    The Top 5 FAQs About Printmaking in the Art Room


    Printmaking is a powerful process in the art room. It offers students hands-on, engaging artmaking experiences and teaches creative problem-solving and experimentation. The many methods of printmaking make it accessible for all students, classrooms, and budgets. However, this is also what can make printmaking so intimidating! Art teachers just like you in The Art of Ed Community asked their burning printmaking questions and we’re here to deliver practical solutions.

    Let’s answer your top five most frequently asked questions about printmaking in the K-12 art room!

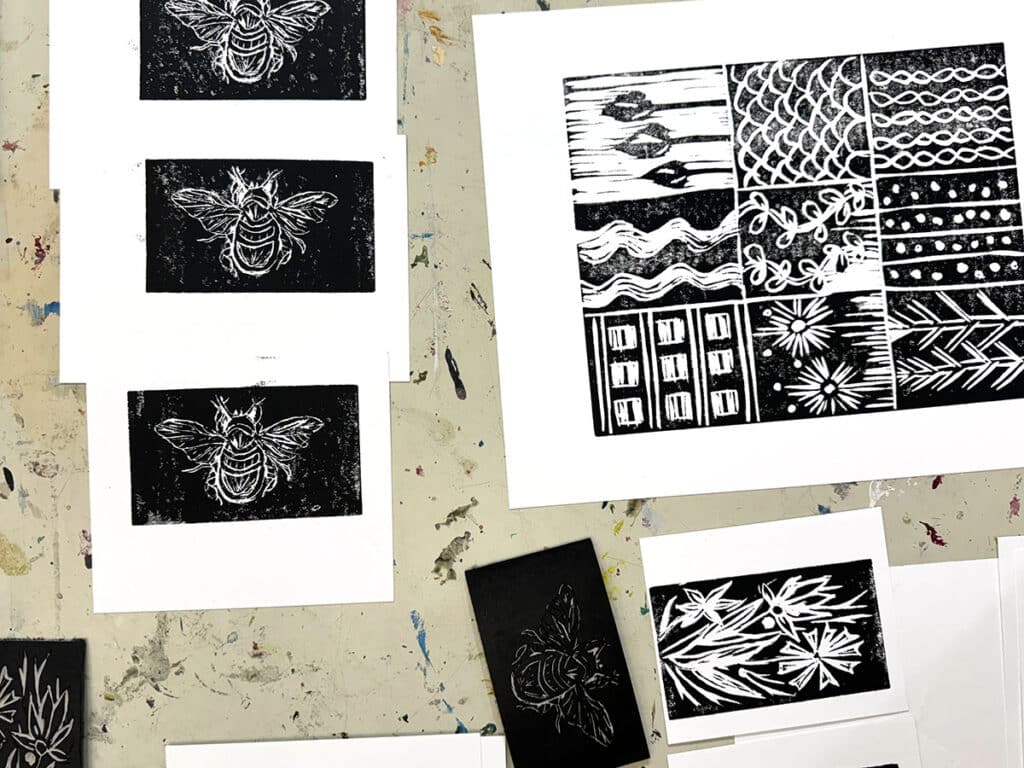
    spread of prints

    1. “I’m not comfortable teaching printmaking. Where do I start?”

    Printmaking can be an overwhelming medium—there are so many forms, lots of tools and equipment, and several stages in the printmaking process. It can feel like a lot to teach on top of classroom management, ideation, assessment, and more. The great news about printmaking is that there is a process for everyone at every comfort and skill level!

    Start with simple techniques and processes like foam tray printing or stamping. These two methods are great entry points and are a good segue into block printing. They do not require any fancy printmaking tools and you probably already have the supplies you need in your closet. Boost your confidence by incorporating mediums you love! For example, if you love drawing, painting, or mixed media, try monoprinting or collagraphy.

    Another tip is to experiment first. Try exploring foam tray printing or stamping on your own for fun. Then, host a laidback Art Night event at your home with friends or at school with colleagues to practice teaching a mini-lesson. This can help you troubleshoot any considerations before you bring it to your students.

    Embrace imperfection! Printmaking is all about trial and error and the process. Don’t think you need to know everything about printmaking before diving in! Invite students into the creative process and show them how to learn from mistakes and discoveries.

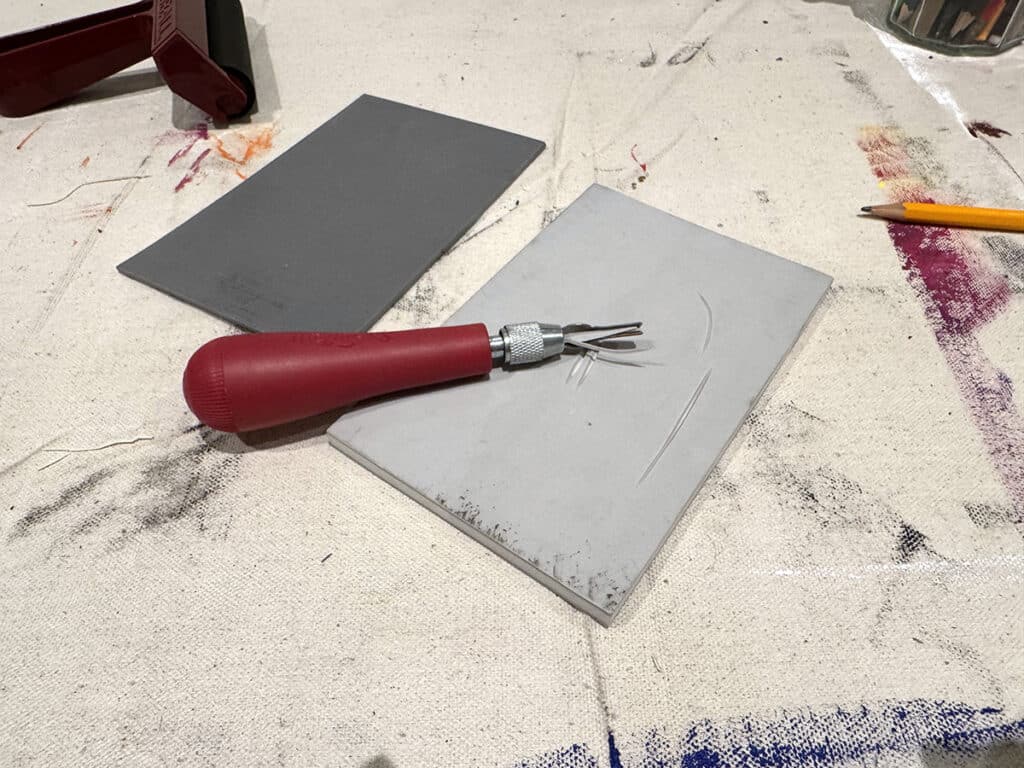
    linocut plate and carving tool

    2. “I studied printmaking, but I still avoid teaching it. Why?”

    Even if you are comfortable with printmaking in your own artmaking, bringing it to students can be a whole different ball game. Printmaking can seem messy and intimidating if you have large classes and limited studio space. With a little intentional planning, printmaking can be a smooth process that is engaging for all of your students.

    Just like you’d scaffold a difficult skill with your students, scaffold the lesson and process for your instruction. Break down the printmaking process into small steps. Teach each step as an individual lesson and move on when the class as a whole is ready. For example, spend one class sketching ideas and then the next carving. When you get to “Printing Day,” set up student-led stations with clear roles to reduce chaos. Let the first round of printmaking be an experiment to see how everything works before diving in again to make more fully realized and final prints.

    Perhaps you love printmaking so much that you don’t know where to start because you want to bring every form to your students! This is a wonderful “problem” to have. Instead of overloading your students with every possibility, pick one very simple process and let your passion trickle down to your students. Once they’re hooked, you will be unstoppable together!

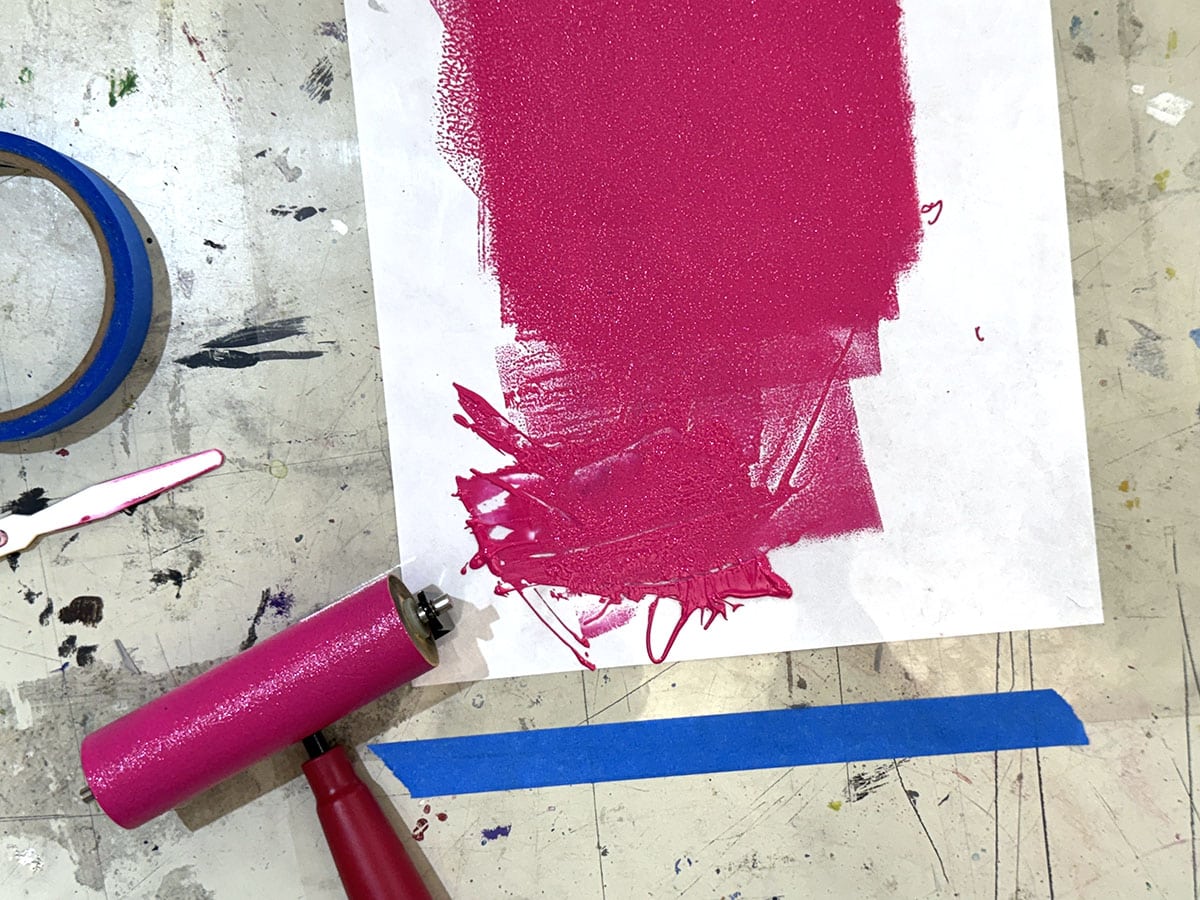
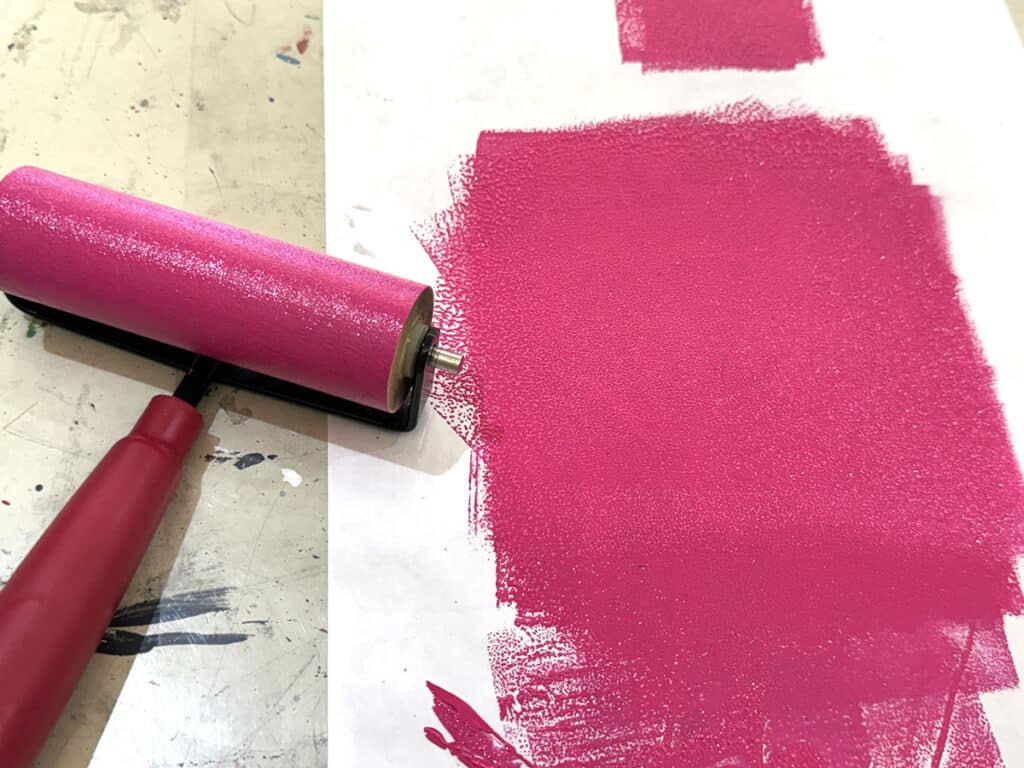
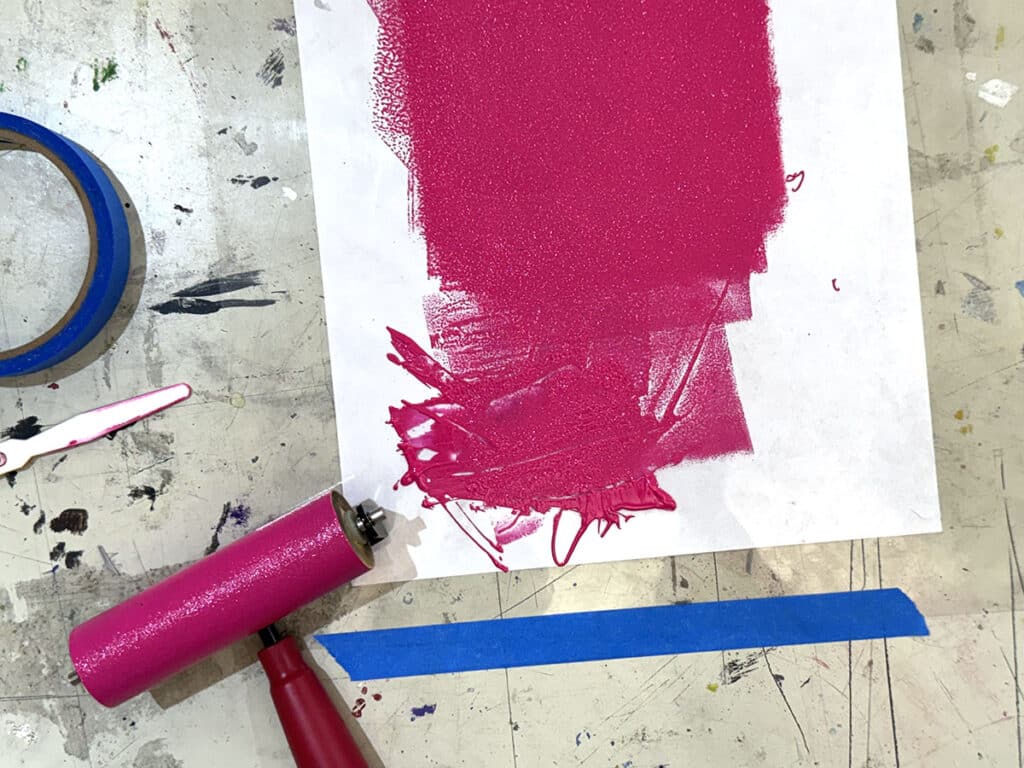
    pink ink on paper and brayer

    3. “How do I teach printmaking on a tight (or nonexistent) budget?”

    Certain types of printmaking can be on the pricier side and take up the bulk of your valuable art budget. For instance, lithography traditionally uses heavy blocks of limestone and requires a heavy-duty printing press with lots of studio space. Etching can also use expensive and toxic chemicals that aren’t school-friendly. However, there are many hacks and alternatives to make printmaking accessible to your students!

    Here are some budget-friendly printmaking ideas perfect for the K-12 art room:

    carved plate with black ink

    4. “I want to try block printing, but I’m worried about students cutting themselves!”

    Prioritizing student safety is a part of having excellent classroom management in the art room. Many items used for carving or incising designs, like linoleum cutters or etching tools, are very sharp. Paired with the force and pressure required for carving and many students’ poor hand strength and coordination, you may have cause for concern. With proper instruction, supervision, and limits, you can execute a printmaking lesson with zero injuries!

    Start by teaching students about the tools and equipment they will be using. Assume nothing and explain and show everything to ensure everyone is on the same page. Explain what each item is for and how to properly use it. Verbalize and demonstrate safe-cutting techniques, such as carrying sharps pointed toward the ground, cutting away from the body and helper hand, and using a bench hook or scrap board to stabilize the block. Do several exercise drills to get students in the habit of how to behave with, hold, and use these exciting tools!

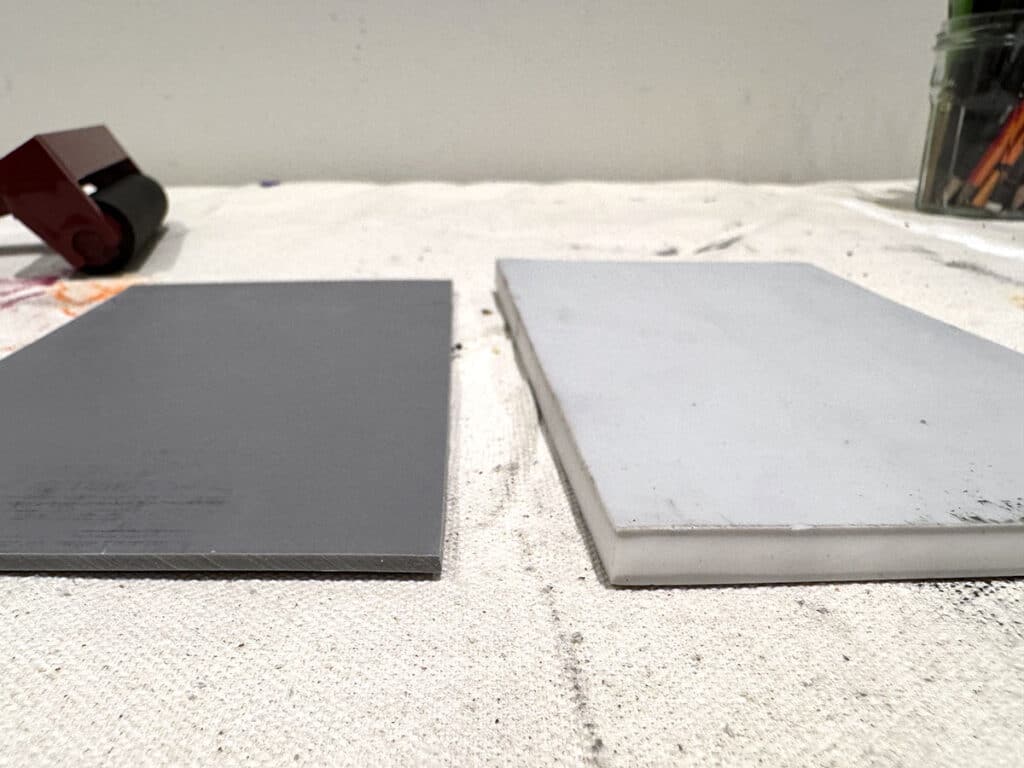
    Another tip is to start with soft-cut materials, such as rubber blocks or foam, instead of traditional linoleum. These require less pressure to carve and often, duller tools. You can also practice the motions of carving with plastic tools and clay slabs before graduating to printmaking materials. These are all great alternatives for younger printmakers.

    two types of printing plates

    5. “How do I keep printmaking from becoming a total mess in my art room?”

    Art teachers spend hours and hours maintaining the art room. There are tons of materials, tools, and projects before adding printmaking to the mix. Plus, printing ink seems to multiply on hands, tables, clothes, and sometimes even the floor! In the chaos of a “Printing Day,” students may not follow cleanup instructions and leave the sink full of inky brayers. Avoid the mess and take a few simple steps to prepare for cleanup before class even starts.

    Take a look at these quick steps to avoid the mess:

    • Set up printmaking zones.
      Designate separate areas for drawing, carving, inking and printing, and drying to keep messes contained.
    • Use minimal ink.
      Show students how much they need and how to roll it out into a thin, even layer. You can even pre-portion ink into small cups so they don’t overuse and waste it.
    • Assign cleanup roles.
      Build ownership in the studio by putting students in charge of wiping tables, cleaning brayers, and organizing prints. This will free you up to supervise the class and the classroom as a whole.
    • Provide wipes and scrap paper.
      Baby wipes—store-bought or DIY—will be your best friend during printing to minimize the spread of ink! Use large scrap paper as “trays” or small scraps as “tweezers” to transport paper and prints without tiny fingerprints.
    • Grab a lot of newsprint.
      Order a bulk pack of newsprint or ask your local newspaper for scrap newsprint. Use this to blot prints to absorb excess ink. This reduces smudging and dry time.

    pink ink on paper and brayer

    Whether you’re new to printmaking or a seasoned expert, you can absolutely teach printmaking to your students! Printmaking may feel overwhelming, but it’s one of the most rewarding processes to teach. The key is to start simple so you will gain confidence and hook your students! From there, try some of the hacks and tips above to keep it budget-friendly and mess-free. Turn your most frequently asked questions about printmaking into your most frequently asked for art lesson!

    What’s your biggest classroom printmaking challenge that we can help with? 

    To chat about printmaking with other art teachers, join us in The Art of Ed Community!

    Magazine articles and podcasts are opinions of professional education contributors and do not necessarily represent the position of the Art of Education University (AOEU) or its academic offerings. Contributors use terms in the way they are most often talked about in the scope of their educational experiences.


    Source link

  • Think Outside of the School: 9 Unique Art Show Locations

    Think Outside of the School: 9 Unique Art Show Locations


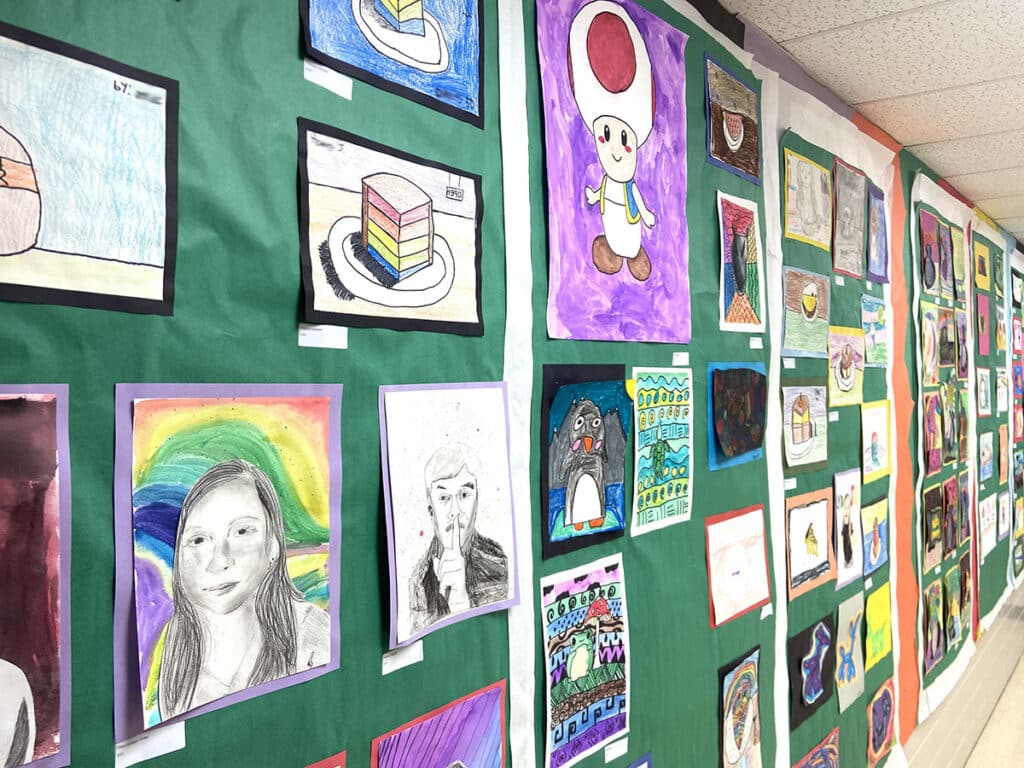
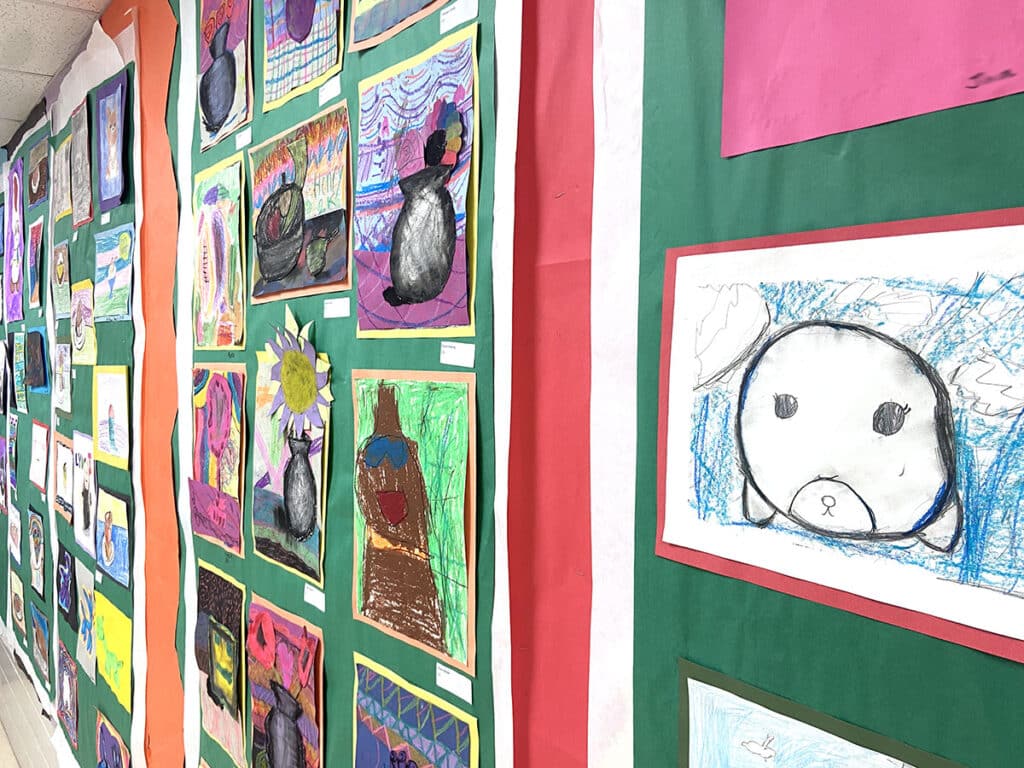
    Choosing a unique art show venue outside of your school creates a novel and exciting experience for your young artists. It also expands the audience for your students’ work and exposes your program to a wider segment of the community, including potential supporters and stakeholders. Partnering with community organizations and having your art show outside of your school makes the culmination of all of their hard work special and makes your students feel like professional artists. 

    art show display

    Reap the benefits of hosting your art show at a fresh location in the community!

    Hosting your art show in the halls of your school is usually the easier option. However, stepping outside of your school campus bubble can truly benefit your students and your art program. Aside from the positives listed above, hosting your art show at a community venue brings other people to help hang and take down your show. The business or organization will likely also promote your show. For families and students, it connects the visual arts with tangible careers in the community. Let’s take a look at nine unique locations to consider for your next art show!

    1. District Administration Building

    Place student artwork directly in the path of district decision-makers. Those with the power to influence budgets and approve new courses will experience the impact of your art program firsthand. This daily exposure to the creativity and skills fostered in your classroom can powerfully advocate for the value of art education.

    2. City Hall

    Showcase your students’ artwork in your local government building so the broader community will see the importance of your art program. Students will take pride in having their work displayed in a prestigious location. A gallery night will allow families and students to personally meet their city’s officials.

    3. Local Park

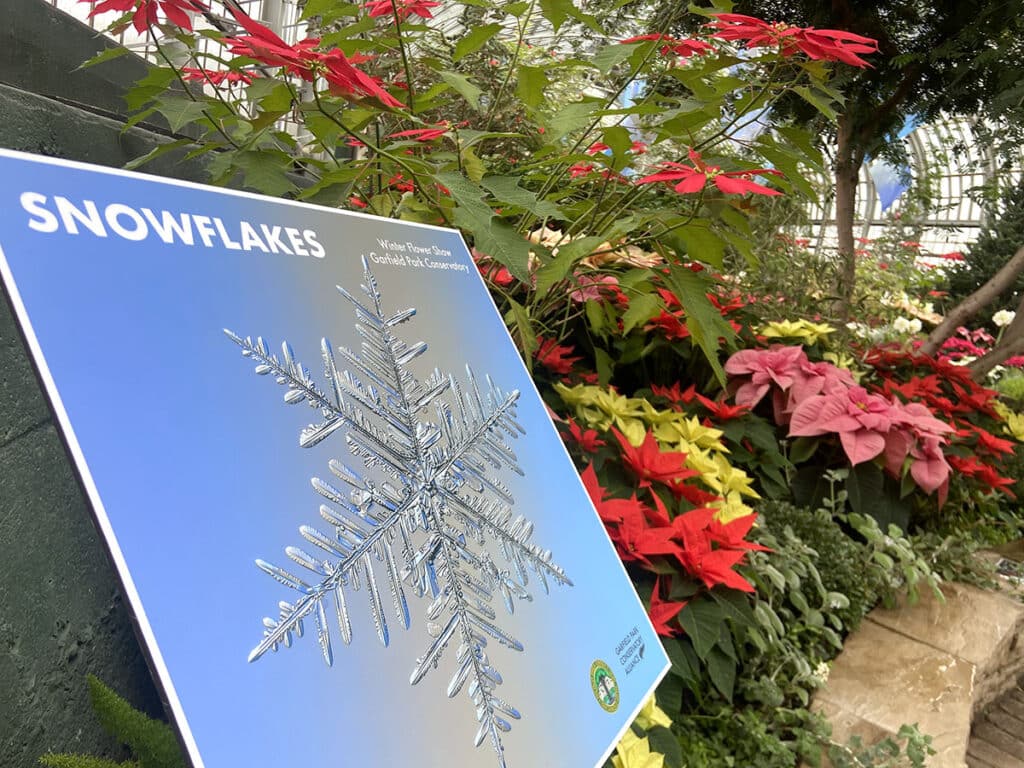
    Hold your art show amidst nature’s beauty in a local park. The Impressionists loved creating en plein air but outdoor spaces can be wonderful for viewing art as well. Take advantage of natural light to enhance the artwork. Families will enjoy the relaxed, outdoor setting, and the open space allows for larger crowds.

    conservatory

    4. Community Art League

    Many art leagues have a dedicated gallery space. Your students will benefit from professional hanging systems and lighting. This collaboration connects your school and students with experienced artists. Nothing motivates students to up their game like telling them accomplished artists will be examining their work!

    5. Community College

    Hosting your art show at the community college exposes them to a post-secondary environment. Many community college art departments have a small gallery space but there are usually plenty of other larger lobby spaces available too. Nearby classrooms or studio spaces work perfectly for workshops, demonstrations, or blacklight galleriesAs students see their best work hanging prominently in an institution of higher learning, they will naturally envision themselves continuing their education and thriving in college.

    6. Library

    Literacy isn’t just for Language Arts! Visual arts is all about visual literacy and a partnership with your local library is a natural connection. After all, every great art room has a library, and your local library should have a space for student art. The library offers a quiet, studious environment that encourages close examination of artwork. This public space attracts a diverse crowd with lots of community events, ensuring a steady flow of visitors. Libraries also do a really good job of advertising their events, guaranteeing built-in publicity for your students.

    7. Historic Buildings

    Choose a historic building or site for a truly unique backdrop. This adds a sense of grandeur and importance to the student artwork. Many buildings rent out their space and property on weekends for events such as weddings. However, they are often available during the week. 

    8. Local Museum

    Partnering with a local museum elevates your art show to a professional level. This venue provides top-notch display facilities and climate control to protect the artwork. This location lends credibility and prestige to your students’ work. Think outside of the box and reach out to any type of museum—not just an art museum! The type of museum you partner with can also dictate your art show theme.

    9. Feeder Schools

    Vertical alignment and partnerships across grade levels can be tremendously beneficial for everyone. When older students show their work in an elementary or middle school, the younger students see quality work that they will want to make one day. The older students will feel a surge of pride as they showcase their work in their old stomping grounds. When you display elementary artwork at the high school, it lightens the mood and can help older students remember the earnest joy of creating. This builds a stronger art program across the district and shows students that art is a lifelong journey. 

    art show display

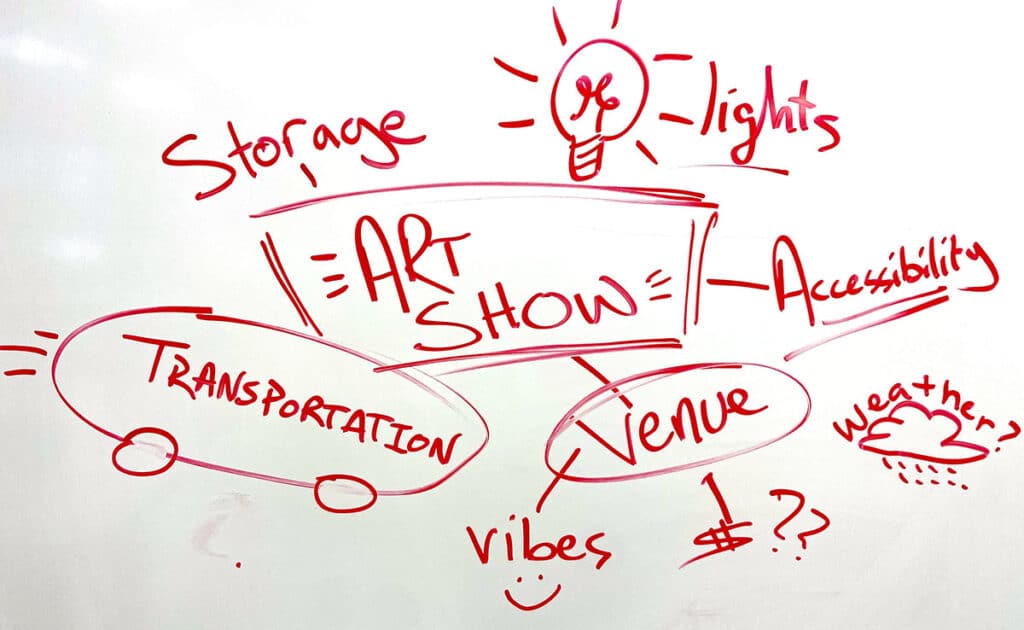
    Stay focused on practical art show considerations.

    Choosing an unconventional venue for your art show is exciting, but demands careful planning. Fortunately, there are many people, often who work at the location you are partnering with, who are more than willing to help you plan and execute!

    Here are some things to consider as you choose and plan your venue:

    • Is the location accessible to all of your guests?
    • For outdoor locations, do you have an inclement weather plan?
    • Do you have access to restrooms and ample parking?
    • Do you have clear signage to find the event?
    • Are you allowed to offer refreshments in the space?
    • What are the associated costs, including furniture rentals, refreshments, prizes, and transportation?
    • How far in advance can you set up, and how much time do you have for takedown?
    • How will you safely transport, display, and light the artwork?

    art show brainstorming

    Let your community help you with your art show.

    Putting together an epic art show seems overwhelming. It is okay to ask for help and advice from colleagues. The Art of Ed Community is a tremendous resource with immeasurable collective wisdom. Delegate as many tasks as possible to your Art Club, students, colleagues, and friends. Get a peek behind the scenes of how Sarah Krajewski and Jenn Russell put on their art shows. Gain their best Art Show Secrets to help you put on your best art show yet! 

    https://www.youtube.com/watch?v=NPHW2zteeSQ

    Turning your unconventional art show vision into reality requires a bit more consideration and planning. However, the benefits are always worth it! Hosting your art show off-campus increases the visibility of your students’ artwork, your art program, and the value of art education as a whole. Look into partnering with a historic site, your city hall, the local library, or a feeder school to curate a truly memorable and impactful art show experience for families, students, administrators, and other community members.

    Tell us! Have you ever hosted an art show outside of your school?

    What is your dream location for your art show?

    To chat about art shows with other art teachers, join us in The Art of Ed Community!

    Magazine articles and podcasts are opinions of professional education contributors and do not necessarily represent the position of the Art of Education University (AOEU) or its academic offerings. Contributors use terms in the way they are most often talked about in the scope of their educational experiences.


    Source link

  • Stories From The Storm | Melissa Weiss

    Stories From The Storm | Melissa Weiss


    Melissa Weiss | Episode 1079

    Today we are talking with Melissa Weiss. She has been on The Potters Cast twice before- Melissa’s second appearance was in episode 624 in which we talked about her book she had just released, and  her first was in episode 183 where we got to hear her story of setting up a community studio. In today’s episode we now hear her story of going through the hurricane, Helene through which she lost her studio. In the picture below you will see a photo from her Instagram feed  where you can see the roof of her studio circled in red and the waters completely engulfing the building.

    SPONSORS

    Image result for Patreon logo  You can help support the show!

    Skutt Logo


    Number 1 brand in America for a reason. Skutt.com


    Georgies Logo


    For all your ceramic needs go to Georgies.com


    Mudtools Products - Stone Leaf Pottery Tools you find indispensable. Mudtools.com

    Book

    Hand Built by Melissa Weiss 

    Contact

    melissaweisspottery.com

    Instagram: @melissaweisspottery


    Source link

  • The Ultimate Guide to Simplify Your Art Space for Creative Bliss

    The Ultimate Guide to Simplify Your Art Space for Creative Bliss


    We’ve all been there—scrolling through endless art supplies and freebie groups to add another “must-have” item to our wishlist. We think that if we have that one material, everything will run smoother, students will be magically engaged, and the projects will practically teach themselves. But as the wishlists grow, so do the piles of supplies in our classrooms. It’s time to hit the pause button, simplify your art space, regain control of your classroom, and encourage creative bliss!

    Embrace the “less is more” mentality to foster a welcoming art room. 

    Japan has a long tradition of tidying up as a path to clarity and balance. Hideko Yamashita, the creator of Danshari, teaches the art of releasing what no longer serves us to create space for what truly matters. Following this tradition, Marie Kondo’s The Life-Changing Magic of Tidying Up popularized the idea that less can be liberating, sparking joy and order in our lives.

    These philosophies invite us to take a fresh look at our art rooms. Sometimes too much art clutter and chaos can make it harder for everyone to focus and fully explore ideas. What if simplifying our spaces ignited more creativity, focus, and joy for teachers and students alike?

    This doesn’t mean losing the magic of art—it means curating your space with intention to amplify its purpose. Research shows that decluttering your environment can unlock greater innovation and engagement. Simplify your art space to foster calm and imaginative thinking and free up time and energy to focus on what truly matters—teaching and creating.

    labeled containers of art supplies

    Simplify your art space with these six manageable steps!

    1. Divide your classroom into zones.

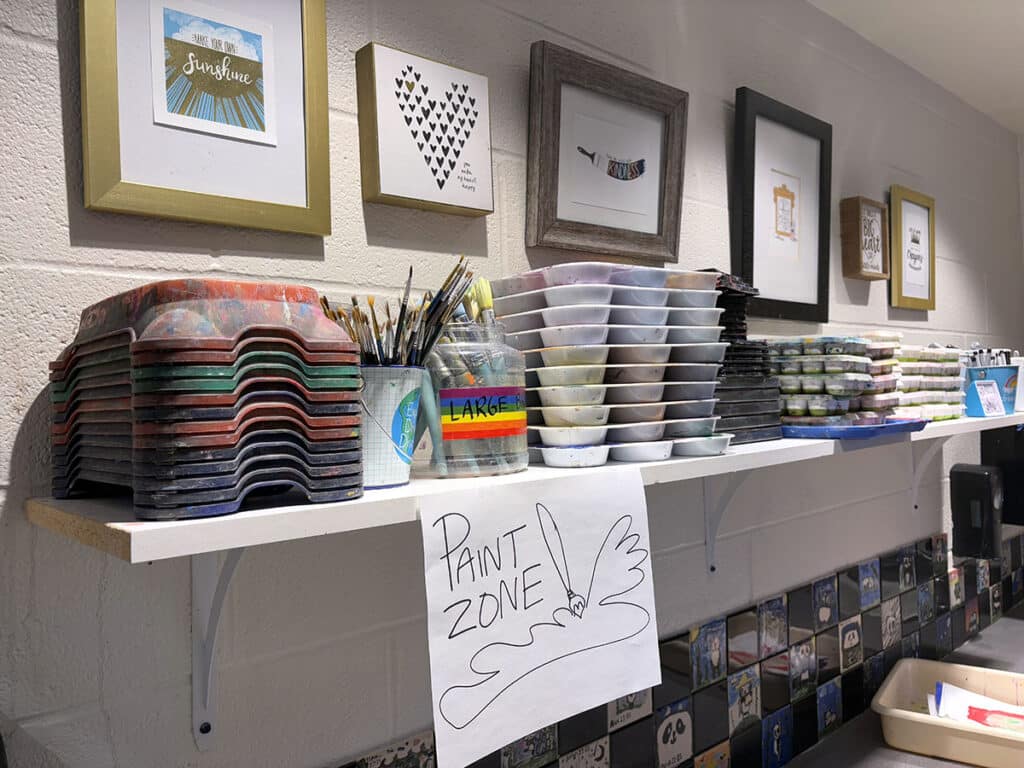
    Start by thinking of your space as a collection of zones. Each zone can represent a type of artmaking or media, such as painting, drawing, or sculpture. Dividing your room into zones helps you focus on simplifying one area at a time, making the process more manageable. This division doesn’t have to involve physically relocating materials; it can be a mental assessment of each area.

    paint zone

    Here are three examples of common art room zones:

    1. Painting Zone
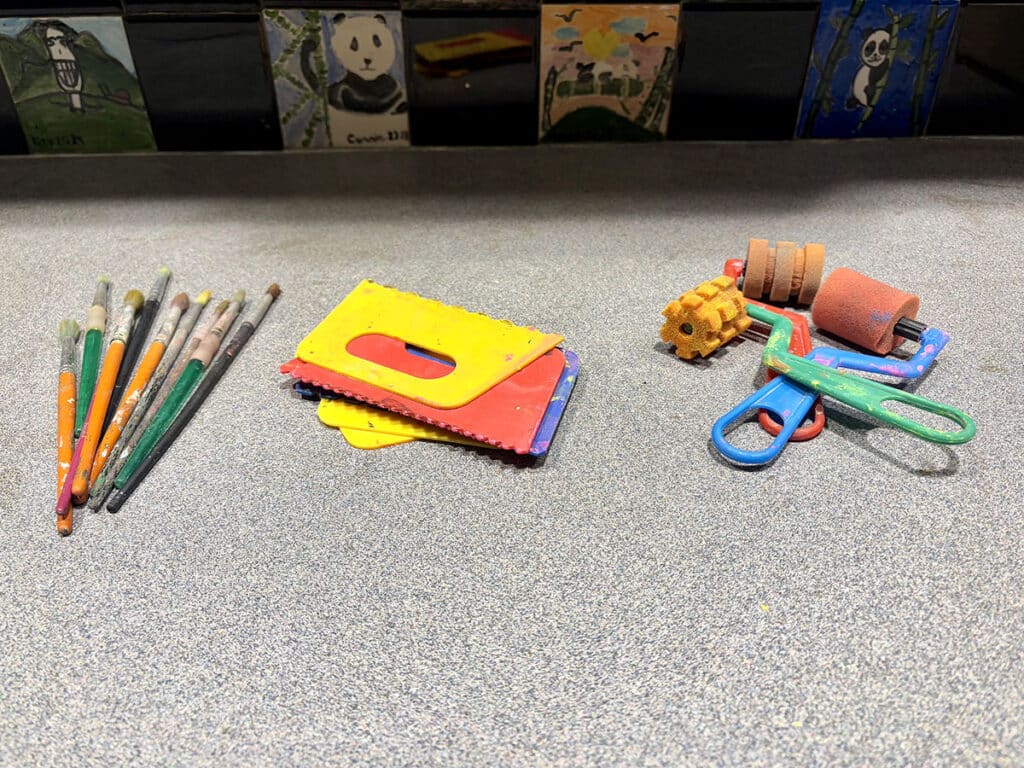
      Brushes, paints, and palettes.
    2. Drawing Zone
      Pencils, markers, erasers, and paper.
    3. Sculpture Zone
      Clay and modeling tools.

    2. Take inventory.

    Within each zone, lay out all of your materials, tools, and supplies where you can see them. This will feel messy, but it’s an important step in visualizing what you have.

    piles of art supplies

    Ask yourself the following questions:

    • Does this enhance my teaching?
      Does this item spark joy? Joy isn’t just about happiness, it’s also about energy, connection, and purpose. Even if a material feels like a chore (looking at you, chalk pastels!), consider whether it’s required for the curriculum or adds value to your lessons.
    • Does this inspire my students?
      Think about how students interact with each item. Does it spark curiosity and engagement or does it sit ignored? 
    • Have I used this in the last two years?
      If not, it’s time to let it go.

    If you’re looking for a more structured approach to inventory management, The Art of Education has you covered with helpful inventory guides. Use them to streamline your material management and ensure your classroom is fully equipped for creativity.

    3. Organize supplies by category.

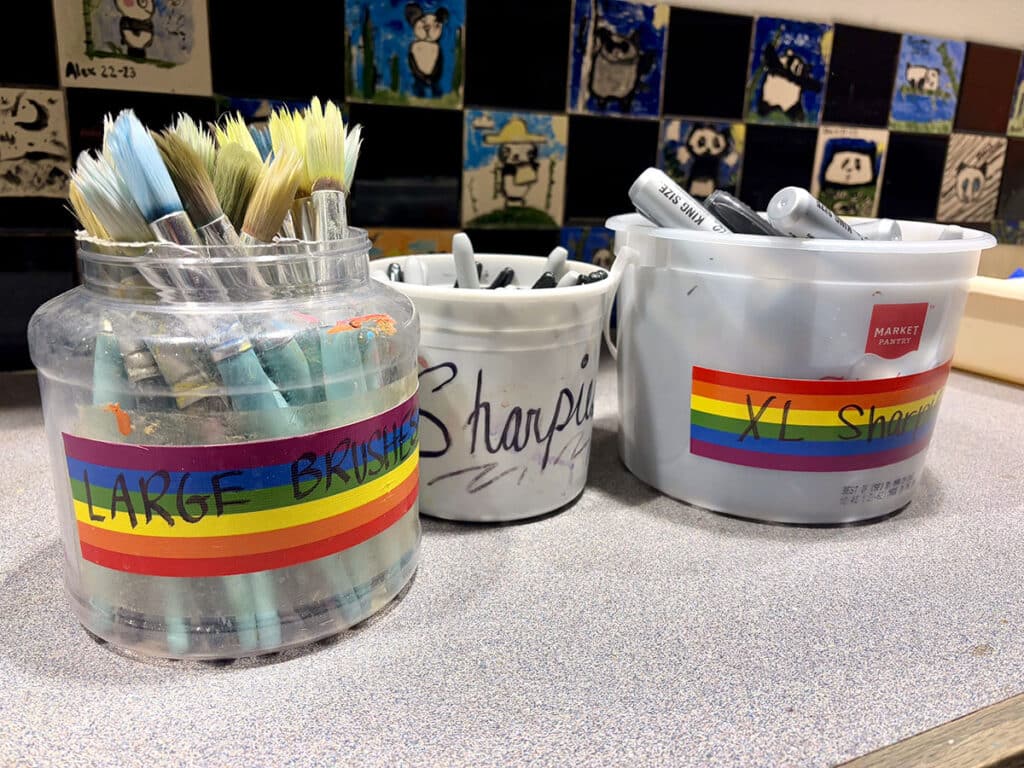
    Zones set up a broad structure to simplify your art space. This particular step focuses on finetuning how you store materials within those zones for maximum functionality and ease. For instance, once you gather all paintbrushes together, further separate them by size or type. 

    three piles of paintbrushes

    For more tips on how to streamline your classroom, check out Organizing your Elementary Art Room for Success in PRO Learning. While this Pack focuses on elementary classrooms, the strategies shared are beneficial for all art levels! 

    4. Label everything.

    Labels are your best friend when it comes to maintaining an organized and accessible classroom. Use large, clear labels on bins, drawers, and shelves to make materials easy to find. Adding visual cues, such as icons or color coding, can further simplify identification for students of all ages and reading/language levels. Whether you prefer professionally printed labels or a quick piece of masking tape, the key is ensuring both you and your students can easily locate and return materials to their proper places. 

    https://www.youtube.com/watch?v=KvaI77y1zhc

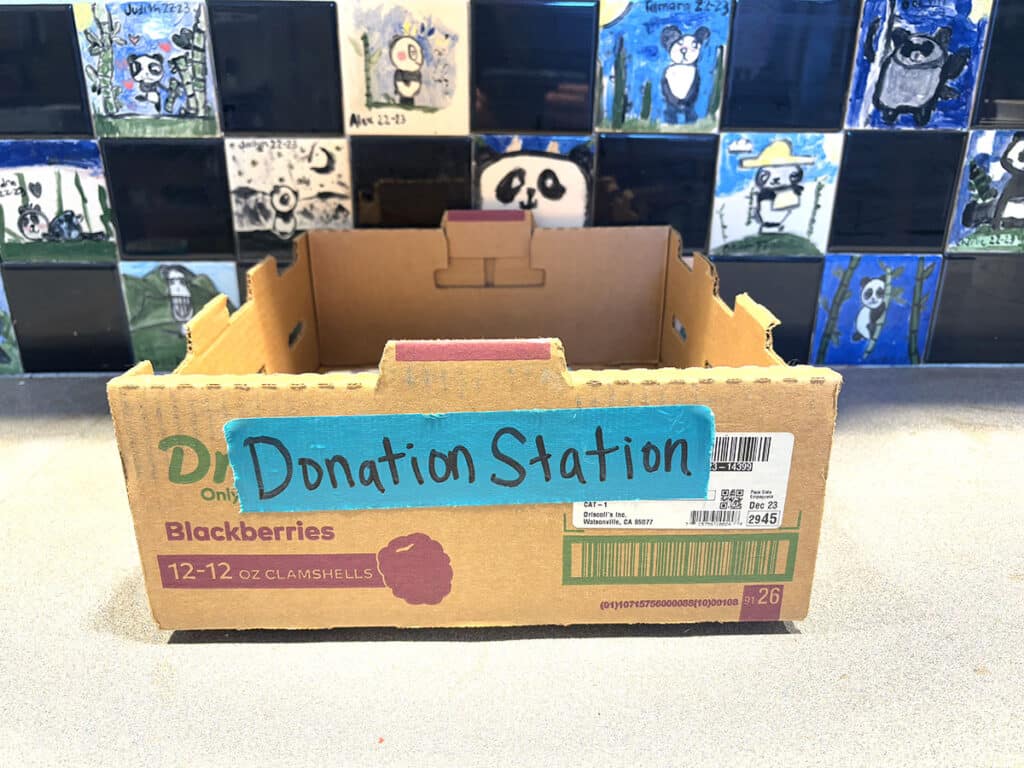
    5. Create a donation station.

    Turn simplifying your space into a purposeful mission to help others to make it easier to let things go. Set up a designated box in your classroom for items you no longer need but that others may find useful. Label it clearly as your “Donation Station” to make the process quick and organized. When the box is full, donate the contents to other art teachers in your district or community centers to spark creativity in new students. 

    donation station cardboard box

    6. Adopt a “one in, one out” rule.

    To prevent unneeded items from returning, establish a simple rule: for every new item brought into the classroom, remove an old or unused one. This habit keeps your space balanced and ensures you’re only adding items that truly serve your teaching goals.

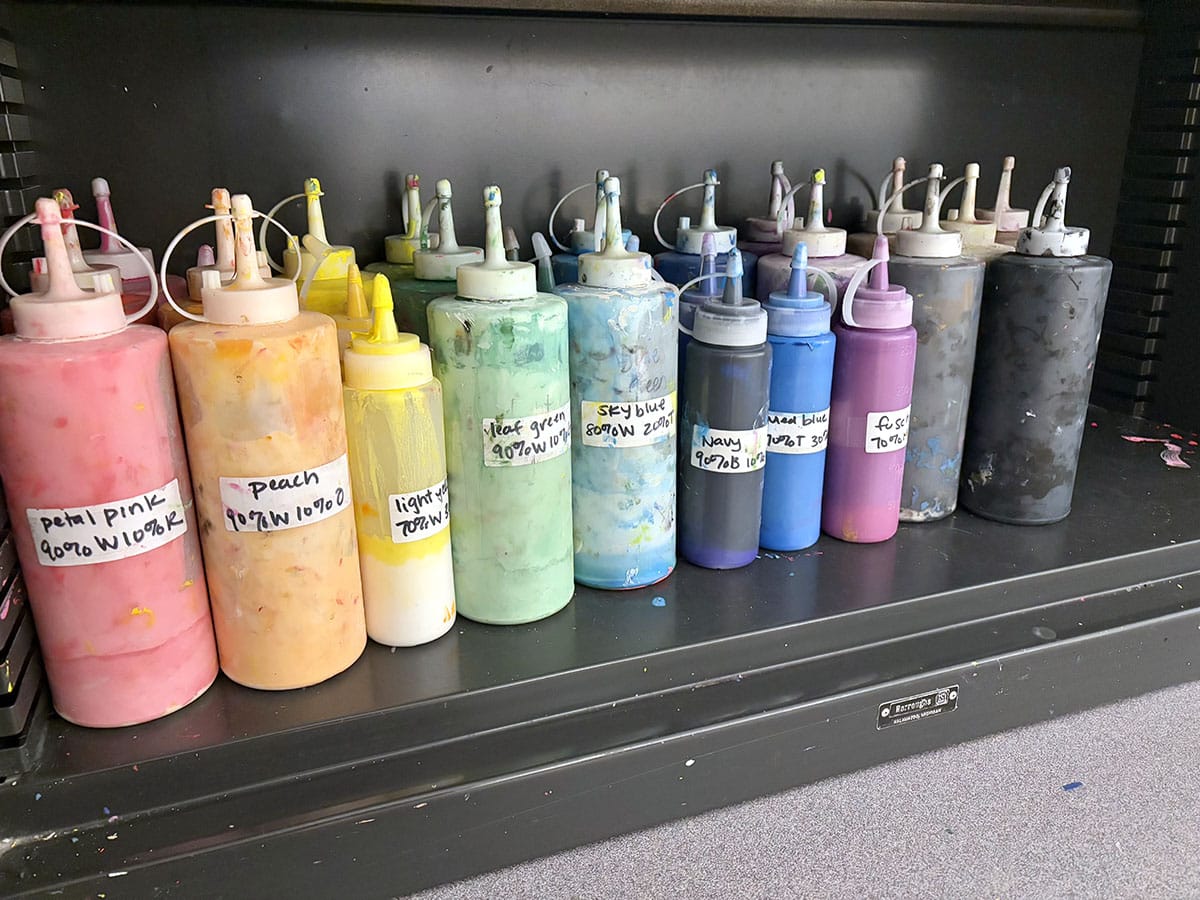
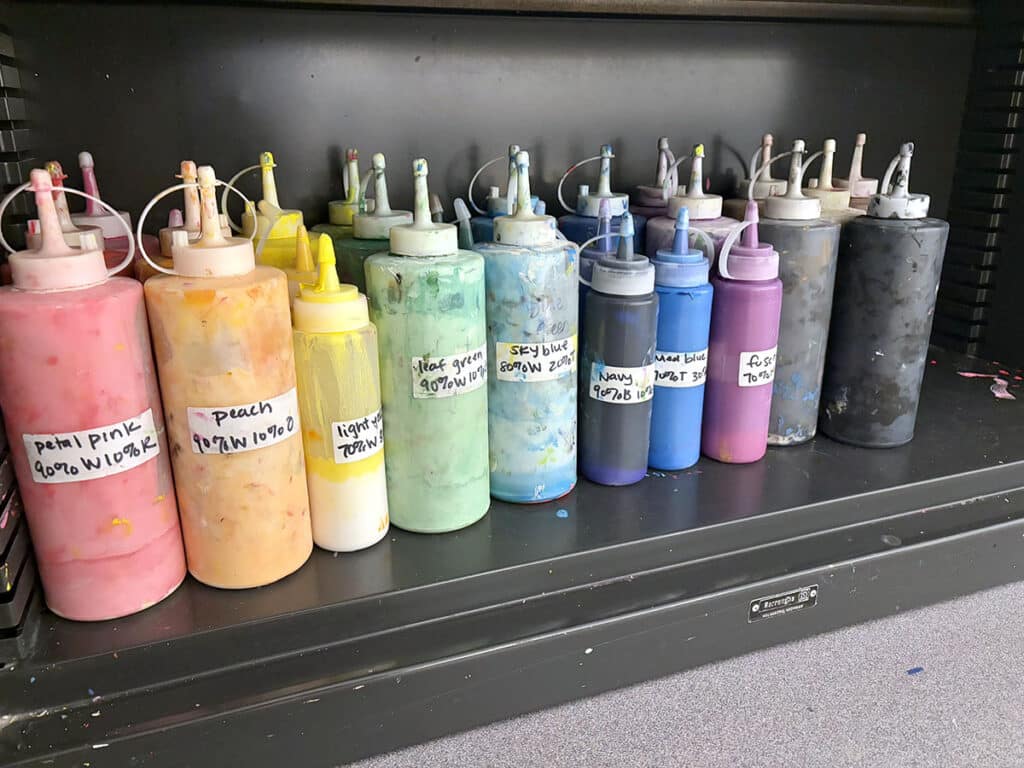
    shelf of paint in rainbow order

    Simplifying your art space is more than just organizing—it’s a chance to refresh and reset. It helps you realign your art room with your values and goals and nurture an environment where creativity can truly thrive. Letting go of excess makes room for the things that really matter, like connection, growth, and inspiration. Each small step you take toward curating your environment brings you closer to a classroom where both you and your students will experience creative bliss.

    Do you want even more tips to make your art room dreams come true? Check out the resources below:

    What’s one thing you can let go of today?

    What’s your best piece of advice to simplify your art space?

    To continue the conversation, join us in The Art of Ed Community!

    Magazine articles and podcasts are opinions of professional education contributors and do not necessarily represent the position of the Art of Education University (AOEU) or its academic offerings. Contributors use terms in the way they are most often talked about in the scope of their educational experiences.


    Source link

  • The statue of Liberty – Veronica Winters Painting

    The statue of Liberty – Veronica Winters Painting


    The statue of Liberty


    statue of liberty-Strasbourg
    The Statue of Liberty, Strasbourg, France.

    I spent two days in the Louvre. On my way home, I flew from Paris to JFK, New York. My husband and I were stopped, detained, and 2 guys from the US border protection services asked us to open our phones and give those to them. They said that if the phone is open, it would be quick and I’d get it back in a couple of hours. They also gave us a paper with a local phone to call about our phones. Mind you, it’s been a week of not receiving the phones back. The suggested number to call doesn’t work (no one answers it). I’ve been a US citizen for over 15 years and immigrated to the States over 26 years ago. I’m an artist, writer and educator who was stopped and detained. We pay all taxes and contribute to this economy and society in every way we can. None of the reasons listed in the paper applied to us besides the ‘random search’ one. Obviously, it’s not random.

    If you’re about to travel abroad, please know that you have a legal right not to give them passwords or codes but you have to give up the device at their request.

    This statue of liberty is located near Strasbourg in France. It’s a representation of freedom and democracy for most Americans. Unfortunately, it’s a complete illusion. If you’re a dreamer, understand that this level of targeting civil liberties is getting one step closer to the tyranny of Stalin’s repressions. British people get arrested and jailed for speaking the truth. This erosion of freedom and democracy is real under constant surveillance of this state. Every day a small part of freedom is taken away with a new law you have no idea exists.

    Summary of Key Rights as a US citizen generated by ChatGPT:

    • You cannot be denied entry as a U.S. citizen.
    • CBP can conduct routine searches without suspicion, but advanced or intrusive searches may require reasonable suspicion.
    • You are not required to provide passwords for electronic devices, though refusal may result in prolonged detention of the device.
    • You do not have the right to an attorney during routine questioning or searches.
    • You can refuse to answer non-identity related questions, but this may result in delays or further inspection.

    Although border searches do involve reduced protections, CBP must still act within the scope of the law, and unreasonable or abusive actions can be challenged in court. If you feel your rights have been violated, you may wish to consult a civil rights attorney or file a complaint with DHS.


    Source link

  • Unlock the Magic of Printmaking: Affordable Printing Press Solutions

    Unlock the Magic of Printmaking: Affordable Printing Press Solutions


    Who says you need a printing press to teach printmaking? Whether you’re working with a fully equipped studio or a handful of rolling pins, it’s time to introduce the magic of printmaking to your studentsA printing press—whether it’s a professional model, a DIY solution, or a clever alternative—can transform your students’ artistic experience and your lesson-planning creativity.

    Hear why you should add a printing press to your art studio and discover creative options for every budget!

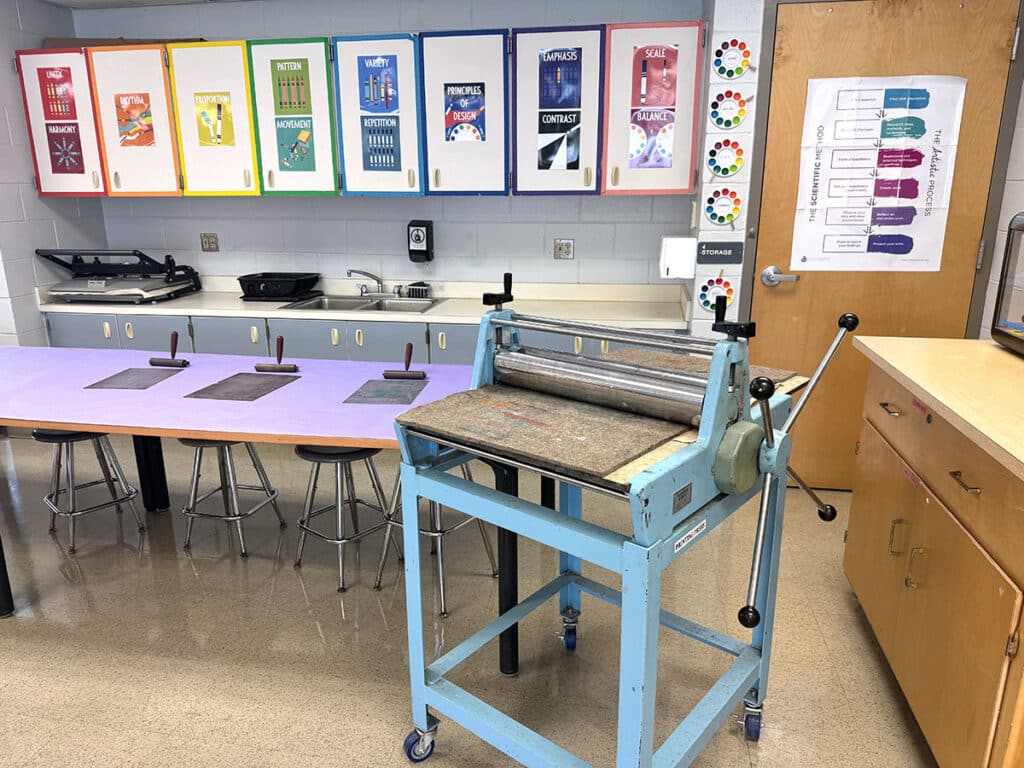
    printing press in elementary art classroom
    Image courtesy of Kristy Gaunt House

    Why should I add a printing press to my art classroom?

    While many art teachers can effectively teach printmaking without a professional printing press, there are many benefits to having one in any grade-level art studio. A printing press isn’t just a fancy tool—it’s a game-changer. Take a look at Kristy Gaunt House’s elementary art room and how her students are able to whip out prints in 20 minutes!

    https://www.youtube.com/watch?v=iEjWQdpxVRs

    Here are five other benefits of having a printing press in your art room:

    1. Professional-Level Results
      A printing press applies even, consistent pressure, ensuring your students’ prints come out clear and polished.
    2. Playful Experimentation
      Along the same lines, a printing press provides even pressure with layering, textures, and advanced inking methods.
    3. Increased Print Production
      Having the right tools and equipment will speed up any artmaking process! Your students will be able to produce more prints, which helps with large classes and short periods.
    4. Career Preparation
      Introduce students to tools and techniques they may encounter in a professional print production environment.
    5. Cross-Curricular Goldmine
      Printmaking and learning about printing presses are a bridge to other subjects. Dive into the history of the Gutenberg press, explore the science of pressure and mechanics, play with mathematical patterns and measurements, and create visual storytelling through sequential prints.

    printing plate, print, baren, and wood spoon

    What are my printing press options for the classroom?

    No matter what your budget or space constraints are, there’s a press option for you and your students! Consider how you can provide future printmaking opportunities for your students. Explore grants and harness stakeholder relationships to bring an upgraded press to your studio—without putting a line item in your budget.

    Let’s take a look at four alternative printing presses:

    1. Tabletop Etching Press
      Compact and portable, these presses are perfect for classrooms with limited space. They handle small-scale projects like linoprints, monoprints, and drypoint etching. They are best for high school students ready for advanced techniques.
    2. Relief Printing Press
      Explicitly designed for block printing, these presses make linoprints, woodcuts, and collagraphs a breeze. They’re easy to use and require minimal setup. They’re best for any grade level to explore bold and expressive prints.
    3. Hand Crank Press
      Try a DIY press kit or build your own. These options provide hands-on learning opportunities with mechanical processes. This option is best for classrooms on a tight budget or with students curious about engineering.
    4. Screen Printing Press
      Ideal for textile art, a screen printing press lets students design and create shirts, posters, and more. It’s an exciting way to introduce layering, color mixing, and design thinking. They are best for secondary students interested in commercial and graphic design.

    student making a relief print with a baren

    What are creative alternatives that don’t involve a traditional press?

    If a printing press is still not in the cards, no worries! There are several hacks using tools you already have that simulate the effect of a press. Many art teachers create phenomenal prints with their students—and without fancy equipment.

    Here are six hacks to replace a printing press:

    1. Rolling Pins
      Clean the clay mud off your rolling pins and pull them out for your next printmaking unit. Roll over the back of your print for consistent pressure.
    2. Wooden Spoons
      The next time you’re at the thrift store, grab a bunch of large wooden spoons. Rub the back of your paper firmly with the bottom of your spoon for small-scale prints.
    3. Heavy Books
      Put those dusty textbooks back to use. Stack them over your inked plate and paper overnight for simple yet effective results.
    4. Hands
      The best artmaking tool is an artist’s hands! Apply pressure by rubbing with the palm of your hands as evenly as possible.
    5. Clean Brayer
      Use a clean brayer to roll over the back of your paper to catch the ink. Just be sure to clearly mark which brayers are for inking and which are for transferring.
    6. Barens
      These are circular tools with a handle, specifically designed to apply even pressure to transfer ink from the block to the paper.

    rolling pin and spoons

    Adding a printing press—or a creative alternative—will take your art room to new heights. Whether students are carving linoleum, experimenting with layers, or rolling ink onto foam, they’ll walk away with a greater understanding of printmaking and a massive sense of accomplishment. Search and apply for grants to purchase a professional-grade printing press to provide your students with an incredible printmaking experience! Try a smaller-scale model like a tabletop press or a DIY option to take your processes to the next level. Bring everyday materials to the table for your students to discover the joy of printmaking. Roll up your sleeves, print on, and press forward!

    For more printmaking resources, dive into the following:

    How can access to printmaking tools like a printing press inspire students to explore potential careers in the arts, design, or engineering?

    To chat about printmaking with other art teachers, join us in The Art of Ed Community!

    Magazine articles and podcasts are opinions of professional education contributors and do not necessarily represent the position of the Art of Education University (AOEU) or its academic offerings. Contributors use terms in the way they are most often talked about in the scope of their educational experiences.


    Source link

  • Printmaking Hacks to Transform Cleanup Into Part of the Creative Process

    Printmaking Hacks to Transform Cleanup Into Part of the Creative Process


    Printmaking is one of the most engaging art processes for students, but it can quickly turn your classroom into a disaster zone. Inky rollers, murky water, and sticky plates can make cleanup overwhelming. Plus, it can require alternative materials that may be new to your classroom. With smart and efficient strategies, you can keep your printmaking tools in top shape while teaching students responsibility.

    Gain time-saving hacks, space-saving solutions, and teacher-tested tricks to make printmaking in the classroom easier than ever!

    students printmaking

    Smart Flow Stations

    Instead of having materials scattered across the room, try stations. This helps students move through the printmaking process with more independence. Give a clearly defined purpose and provide anchor charts to remind students about the purpose, steps, and materials for each station. Try breaking your stations down into the following: Inking, Printing, Drying, and Cleaning.

    Here are common materials to include at each station:

    • Inking: Inks, brayers, palettes, wipes, and paper towels.
    • Printing: Printing press, barens, or large spoons, newsprint, printing paper, and scrap paper.
    • Drying: Tables, drying racks, or clothesline and pins.
    • Cleaning: Sponges, buckets, soap, wipes, paper towels, and drying cloths.

    Space-Saving Storage Hacks

    No matter how large or small your teaching space is, printmaking storage requires extra care. Supplies like brayers, printing plates, and rags can pile up fast. To avoid clutter, think in terms of visibility, accessibility, and vertical space.

    Explore these three creative storage ideas:

    1. Brayers
      Brayers are often bulky to store in containers. Glue magnets to the handle and attach them to magnetic strips, or if there are holes in the handle, use small nails or adhesive hooks to utilize wall space.
    2. Printing Plates
      Store a class’s printing plates in a large accordion folder or collect each table’s printing plates in labeled pizza boxes. Ask your local pizzeria for box donations! Plus, they are easy to stack and will keep the plates clean and organized.
    3. Rags
      Dry wet rags and cloths on a retractable clothesline. Once dry, store in an over-the-door shoe or pocket organizer.

    Budget Drying Racks

    Drying prints is one of the biggest space challenges in a classroom because students are often rapidly printing multiples. If you don’t have access to a traditional drying rack, you’ll need to get creative. Immediately hang wet prints up using a clothesline and clothespins. Ask local grocery stores or bakeries for donations of rolling baking racks to store prints on. Tape newspapers under tables or desks and gently place prints under the table. If you have absolutely no space, send prints home the same day. Protect damp ink with “print sandwiches” using newspaper and cardboard.

    drying rack with art

    Team Effort Cleanup

    Are you the last one in the room scrubbing brayers and wiping tables? Cleaning up after a printmaking lesson takes time, but it doesn’t have to all fall on you. Creating a job system gives students ownership and accountability over materials and teaches them to respect the tools they use. Make students feel “official” with fun laminated name tags that have their cleanup role on them!

    Try these fun cleanup roles:

    • Brayer Boss: Cleans and returns brayers.
    • Plate Patrol: Wipes down and stacks plates, palettes, and trays.
    • Ink Inspector: Checks for inky fingers before anyone leaves and distributes wipes accordingly.
    • Table Technician: Ensures all tables are clean and dry.
    • Paper Picker: Picks up and recycles all paper scraps.
    • Print Pro: Organizes drying racks or hanging prints.

    No Sink Printmaking

    It’s easy to stick with drawing if you don’t have sink access. However, with some water-saving tricks and a bit of planning, you can still bring the magic of printmaking to your students! The goal is to remove most of the ink before rinsing and to conserve water. Grab a bunch of cheap spray bottles and pre-fill them with clean and soapy water, and you’re ready to go!

    mini spray bottle

    Follow these easy steps to make cleanup without a sink a breeze:

    1. Cover tables with newsprint or disposable tablecloths and toss them at the end of the period.
    2. Roll off excess ink from the brayers onto scrap paper.
    3. Spray soapy water on the brayers and roll onto a damp sponge or rag.
    4. Wipe the brayers down with a dry cloth and store.
    5. Use paper plates for palettes and throw them away at the end of the period.
    6. Provide wet wipes or DIY ones to clean hands.
    7. Keep shop towels on hand for emergency cleanup!

    Leftover Ink Ideas

    Leftover ink doesn’t have to go straight into the trash. In fact, it can lead to some of the most creative moments in your printmaking unit. About 5-10 minutes before it’s time to clean up, walk around and see if you notice leftover ink. Turn this opportunity into a mini challenge to foster sustainability! Prompt students to create a print using only what’s left on the brayer and plate.

    Here are four ways to use leftover ink:

    1. Pull ghost prints from the same plate.
    2. Save roll-off sheets for future collage or layering.
    3. Play with color mixing and gradations.
    4. Experiment with textured scraps of paper.

    printing plate, ink jar, and brayer

    Printmaking is truly all about the creative process, so why not invite students to extend the experience into cleanup? When you provide students with structure and empower them with responsibility, cleanup will transform from a chore into part of the learning. The key to success is preparing your hacks ahead of time and ensuring all systems are in place with clear expectations before students crack the printing ink open. These small routines build lasting habits and teach students that caring for their creative space is just as important as creating within it.

    What printmaking hack would you add to the list above?

    How do you incorporate cleaning into part of your students’ artistic process?

    To chat about printmaking with other art teachers, join us in The Art of Ed Community!

    Magazine articles and podcasts are opinions of professional education contributors and do not necessarily represent the position of the Art of Education University (AOEU) or its academic offerings. Contributors use terms in the way they are most often talked about in the scope of their educational experiences.


    Source link

  • ‘Ukrainian Modernism’ Chronicles the Nation’s Midcentury Architectural Marvels — Colossal

    ‘Ukrainian Modernism’ Chronicles the Nation’s Midcentury Architectural Marvels — Colossal


    During the Soviet era, modernist architecture rose to popularity as a means to express power, prestige, and views toward the future following World War II. Across Eastern Europe, asymmetric details, geometric rooflines, circular footprints, monumental murals, and blocky brutalist structures rose in defiance of pre-war classical and vernacular styles.

    In Ukrainian Modernism, Kyiv-based photographer and researcher Dmytro Soloviov’s first book, the nation’s under-recognized mid-20th-century built heritage takes center stage.

    “Ukraine’s modernist buildings are an extraordinary blend of function, avant-garde aesthetics and ingenious design, but despite these qualities, they remain largely unrecognised,” says a statement from FUEL, which will release the book later this month.

    Soloviov chronicles a buildings that are often stigmatized for their inception during the Soviet era and subsequent neglect and redevelopment over time. In the face of the nation’s struggle to overcome Russia’s ongoing incursion, war continues to threaten historic buildings. Ukrainian Modernism combines Soloviov’s contemporary photos with archival images, exploring the breadth of the region’s architectural marvels.

    Preorder your copy on FUEL’s website.


    Source link

  • The Value of Social Media | Tim Kowalczyk

    The Value of Social Media | Tim Kowalczyk


    Tim Kowalczyk | Episode 1085

    Tim Kowalczyk is back. Tim has been on The Potters Cast a few times over the years. This time he is back to talk about the importance of social media.

    SPONSORS

    Image result for Patreon logo  You can help support the show!

    Skutt Logo


    Number 1 brand in America for a reason. Skutt.com


    Georgies Logo


    For all your ceramic needs go to Georgies.com


    Mudtools Products - Stone Leaf Pottery Tools you find indispensable. Mudtools.com
    How important is it to consider the market that we are trying to sell in?

    That’s a rough one. I mean the market is important but if you look at most people’s cup values, like people you like, they are usually fifty and above and I think it depends on the style and the aesthetic that you have. So if you find someone who is matching your style and aesthetic that’s kind of where the price point starts.

    So it’s not just researching who your audience is but understanding how your peers are doing it.

    Yeah, there’s that whole thing that they talk about, if you want to be better at something, whatever it is, that you surround yourself with successful people. And that success brings on a challenge. There’s a reason Larry Bird and Magic Johnson were such big rivals because they were the head of the league at that time, right. They challenged each other, they pushed each other further. I think kind of the same thing in the arts is that we have to look at our peers to see where we are at. To find our finished point.
    You mentioned on your Instagram to not sell seconds. Why does it matter?

    I think it goes back to at least my philosophy of self-worth. Say I am making a painting, I am not going to sell a painting that has an apparent flaw that is apparent to you and I and say, Because this one has a hole in it I am going to sell it to you for cheaper. I wouldn’t put that out there.  I would make a perfect one that represents my brand and me as a person and at that level of quality I want people to recognize and associate with me.

    So you are saying, Therefore price your work consistently. Is that accurate?

    Yeah! I just got a couple of emails in my inbox when I was waiting for the link for this talk. Why are we giving twenty percent off of our cups. Did we not give the same amount of effort into the cups that sat around? That we did initially? Like why are they twenty percent off now?

    So you are saying by being consistent you are keeping value for all of your customers.

    Correct. And then if I decide to up my prices, say I go from one hundred to one hundred and twenty at some point, that person who bought it for one hundred now has a one hundred and twenty dollar cup they can move if they run out of space in their collection or they have an emergency.

    What is one thing a person can do to move towards better pricing?

    Compare your work to your peers instead of what you think it is worth.

    Contact

    tims-ceramics.myshopify.com

    Instagram: @timsceramics


    Source link