برچسب: Ways

  • 3 Ways to Cultivate Successful Relationships with Paraprofessionals in the Art Room

    3 Ways to Cultivate Successful Relationships with Paraprofessionals in the Art Room


    If you have students with special needs in your art room, they may come to class with a paraprofessional, teacher assistant, or a “one-on-one.” Sometimes, it can be a little vague on what their role is and how to work together. However, when you welcome instructional assistants into your art room and cultivate a great working relationship with them, there are many benefits. Students with special needs will blossom, you’ll spark a love for art in the paraprofessional, and you will be more efficient at your job.

    Foster positive relationships with paraprofessionals in the art room with these three ideas and then, dive into some frequently asked questions.

    1. Make paraprofessionals feel important—because they are important!

    Paraprofessionals are often the experts on our students in special education. They are with these students for most of the day and can answer questions about their skill level, interests, or even behavioral triggers. Ask for input for both the “in the moment” problem solving and the long-term “getting to know” the student. They can have the missing puzzle piece if you’ve tried everything and nothing’s working… or, you want to take a shortcut and go straight to what’s worked before!

    Another way to make them feel valued and respected is to collaborate on the “fun art stuff” too. Talk to them about the neat things they or their student are doing. Be cognizant that you balance bringing up problems and commands with positivity and encouragement. One way to do this is a simple “thank you” at the end of each period. Acknowledge their effort with specific tasks (no matter how small!) to let them know you appreciate them showing up and being an active participant. Another way to show you are grateful is to provide coffee, water, or treats.

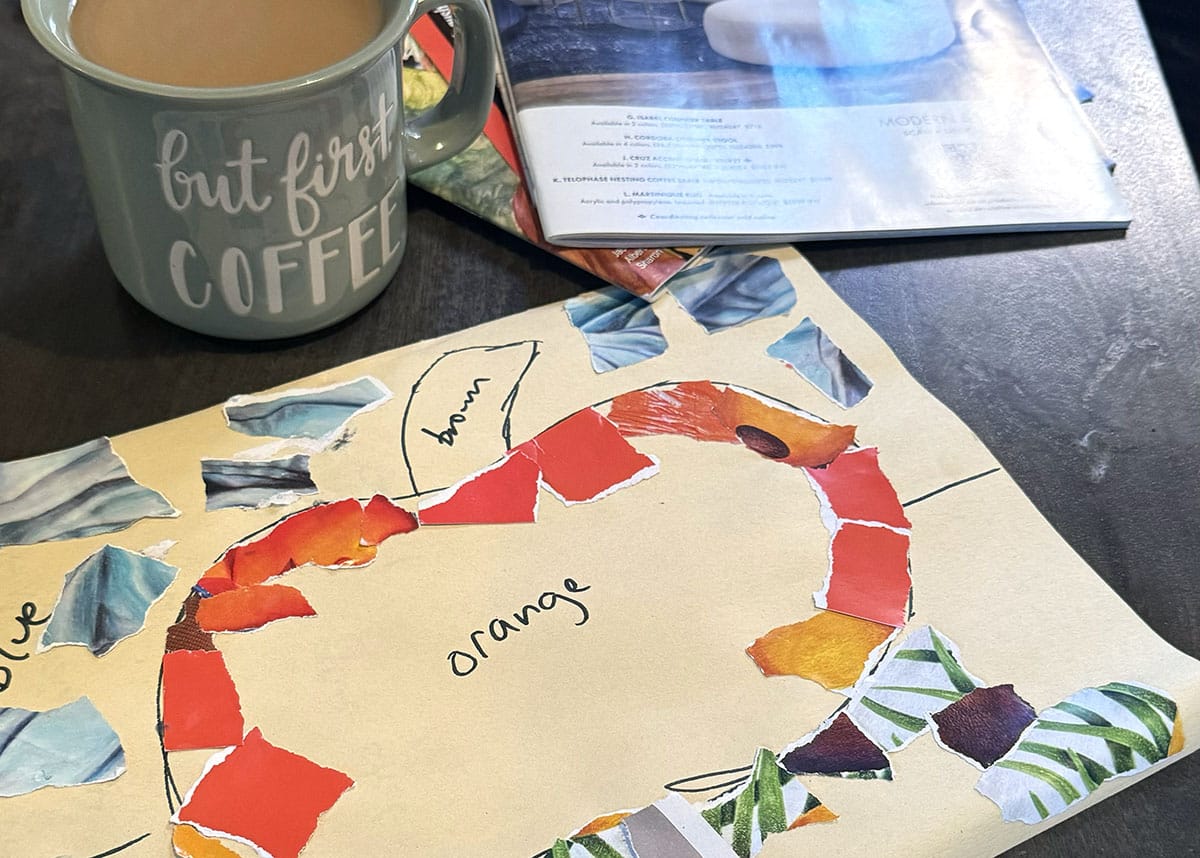
    coffee cup

    2. Help yourself by helping them.

    A lot of people are uncomfortable with art because they feel like they’re “bad at art.” This is evident in the familiar response, “I can’t even draw a stick figure!” Also, many paraprofessionals don’t want to “mess up” a student’s project. Remember these sentiments when building relationships with your paraprofessionals. Although they are adults there to provide support to students, they can also be an extra art student. When you equip them to be more comfortable in the art room, they will be a positive catalyst for your students.

    One simple way to mitigate anxiety is to communicate clear expectations for the whole year and for each class period. Tell them what the students will be doing for the day and what the paraprofessional’s expectations are during this time. Just as you would for a student, provide specific instructions in more than one format, and don’t assume they already know what to do.

    A quick way to provide expectations is to print out a simplified, bulleted, step-by-step list of each action item for the lesson. You can also print the whole lesson and highlight what the students need to accomplish on that particular day. It’s very helpful to have photos showing each step because sometimes a finished art project can be visually overwhelming. If you don’t have the time to compile step-by-step instructions with photos, check out FLEX Curriculum. FLEX is a standards-aligned curriculum that includes detailed step-by-step project instructions with photos and student-facing videos and resources.
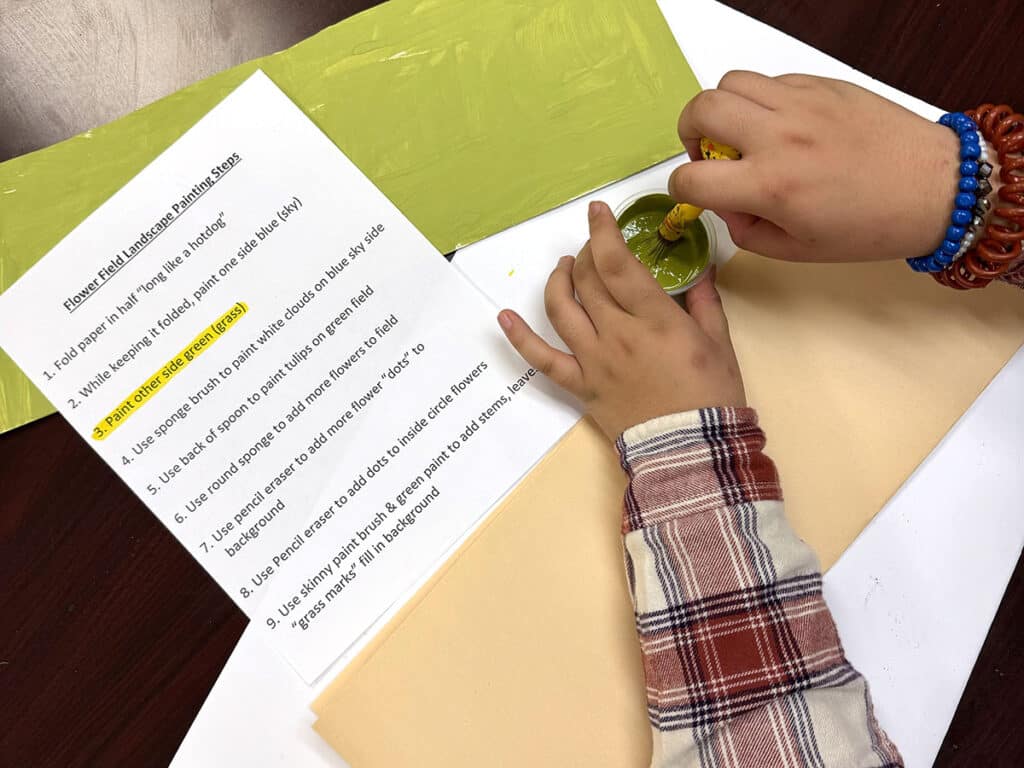
    step-by-step photos

    3. Give paraprofessionals their own art project.

    It can be wonderful when you have an eager and artistically-minded paraprofessional working with your students in the art room. However, sometimes they can be too eager to make art for the student. They are focused on having the project look “perfect” instead of indicative of the student’s true performance.

    One way to mitigate this is to preemptively leave out extra supplies and give the paraprofessionals permission to create their own piece of art next to their students. As long as the students are getting the attention and assistance they need, many paraprofessionals will appreciate the thought. They usually enjoy the opportunity to sneak in a little creative outlet during their day!

    If you’re short on supplies and worried about not having enough, many paraprofessionals can be invaluable support in helping you garner donations and recycled materials. Give them a list of what you’re looking for and chances are, they’ll work hard to collect boxes and bottles from other classrooms throughout the day. This creates many opportunities for them to feel like a contributing member of your classroom community!
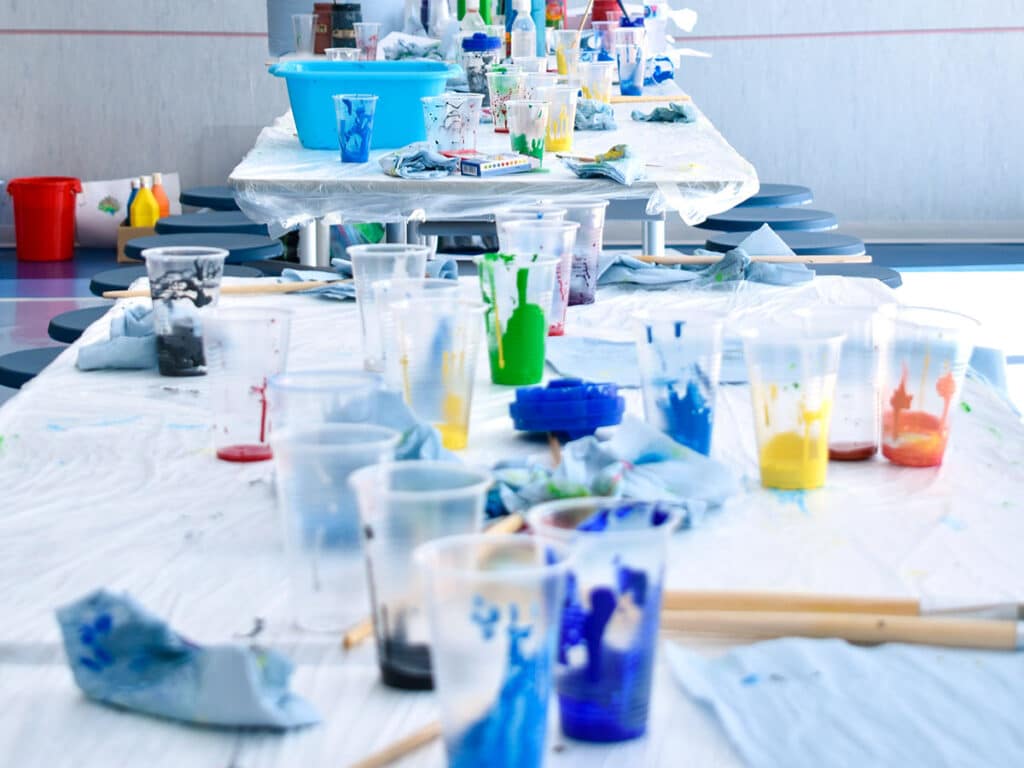
    art supplies

    Let’s answer your most frequently asked questions about paraprofessionals!

    What if a paraprofessional doesn’t show up?

    It can be frustrating when a designated instructional aid doesn’t show up for your art class with their students. If you have a good relationship with them, ask them about it the next time you see them. They may have had an emergency or didn’t think it was a big deal. It’s a great time to remind them of their importance in the art room and how vital they are to maintaining a smoothly run classroom.

    However, what if this happened multiple times already? Email the lead special education teacher to gather thoughts and ask for guidance. The lead teacher often has a solid relationship with them since they work closely all day. The email will also create a paper trail documenting their absences.

    What if the paraprofessional does too much or too little of their student’s art project?

    If the paraprofessional is doing too much of a student’s project, provide enough supplies so they can make their own. If they’re not helping enough, pull them aside before class to reset expectations. Show them examples of what you need them to do and give them a quick list of written instructions. An example of a reminder expectation can sound like, “I really value your extra set of hands and eyes. Please sit at the same table with students, phone-free so you can be readily available to assist.

    What if the paraprofessional frequently leaves or disappears?

    As aforementioned, pull the paraprofessional aside to reset expectations. Remind them that they are an integral and important member of your class and it can be disruptive for students if they don’t have a steady source of support. Your chat can sound like, “I noticed you stepped out the other day. I’d really appreciate it if you remained here during class. I really rely on the support you bring because you know [insert student’s name] the best.” If the behavior persists, email the lead special education teacher for advice and follow their guidance.

    Bonus Tip

    If you’ve already had a friendly chat to reset expectations and tried emailing the lead special education teacher, you can also seek out the guidelines used in the paraprofessional’s training. This can reiterate that you, the art teacher, aren’t the one “coming up with” the rules and that they are a part of the job requirements.

    Building positive relationships with paraprofessionals in the art room is essential for fostering a collaborative and supportive learning environment. Not only does it model these skills for your students but it streamlines instructional tasks, strengthens classroom management, and bolsters individualized student support. Plus, when teachers and assistants work harmoniously together, they boost each other’s morale. Make your art room a welcoming and appreciative spot for paraprofessionals with the tips above so they’ll look forward to your class and spread a vigor for art to your students!

    What’s one thing you do to make paraprofessionals feel welcome and included in your classroom?

    How do you navigate challenging situations with paraprofessionals in the art room?

    To continue the conversation, join us in The Art of Ed Community!

    Magazine articles and podcasts are opinions of professional education contributors and do not necessarily represent the position of the Art of Education University (AOEU) or its academic offerings. Contributors use terms in the way they are most often talked about in the scope of their educational experiences.


    Source link

  • 5 Ways Art Teachers Can Afford a Master’s Degree to Continue Learning and Growing

    5 Ways Art Teachers Can Afford a Master’s Degree to Continue Learning and Growing


    One thing that makes art teachers so amazing is that we are self-proclaimed forever students who embrace learning. Continuing your education is appealing! It’s a chance to feed your brain, interact with others on the same wavelength, revitalize your teaching strategies, and grow as a researcher. It gives you a chance to challenge yourself to go further than you ever thought you could. On the other hand, it can be costly to continue learning; it can seem unattainable on a teacher’s budget. It may leave you wondering, “How can I afford a master’s degree?”

    Explore five ways you can afford to pay for a master’s degree!

    Let’s take a look at five practical ways you can afford to continue learning. And don’t worry—it won’t be to stop buying a cup of coffee or adding guacamole to your burrito bowl. As you read, remember that none of these suggestions live in isolation. You may be able to pair tuition reimbursement or scholarships with paying as you go to lower the cost of your degree.

    laptop with aoeu's master's degree landing page

    1. Use district professional development funds.

    Many K-12 schools have tuition reimbursement programs, so they may already cover part of your continuing education. These programs are often not widely advertised, so you’ll have to seek them out. Research your district contract, talk to your union representative, and source information from fellow colleagues. Take the time to understand exactly how the funding works in your district and what limits apply. A few key things to note are deadlines, reimbursement, and payment policies with purchase orders.

    Insider Tip:

    District funds go quickly! Have your paperwork polished and ready to submit before the application window opens. 

    Learn More!

    2. Apply for grants and scholarships.

    Money is available through school scholarships, state education programs, cultural associations, and grants. Sometimes, you can find money available through your district’s parent-teacher association or other local community organizations. No matter what options you discover, take the time to apply! Any opportunity that offsets part of your tuition is worth your energy. 

    Insider Tip:

    Scholarship and grant applications can take time, but a tuition break is worth the extra effort to get and stay organized! Prepare your resume/CV, letters of recommendation, and references so they’re ready to go when an opportunity becomes available.

    art teacher on a laptop with the aoeu website

    3. Leverage salary lane changes.

    Research your district’s salary schedule to clearly understand how earning your master’s degree will affect your net salary over time. Some districts offer smaller pay increases for incremental steps between degrees, such as a BA +12 and BA +30 credit hours. If you time it right, you can use this increased salary to fund your degree—you won’t feel a thing because this salary increase is not part of your existing budget yet.

    Insider Tip:

    Pay attention to deadlines and work backward. You don’t want to miss a salary increase for an entire year by a few days. Ensure you have the credits you need beforehand from the issuing institution. Allot at least one month between the course end date and the day you need to submit official transcripts. 

    4. Pay out-of-pocket in small increments.

    Let’s talk budgeting! Consider items you can cut out or cut back on to help you hit your monthly tuition target. Taking a detailed look at your spending will identify where every dollar goes. Then, create a process to reallocate certain buckets of money toward your tuition. At The Art of Education University, you can make small payments toward your coursework so you’ll have tuition paid in full by the start date. Remember that this is a short-term adjustment. The goal is a completed degree, a potential raise, and more financial freedom!

    Insider Tip:

    Cut out the extra cost of guac on your burrito bowl—just kidding! Look for windfalls, like tax refunds or a month when you get an extra paycheck. Set that money aside specifically for your degree. 

    5. Determine the right pace.

    Pacing your coursework is one way to spread out your degree’s monthly or annual cost. Look for a program that you can tailor to meet your specific needs, compared to a strict, regimented course of learning. At The Art of Education University, take classes when it is convenient for you, your schedule, and your finances. Some students prioritize a faster pace to reach their end goal, while others spread their degree over four or five years to pay out-of-pocket as they go.

    Insider Tip:

    As you look at schools, ask specific questions about course pacing, course availability, and any requirements around staying on a particular timeline. Some programs require you to take courses continuously or progress with a cohort of classmates. 

    aoeu master's student with diploma and cap

    No matter where you are in your teaching career, the best time to invest in yourself is now. 

    Determining when to pursue and earn your master’s degree is personal. So many factors can determine what the “best” time is. Look at your season of life, how much time you have to dedicate, how much time you want to dedicate, and what your ultimate goal is. However, if we are talking strictly about earning potential and the return on your investment, there’s one clear answer—and I’m betting it won’t surprise you. The sooner you navigate the logistics of a master’s degree, the sooner you can increase your earning and learning potential!

    Share a professional goal you have as an art teacher.

    What’s holding you back from pursuing a master’s degree?

    To chat about how to afford a master’s degree with other art teachers, join us in The Art of Ed Community!

    Magazine articles and podcasts are opinions of professional education contributors and do not necessarily represent the position of the Art of Education University (AOEU) or its academic offerings. Contributors use terms in the way they are most often talked about in the scope of their educational experiences.


    Source link

  • 3 Helpful Ways to Differentiate Delivery, Goals, and Pace for Adaptive Art

    3 Helpful Ways to Differentiate Delivery, Goals, and Pace for Adaptive Art


    Do you ever find yourself struggling to meet the diverse needs of your students in adaptive art? It can seem overwhelming when you consider how many students you have and the unique learning needs of each. Fortunately, there’s good news! Differentiation simply means you consider your students’ interests, levels, and learning styles and use that information to personalize instruction.

    Differentiation benefits your entire art class and not just your students with disabilities because everyone learns best in a myriad of ways. It encourages an inclusive and respectful culture where all students feel valued and capable of artistic expression. The best part is that it ensures all students have equal access to artmaking experiences and opportunities to express themselves creatively in meaningful ways!

    Explore three helpful areas to differentiate learning experiences in adaptive art: delivery, goals, and pace.

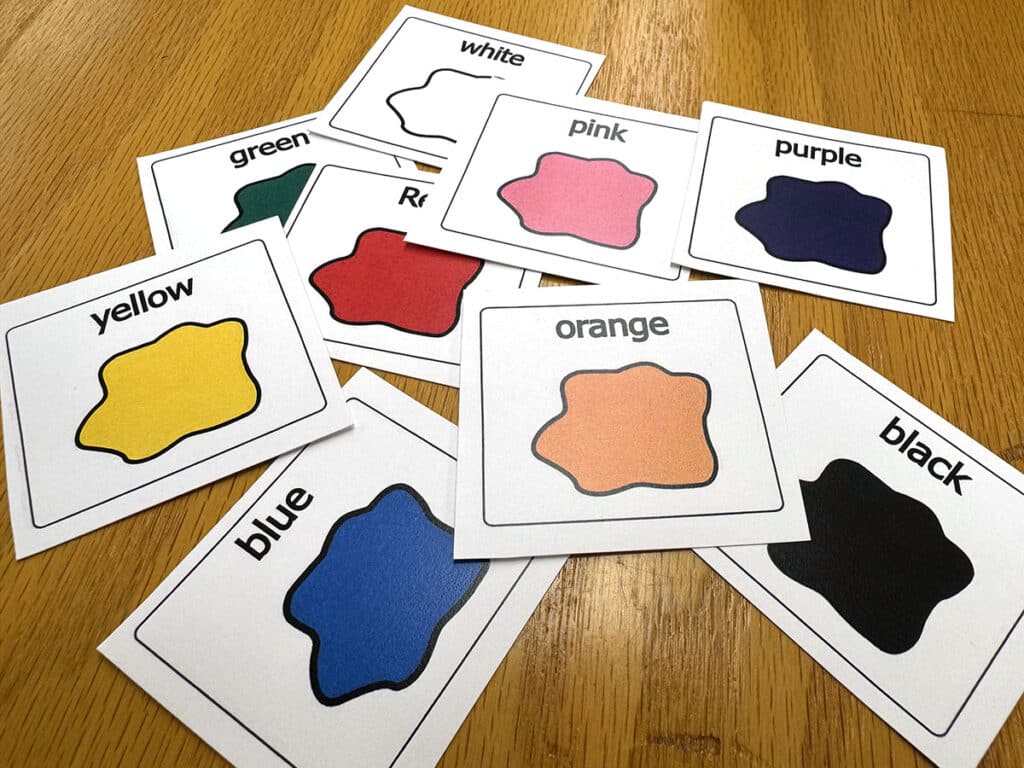
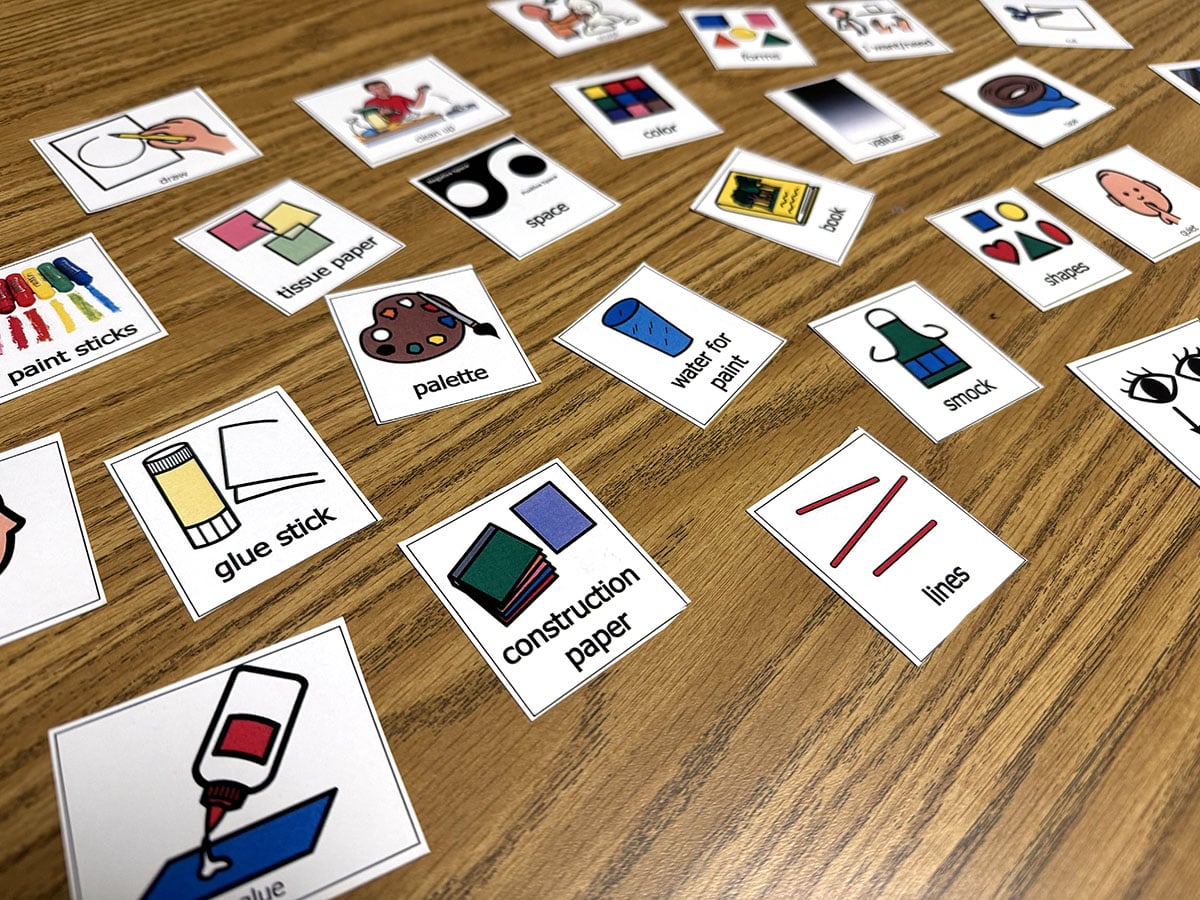
    color tiles with words and pictures

    Adaptive Art Delivery: How do we present the lesson?

    1. Visual Cue Tiles

    Adding a layer of visual cues to your lesson delivery can be a great way to help students with limited verbal communication. Use an online platform with visual communication symbols to easily create visual supports. For example, grab symbols to represent each step and material of an art project. Post these on a device, place them on the desk in front of the student, or display them on the board for the whole class. This will assist students with communication challenges or cognitive disabilities as they follow along.

    visual cue tiles with secondary student hands making art

    Another way to use visual cue tiles is to compile schedules to help students anticipate transitions and understand the structure and routines of art class. Alternatively, provide a range of visual cue tiles for students to point to if they are non-verbal or have limited verbal skills.

    2. Visual Steps

    Create visual pre-made steps for each part of the art project. This can be super helpful for students who find it visually overwhelming to look at a finished example of a project and understand what step they should be on. This is also handy to give to instructional assistants as they support both you and the student in the project.

    If you’re short on time to make these visual steps, check out FLEX Curriculum. FLEX lessons are broken down into steps with both written instructions and clear images. Early finishers in your general education art classes also love to create these documents for you and it reinforces art skills and terminology. FLEX also offers ways to differentiate for other students in your art room, such as English language learners, early childhood learners, advanced (AP) instruction, and more.

    visual cue tiles with art room tasks

    Adaptive Art Goals: How do we think about the lesson?

    Content: What will students learn?

    It can be a habit to dive straight into typing up a lesson, creating resources, and gathering supplies. The most important step in lesson planning is pausing to think before taking action! One way to differentiate a lesson is more of an exercise on changing perspective. Sometimes we have our own personal, class, and program goals. It can be helpful to consider the student’s definition of success. Are they working on beefing up an art portfolio for college admissions or practicing holding a paintbrush correctly? Knowing what their goals are can keep us focused on what’s important. Likewise, tapping into their interests can also make learning more meaningful. Use the filters and search bar in FLEX to sort resources based on specific topics.

    Process: How will students learn?

    Another way to shift perspective is to move towards more process-based work. It can be frustrating to look at work created by special education students because they probably aren’t at the high skill level you’re used to. Remember that the beauty of visual art is that it’s a personal journey and not a competition to create a perfect result. Take the time to share in your students’ success—no matter where they are in their creative process! Let go of the pressure to make social media-worthy projects and redirect that energy into cultivating wonderful artmaking experiences. Keep the process focused on learning targets with FLEX talking frames or resources with sentence stems.

    Product: How will students demonstrate learning?

    One tangible way to prioritize your students’ goals and successes is to download the “I Can!” Checklist to track the skills they’re working on and visualize strengths over weaknesses. You can also customize your lesson activities to encourage progress on their goals and further foster areas of success. Curate a bank of adaptations and challenges to copy and paste into any lesson and activity to efficiently customize instruction. Adaptations are ways to simplify the project to achieve goals and challenges, as well as extend the project for additional growth. FLEX also offers leveled skill rubrics for more specific ways to track learning for all grade levels (1, 2, 3).

    Here is a bank of adaptations to pull from:

    • Work on a smaller paper or surface area.
    • Decrease the number of color choices or mediums.
    • Offer multiple breaks throughout class.
    • Use a larger handle and/or thicker bristle brush to cover more ground.
    • Allow the use of tracers and stencils.
    • Ditch the palette and pour paint directly on the paper.
    • Try paint sticks instead of traditional liquid paint.
    • Provide gloves for sensory sensitivities.
    • Offer adaptive tools such as adaptive scissors and paintbrushes.
    • Simplify requirements, such as only cutting straight lines.
    • Adhere artwork to the table or a clipboard to prevent it from moving.
    • Use a cake spinner for students with limited movement to add color to a 3D project.
    • Focus on independent marks instead of drawing shapes.

    Here is a list of challenges to pull from:

    • Work on a larger paper or surface.
    • Increase the number of color choices or mediums.
    • Use a smaller brush size to encourage slowing down.
    • Boost the number of details or subject matter items required.
    • Compose a rough draft before the final version.
    • Challenge them to come up with their own “extra credit” project.

    Adaptive Art Pace: How do we let the lesson flow?

    Pace refers to the speed and timing that the lesson unfolds. How quickly or slowly are you presenting the content? How long do your students have to absorb the steps and ask questions before they begin? How many class periods will this lesson take to complete? Answer all of these questions on the sliding scale of differentiation! FLEX features tips on how to modify the pacing of FLEX lessons in a handy differentiation guide.

    Chunking is a teaching technique that focuses on breaking up an activity into small, recognizable, and manageable steps. Chunk information verbally and visually, such as with the visual cue tiles referenced above, to show each step and the sequence to perform them in. Chunking helps students process information more effectively by reducing task step overload. Instead of overwhelming students with large amounts of information all at once, chunking organizes content into digestible pieces that are easier to understand and remember.

    Another thing to consider before the materials even reach the students is how your students will communicate their needs and questions. How do your students answer you when you present the class with a question? Do they have enough time to find the answer on their alternative communication device? Make sure to give students with limited verbal communication extra wait time so that they can participate in the class discourse. Another option is to use a buddy system for questions or provide assistants with whiteboards. This way, students can communicate at their own pace if you need to move on with the lesson for other students.

    tablet with visual cue tiles that are words and pictures

    We want every student who steps into our art rooms to feel welcome and have access to opportunities to experience the joy of art! Differentiating instruction, or personalizing instruction to meet your students’ needs and preferences, is one way to create an inclusive environment. Three areas to focus on are delivery, goals, and pace. Incorporate visual cue tiles for reminders and alternative ways to communicate. Shift your perspective from product to progress and chunk information into smaller pieces to make learning more manageable. Taking a few simple steps while harnessing all FLEX Curriculum has to offer will support your students’ creative growth and promote a positive teaching environment for you!

    What are some adaptations and challenges you’d add to the list?

    What questions do you still have about differentiating lessons for adaptive art?

    To chat about adaptive art with other art teachers, join us in The Art of Ed Community!

    Magazine articles and podcasts are opinions of professional education contributors and do not necessarily represent the position of the Art of Education University (AOEU) or its academic offerings. Contributors use terms in the way they are most often talked about in the scope of their educational experiences.


    Source link