Do you ever find yourself struggling to meet the diverse needs of your students in adaptive art? It can seem overwhelming when you consider how many students you have and the unique learning needs of each. Fortunately, there’s good news! Differentiation simply means you consider your students’ interests, levels, and learning styles and use that information to personalize instruction.
Differentiation benefits your entire art class and not just your students with disabilities because everyone learns best in a myriad of ways. It encourages an inclusive and respectful culture where all students feel valued and capable of artistic expression. The best part is that it ensures all students have equal access to artmaking experiences and opportunities to express themselves creatively in meaningful ways!
Explore three helpful areas to differentiate learning experiences in adaptive art: delivery, goals, and pace.
Adaptive Art Delivery: How do we present the lesson?
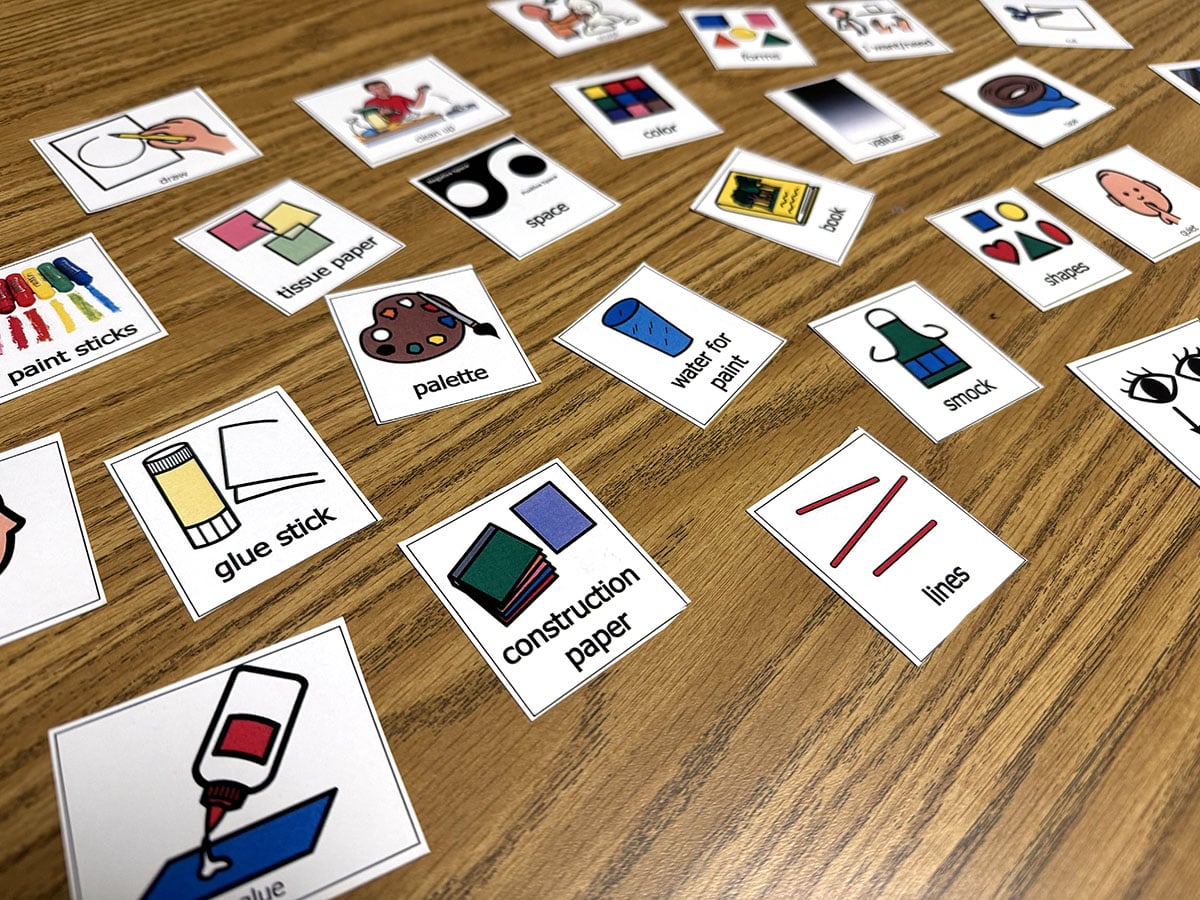
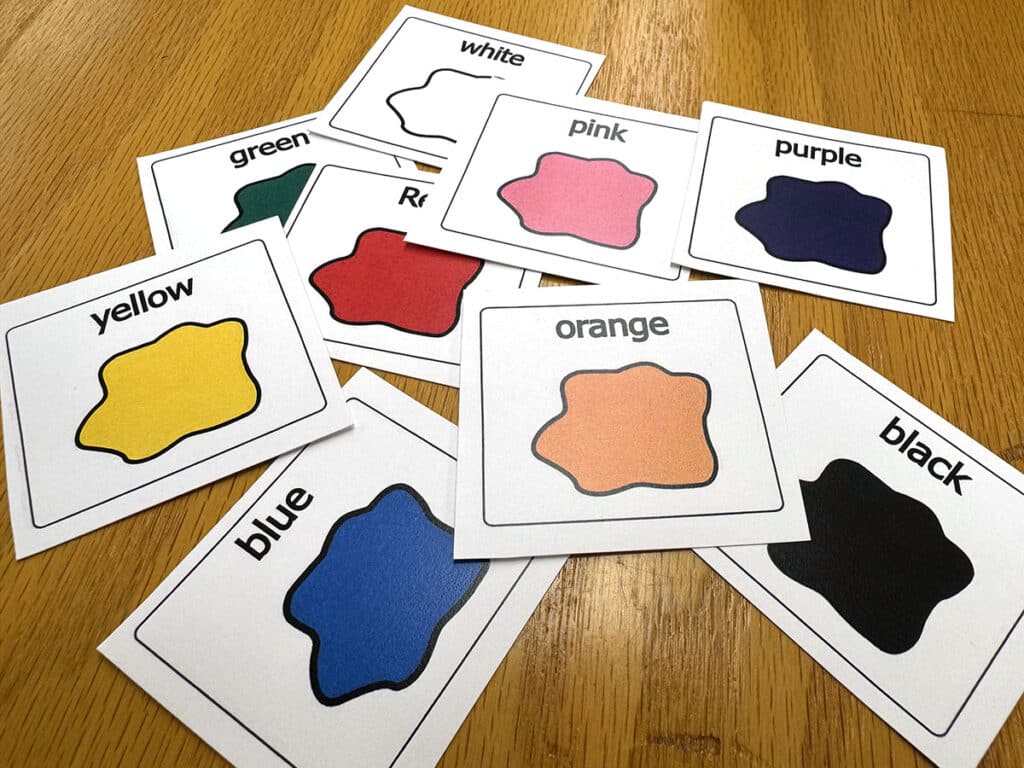
1. Visual Cue Tiles
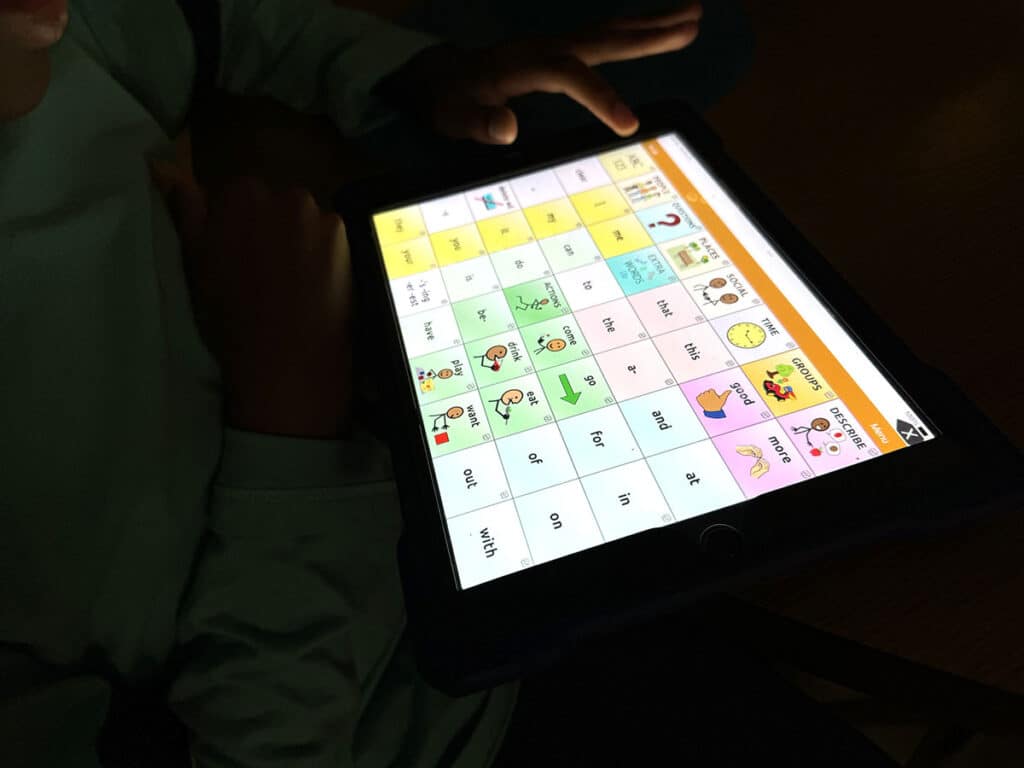
Adding a layer of visual cues to your lesson delivery can be a great way to help students with limited verbal communication. Use an online platform with visual communication symbols to easily create visual supports. For example, grab symbols to represent each step and material of an art project. Post these on a device, place them on the desk in front of the student, or display them on the board for the whole class. This will assist students with communication challenges or cognitive disabilities as they follow along.

Another way to use visual cue tiles is to compile schedules to help students anticipate transitions and understand the structure and routines of art class. Alternatively, provide a range of visual cue tiles for students to point to if they are non-verbal or have limited verbal skills.
2. Visual Steps
Create visual pre-made steps for each part of the art project. This can be super helpful for students who find it visually overwhelming to look at a finished example of a project and understand what step they should be on. This is also handy to give to instructional assistants as they support both you and the student in the project.
If you’re short on time to make these visual steps, check out FLEX Curriculum. FLEX lessons are broken down into steps with both written instructions and clear images. Early finishers in your general education art classes also love to create these documents for you and it reinforces art skills and terminology. FLEX also offers ways to differentiate for other students in your art room, such as English language learners, early childhood learners, advanced (AP) instruction, and more.

Adaptive Art Goals: How do we think about the lesson?
Content: What will students learn?
It can be a habit to dive straight into typing up a lesson, creating resources, and gathering supplies. The most important step in lesson planning is pausing to think before taking action! One way to differentiate a lesson is more of an exercise on changing perspective. Sometimes we have our own personal, class, and program goals. It can be helpful to consider the student’s definition of success. Are they working on beefing up an art portfolio for college admissions or practicing holding a paintbrush correctly? Knowing what their goals are can keep us focused on what’s important. Likewise, tapping into their interests can also make learning more meaningful. Use the filters and search bar in FLEX to sort resources based on specific topics.
Process: How will students learn?
Another way to shift perspective is to move towards more process-based work. It can be frustrating to look at work created by special education students because they probably aren’t at the high skill level you’re used to. Remember that the beauty of visual art is that it’s a personal journey and not a competition to create a perfect result. Take the time to share in your students’ success—no matter where they are in their creative process! Let go of the pressure to make social media-worthy projects and redirect that energy into cultivating wonderful artmaking experiences. Keep the process focused on learning targets with FLEX talking frames or resources with sentence stems.
Product: How will students demonstrate learning?
One tangible way to prioritize your students’ goals and successes is to download the “I Can!” Checklist to track the skills they’re working on and visualize strengths over weaknesses. You can also customize your lesson activities to encourage progress on their goals and further foster areas of success. Curate a bank of adaptations and challenges to copy and paste into any lesson and activity to efficiently customize instruction. Adaptations are ways to simplify the project to achieve goals and challenges, as well as extend the project for additional growth. FLEX also offers leveled skill rubrics for more specific ways to track learning for all grade levels (1, 2, 3).
Here is a bank of adaptations to pull from:
- Work on a smaller paper or surface area.
- Decrease the number of color choices or mediums.
- Offer multiple breaks throughout class.
- Use a larger handle and/or thicker bristle brush to cover more ground.
- Allow the use of tracers and stencils.
- Ditch the palette and pour paint directly on the paper.
- Try paint sticks instead of traditional liquid paint.
- Provide gloves for sensory sensitivities.
- Offer adaptive tools such as adaptive scissors and paintbrushes.
- Simplify requirements, such as only cutting straight lines.
- Adhere artwork to the table or a clipboard to prevent it from moving.
- Use a cake spinner for students with limited movement to add color to a 3D project.
- Focus on independent marks instead of drawing shapes.
Here is a list of challenges to pull from:
- Work on a larger paper or surface.
- Increase the number of color choices or mediums.
- Use a smaller brush size to encourage slowing down.
- Boost the number of details or subject matter items required.
- Compose a rough draft before the final version.
- Challenge them to come up with their own “extra credit” project.
Adaptive Art Pace: How do we let the lesson flow?
Pace refers to the speed and timing that the lesson unfolds. How quickly or slowly are you presenting the content? How long do your students have to absorb the steps and ask questions before they begin? How many class periods will this lesson take to complete? Answer all of these questions on the sliding scale of differentiation! FLEX features tips on how to modify the pacing of FLEX lessons in a handy differentiation guide.
Chunking is a teaching technique that focuses on breaking up an activity into small, recognizable, and manageable steps. Chunk information verbally and visually, such as with the visual cue tiles referenced above, to show each step and the sequence to perform them in. Chunking helps students process information more effectively by reducing task step overload. Instead of overwhelming students with large amounts of information all at once, chunking organizes content into digestible pieces that are easier to understand and remember.
Another thing to consider before the materials even reach the students is how your students will communicate their needs and questions. How do your students answer you when you present the class with a question? Do they have enough time to find the answer on their alternative communication device? Make sure to give students with limited verbal communication extra wait time so that they can participate in the class discourse. Another option is to use a buddy system for questions or provide assistants with whiteboards. This way, students can communicate at their own pace if you need to move on with the lesson for other students.
We want every student who steps into our art rooms to feel welcome and have access to opportunities to experience the joy of art! Differentiating instruction, or personalizing instruction to meet your students’ needs and preferences, is one way to create an inclusive environment. Three areas to focus on are delivery, goals, and pace. Incorporate visual cue tiles for reminders and alternative ways to communicate. Shift your perspective from product to progress and chunk information into smaller pieces to make learning more manageable. Taking a few simple steps while harnessing all FLEX Curriculum has to offer will support your students’ creative growth and promote a positive teaching environment for you!
What are some adaptations and challenges you’d add to the list?
What questions do you still have about differentiating lessons for adaptive art?
To chat about adaptive art with other art teachers, join us in The Art of Ed Community!
Magazine articles and podcasts are opinions of professional education contributors and do not necessarily represent the position of the Art of Education University (AOEU) or its academic offerings. Contributors use terms in the way they are most often talked about in the scope of their educational experiences.
دیدگاهتان را بنویسید