برچسب: Art

  • Megan Eagles – BOOOOOOOM! – CREATE * INSPIRE * COMMUNITY * ART * DESIGN * MUSIC * FILM * PHOTO * PROJECTS

    Megan Eagles – BOOOOOOOM! – CREATE * INSPIRE * COMMUNITY * ART * DESIGN * MUSIC * FILM * PHOTO * PROJECTS


    For our third annual Booooooom Photo Awards, supported by Format, we selected 5 winners, one for each of the following categories: Portrait, Street, Colour, Nature, Fashion. You can view all the winners and shortlisted photographers here. Now it is our pleasure to introduce the winner of the Colour category, Megan Eagles.

    Megan Eagles is a self-taught photographer based in Camberwell, London with her family, a cat and 7 chickens. Shooting on film with natural light, she describes her work as “people-focused stories with a documentary slant”.

    We want to give a massive shoutout to Format for supporting the awards this year. Format is an online portfolio builder specializing in the needs of photographers, artists, and designers. With nearly 100 professionally designed website templates and thousands of design variables, you can showcase your work your way, with no coding required. To learn more about Format, check out their website here or start a 14-day free trial.

    We had the chance to ask Megan some questions about her photography—check out the interview below along with more of her work.


    Source link

  • 16 Shocking Art History Facts to Spark Your Students’ Curiosity

    16 Shocking Art History Facts to Spark Your Students’ Curiosity


    Understanding history through stories helps students gain insights into our world. Take your art history lessons and your students’ learning to the next level! Instead of simply describing what an artist created, discuss why the artist created it through odd and interesting stories. This helps students get a glimpse into the artists’ humanity and motivations. It builds an association that goes beyond names and dates. Neat art history tidbits also boost media literacy by providing a foundation of connections for students to draw upon.

    art history cartoon

    The Unexpected Artist 

    Students often look at legendary artists and assume those figures were born with a paintbrush in their hand. However, the paths to artistic success rarely follow a straight line. Many took winding roads, beginning their journeys in entirely different careers. Share these artists to help students see the value in unexpected learning opportunities.

    corita kent
    Image Source
    • Anna Mary Robertson Moses
      Affectionately known as Grandma Moses, Moses was a farmwife who began painting in her late 70s after arthritis made embroidery too difficult. Her charming, nostalgic depictions of rural American life quickly gained popularity. Grandma Moses became a media sensation, showing it’s never too late to pursue your passion.
    • Henri Matisse
      Matisse initially pursued a career in law, working as a court administrator before a bout of appendicitis dramatically altered his course. During his recovery, his mother gave him art supplies, and Matisse discovered a love that would define his life. He famously stated he had found “a kind of paradise.” 
    • Corita Kent
      This former Catholic nun revolutionized religious art. She incorporated vibrant Pop Art aesthetics and social justice messages into her serigraphs, challenging traditional religious iconography. Sister Corita taught art at Immaculate Heart College, where she abandoned conventional methods, encouraged experimentation, and used advertising slogans and song lyrics to connect art with everyday life.

    Art That Broke Bad

    Everyone loves a good crime drama. Share forgeries, capers, and cons that will have students on the edge of their seats! Try these stories about the shady side of the art world to get your students hooked on art history.

    national museum
    Image Source
    • The Stockholm Museum Heist
      In 2000, thieves used a combination of car bombs, gunfire, and caltrops to steal three paintings by Rembrandt and Renoir from the National Museum in Stockholm. They escaped by speedboat, leaving the police in their wake. Remarkably, all three paintings were eventually recovered, thanks in part to an undercover FBI operation. The operation targeted an international crime syndicate and infiltrated an attempted sale of one of the paintings in Los Angeles.
    • Wolfgang Beltracchi
      Beltracchi, along with his wife, created and sold hundreds of forgeries. The forgeries were works by famous artists and brought in millions. He was a meticulous researcher and successfully mimicked various artistic styles. He claims he has forgeries still hanging in museums and collections today.

    That Awkward Moment

    Students raised in the age of memes can instantly relate to a moment of cringe and appreciate an epic fail. Here are a few stories that may go viral in your classroom and get your students eager to learn more about art history.

    king tut's glued beard
    Image Source
    • DIY Gone Awry
      A museum worker in Cairo committed the ultimate “oops” in 2014,
      accidentally knocking the braided beard off King Tutankhamun’s priceless burial mask. Their panicked solution? A hasty and very noticeable repair with epoxy glue, a move that horrified archaeologists and delighted internet users around the globe. This is art’s most unfortunate DIY project.
    • Upside Down or Right Side Up?
      Piet Mondrian’s abstract masterpiece, New York City I, hung upside down in a museum for 77 years before anyone noticed the error. Experts finally realized the mistake, highlighting how even professionals can make incredibly relatable blunders. Amazingly, after discovering the error, they decided to keep it upside down for fear of damaging the piece. They say that the upside-down display is now part of the artwork’s story.
    • Failed Fresco
      An elderly woman in Spain
      attempted to restore a flaking fresco of Jesus, Ecce Homo, in her local church. The result became an internet sensation, with the reworked painting dubbed Monkey Christ. Though widely mocked, the botched restoration became a tourist attraction, demonstrating that even artistic “fails” can be spectacular.
    • Expensive Oops
      Billionaire art collector Steve Wynn accidentally put his elbow through his prized Picasso painting, Le Rêve, while showing it off to friends. This incredibly expensive “oops” moment resulted in a $90,000 repair bill. Of course, a great story in the provenance never hurts the value of an artwork. Some years later, Wynn sold the piece for $155 million.

    ecce homo
    Image Source

    Art in Unexpected Places 

    Wherever humans dare to venture, they’ve left their artistic mark, proving that our desire to create transcends all boundaries. Throughout history, people brought art to mountains, deserts, ocean floors, and even the moon. Below are four great examples that will amaze your students.

    moon art
    Image Source
    1. Jason deCaires Taylor
      This British sculptor
      creates breathtaking underwater museums, placing his life-sized sculptures on the ocean floor. These submerged artworks act as artificial reefs. They attract coral and marine life and transform the ocean into a vibrant, ever-evolving gallery.
    2. Longmen Grottoes
      China’s
      Longmen Grottoes feature thousands of Buddhist statues carved directly into the towering limestone cliffs in Luoyang. These intricate sculptures, created over centuries starting in the 5th century AD, transform the natural landscape into a breathtaking open-air art gallery. This UNESCO World Heritage site demonstrates the power of human creativity to merge with nature. It creates a sacred space that transcends traditional notions of where art can reside.
    3. Nazca Lines
      These landmarks are a series of massive geoglyphs etched into the arid desert plains of southern Peru. They represent one of the world’s most intriguing art mysteries since their creation between 500 BCE and 500 CE and their rediscovery in the 1920s. These ancient designs, depicting animals, plants, and geometric shapes, are so vast that they are only fully visible from the air. The top layer of the desert floor made up of iron-oxide-coated pebbles, provided a dark “canvas.” Ancient people created the lines by removing the top 12-15 inches of rock, revealing the lighter-colored sand beneath. The dry, windless, and stable climate of the Nazca region preserves these remarkable geoglyphs.
    4. Fallen Astronaut
      Mountains, deserts, and oceans are pretty wild, but the most remote art installation is actually on the moon! In 1971, the crew of Apollo 15 secretly placed a small sculpture called
      Fallen Astronaut on the lunar surface. This aluminum figure commemorates astronauts and cosmonauts who died in the pursuit of space exploration. It helps to make the moon a truly unique and poignant art gallery.

    Ultimate “So There” Moments

    Validation can be a good feeling, especially after experiencing doubt. The following artists took unique situations and comments and turned them into opportunities to showcase their grit, skill, and willingness to rise to a challenge. Tell these stories to your students to inspire them to push expectations.

    janet sobel
    Image Source
    • Roy Lichtenstein
      Lichtenstein’s success is perhaps the ultimate flex on his son. His son pointed to an illustration in a Disney book and challenged his father to draw something that good. Lichtenstein painted Look Mickey, which not only proved his son wrong but also became a seminal work of Pop Art, and launched his career.
    • Claude Monet
      Critics questioned Monet’s artistic vision in his later years, claiming his failing eyesight led to overly abstract and formless paintings. Monet responded by creating his monumental
      Water Lilies series, immersing viewers in the beauty of his Giverny garden. These stunning canvases are now celebrated as Impressionist masterpieces. They silenced his critics and proved that Monet’s artistic power remained undiminished.
    • Janet Sobel
      This Ukrainian-American artist’s
       journey began with an unexpected challenge from her own son. When Sobel criticized her son’s artwork, he handed her a brush and challenged her to do better. Sobel accepted and discovered a hidden talent for abstract expressionism. This led to the pioneering of a drip technique that later influenced Jackson Pollock.

    Sharing these intriguing stories and fun facts helps students connect with art history on a human level. Learning art history is not just about memorizing names and dates. When students can understand the artists as people, they can dig into their motivations and ideas. Stories are an engaging way to make artists relatable and provide context. Silly, scandalous, or unexpected fun facts will spark your students’ curiosity to discuss, ask questions, retain information, and foster new connections!

    What are your favorite fun facts from art history?

    How do you help students move beyond memorizing facts to creating connections?

    To chat about other interesting art history stories with other art teachers, join us in The Art of Ed Community!

    Magazine articles and podcasts are opinions of professional education contributors and do not necessarily represent the position of the Art of Education University (AOEU) or its academic offerings. Contributors use terms in the way they are most often talked about in the scope of their educational experiences.


    Source link

  • 3 Helpful Ways to Differentiate Delivery, Goals, and Pace for Adaptive Art

    3 Helpful Ways to Differentiate Delivery, Goals, and Pace for Adaptive Art


    Do you ever find yourself struggling to meet the diverse needs of your students in adaptive art? It can seem overwhelming when you consider how many students you have and the unique learning needs of each. Fortunately, there’s good news! Differentiation simply means you consider your students’ interests, levels, and learning styles and use that information to personalize instruction.

    Differentiation benefits your entire art class and not just your students with disabilities because everyone learns best in a myriad of ways. It encourages an inclusive and respectful culture where all students feel valued and capable of artistic expression. The best part is that it ensures all students have equal access to artmaking experiences and opportunities to express themselves creatively in meaningful ways!

    Explore three helpful areas to differentiate learning experiences in adaptive art: delivery, goals, and pace.

    color tiles with words and pictures

    Adaptive Art Delivery: How do we present the lesson?

    1. Visual Cue Tiles

    Adding a layer of visual cues to your lesson delivery can be a great way to help students with limited verbal communication. Use an online platform with visual communication symbols to easily create visual supports. For example, grab symbols to represent each step and material of an art project. Post these on a device, place them on the desk in front of the student, or display them on the board for the whole class. This will assist students with communication challenges or cognitive disabilities as they follow along.

    visual cue tiles with secondary student hands making art

    Another way to use visual cue tiles is to compile schedules to help students anticipate transitions and understand the structure and routines of art class. Alternatively, provide a range of visual cue tiles for students to point to if they are non-verbal or have limited verbal skills.

    2. Visual Steps

    Create visual pre-made steps for each part of the art project. This can be super helpful for students who find it visually overwhelming to look at a finished example of a project and understand what step they should be on. This is also handy to give to instructional assistants as they support both you and the student in the project.

    If you’re short on time to make these visual steps, check out FLEX Curriculum. FLEX lessons are broken down into steps with both written instructions and clear images. Early finishers in your general education art classes also love to create these documents for you and it reinforces art skills and terminology. FLEX also offers ways to differentiate for other students in your art room, such as English language learners, early childhood learners, advanced (AP) instruction, and more.

    visual cue tiles with art room tasks

    Adaptive Art Goals: How do we think about the lesson?

    Content: What will students learn?

    It can be a habit to dive straight into typing up a lesson, creating resources, and gathering supplies. The most important step in lesson planning is pausing to think before taking action! One way to differentiate a lesson is more of an exercise on changing perspective. Sometimes we have our own personal, class, and program goals. It can be helpful to consider the student’s definition of success. Are they working on beefing up an art portfolio for college admissions or practicing holding a paintbrush correctly? Knowing what their goals are can keep us focused on what’s important. Likewise, tapping into their interests can also make learning more meaningful. Use the filters and search bar in FLEX to sort resources based on specific topics.

    Process: How will students learn?

    Another way to shift perspective is to move towards more process-based work. It can be frustrating to look at work created by special education students because they probably aren’t at the high skill level you’re used to. Remember that the beauty of visual art is that it’s a personal journey and not a competition to create a perfect result. Take the time to share in your students’ success—no matter where they are in their creative process! Let go of the pressure to make social media-worthy projects and redirect that energy into cultivating wonderful artmaking experiences. Keep the process focused on learning targets with FLEX talking frames or resources with sentence stems.

    Product: How will students demonstrate learning?

    One tangible way to prioritize your students’ goals and successes is to download the “I Can!” Checklist to track the skills they’re working on and visualize strengths over weaknesses. You can also customize your lesson activities to encourage progress on their goals and further foster areas of success. Curate a bank of adaptations and challenges to copy and paste into any lesson and activity to efficiently customize instruction. Adaptations are ways to simplify the project to achieve goals and challenges, as well as extend the project for additional growth. FLEX also offers leveled skill rubrics for more specific ways to track learning for all grade levels (1, 2, 3).

    Here is a bank of adaptations to pull from:

    • Work on a smaller paper or surface area.
    • Decrease the number of color choices or mediums.
    • Offer multiple breaks throughout class.
    • Use a larger handle and/or thicker bristle brush to cover more ground.
    • Allow the use of tracers and stencils.
    • Ditch the palette and pour paint directly on the paper.
    • Try paint sticks instead of traditional liquid paint.
    • Provide gloves for sensory sensitivities.
    • Offer adaptive tools such as adaptive scissors and paintbrushes.
    • Simplify requirements, such as only cutting straight lines.
    • Adhere artwork to the table or a clipboard to prevent it from moving.
    • Use a cake spinner for students with limited movement to add color to a 3D project.
    • Focus on independent marks instead of drawing shapes.

    Here is a list of challenges to pull from:

    • Work on a larger paper or surface.
    • Increase the number of color choices or mediums.
    • Use a smaller brush size to encourage slowing down.
    • Boost the number of details or subject matter items required.
    • Compose a rough draft before the final version.
    • Challenge them to come up with their own “extra credit” project.

    Adaptive Art Pace: How do we let the lesson flow?

    Pace refers to the speed and timing that the lesson unfolds. How quickly or slowly are you presenting the content? How long do your students have to absorb the steps and ask questions before they begin? How many class periods will this lesson take to complete? Answer all of these questions on the sliding scale of differentiation! FLEX features tips on how to modify the pacing of FLEX lessons in a handy differentiation guide.

    Chunking is a teaching technique that focuses on breaking up an activity into small, recognizable, and manageable steps. Chunk information verbally and visually, such as with the visual cue tiles referenced above, to show each step and the sequence to perform them in. Chunking helps students process information more effectively by reducing task step overload. Instead of overwhelming students with large amounts of information all at once, chunking organizes content into digestible pieces that are easier to understand and remember.

    Another thing to consider before the materials even reach the students is how your students will communicate their needs and questions. How do your students answer you when you present the class with a question? Do they have enough time to find the answer on their alternative communication device? Make sure to give students with limited verbal communication extra wait time so that they can participate in the class discourse. Another option is to use a buddy system for questions or provide assistants with whiteboards. This way, students can communicate at their own pace if you need to move on with the lesson for other students.

    tablet with visual cue tiles that are words and pictures

    We want every student who steps into our art rooms to feel welcome and have access to opportunities to experience the joy of art! Differentiating instruction, or personalizing instruction to meet your students’ needs and preferences, is one way to create an inclusive environment. Three areas to focus on are delivery, goals, and pace. Incorporate visual cue tiles for reminders and alternative ways to communicate. Shift your perspective from product to progress and chunk information into smaller pieces to make learning more manageable. Taking a few simple steps while harnessing all FLEX Curriculum has to offer will support your students’ creative growth and promote a positive teaching environment for you!

    What are some adaptations and challenges you’d add to the list?

    What questions do you still have about differentiating lessons for adaptive art?

    To chat about adaptive art with other art teachers, join us in The Art of Ed Community!

    Magazine articles and podcasts are opinions of professional education contributors and do not necessarily represent the position of the Art of Education University (AOEU) or its academic offerings. Contributors use terms in the way they are most often talked about in the scope of their educational experiences.


    Source link

  • The Ultimate Guide to Simplify Your Art Space for Creative Bliss

    The Ultimate Guide to Simplify Your Art Space for Creative Bliss


    We’ve all been there—scrolling through endless art supplies and freebie groups to add another “must-have” item to our wishlist. We think that if we have that one material, everything will run smoother, students will be magically engaged, and the projects will practically teach themselves. But as the wishlists grow, so do the piles of supplies in our classrooms. It’s time to hit the pause button, simplify your art space, regain control of your classroom, and encourage creative bliss!

    Embrace the “less is more” mentality to foster a welcoming art room. 

    Japan has a long tradition of tidying up as a path to clarity and balance. Hideko Yamashita, the creator of Danshari, teaches the art of releasing what no longer serves us to create space for what truly matters. Following this tradition, Marie Kondo’s The Life-Changing Magic of Tidying Up popularized the idea that less can be liberating, sparking joy and order in our lives.

    These philosophies invite us to take a fresh look at our art rooms. Sometimes too much art clutter and chaos can make it harder for everyone to focus and fully explore ideas. What if simplifying our spaces ignited more creativity, focus, and joy for teachers and students alike?

    This doesn’t mean losing the magic of art—it means curating your space with intention to amplify its purpose. Research shows that decluttering your environment can unlock greater innovation and engagement. Simplify your art space to foster calm and imaginative thinking and free up time and energy to focus on what truly matters—teaching and creating.

    labeled containers of art supplies

    Simplify your art space with these six manageable steps!

    1. Divide your classroom into zones.

    Start by thinking of your space as a collection of zones. Each zone can represent a type of artmaking or media, such as painting, drawing, or sculpture. Dividing your room into zones helps you focus on simplifying one area at a time, making the process more manageable. This division doesn’t have to involve physically relocating materials; it can be a mental assessment of each area.

    paint zone

    Here are three examples of common art room zones:

    1. Painting Zone
      Brushes, paints, and palettes.
    2. Drawing Zone
      Pencils, markers, erasers, and paper.
    3. Sculpture Zone
      Clay and modeling tools.

    2. Take inventory.

    Within each zone, lay out all of your materials, tools, and supplies where you can see them. This will feel messy, but it’s an important step in visualizing what you have.

    piles of art supplies

    Ask yourself the following questions:

    • Does this enhance my teaching?
      Does this item spark joy? Joy isn’t just about happiness, it’s also about energy, connection, and purpose. Even if a material feels like a chore (looking at you, chalk pastels!), consider whether it’s required for the curriculum or adds value to your lessons.
    • Does this inspire my students?
      Think about how students interact with each item. Does it spark curiosity and engagement or does it sit ignored? 
    • Have I used this in the last two years?
      If not, it’s time to let it go.

    If you’re looking for a more structured approach to inventory management, The Art of Education has you covered with helpful inventory guides. Use them to streamline your material management and ensure your classroom is fully equipped for creativity.

    3. Organize supplies by category.

    Zones set up a broad structure to simplify your art space. This particular step focuses on finetuning how you store materials within those zones for maximum functionality and ease. For instance, once you gather all paintbrushes together, further separate them by size or type. 

    three piles of paintbrushes

    For more tips on how to streamline your classroom, check out Organizing your Elementary Art Room for Success in PRO Learning. While this Pack focuses on elementary classrooms, the strategies shared are beneficial for all art levels! 

    4. Label everything.

    Labels are your best friend when it comes to maintaining an organized and accessible classroom. Use large, clear labels on bins, drawers, and shelves to make materials easy to find. Adding visual cues, such as icons or color coding, can further simplify identification for students of all ages and reading/language levels. Whether you prefer professionally printed labels or a quick piece of masking tape, the key is ensuring both you and your students can easily locate and return materials to their proper places. 

    https://www.youtube.com/watch?v=KvaI77y1zhc

    5. Create a donation station.

    Turn simplifying your space into a purposeful mission to help others to make it easier to let things go. Set up a designated box in your classroom for items you no longer need but that others may find useful. Label it clearly as your “Donation Station” to make the process quick and organized. When the box is full, donate the contents to other art teachers in your district or community centers to spark creativity in new students. 

    donation station cardboard box

    6. Adopt a “one in, one out” rule.

    To prevent unneeded items from returning, establish a simple rule: for every new item brought into the classroom, remove an old or unused one. This habit keeps your space balanced and ensures you’re only adding items that truly serve your teaching goals.

    shelf of paint in rainbow order

    Simplifying your art space is more than just organizing—it’s a chance to refresh and reset. It helps you realign your art room with your values and goals and nurture an environment where creativity can truly thrive. Letting go of excess makes room for the things that really matter, like connection, growth, and inspiration. Each small step you take toward curating your environment brings you closer to a classroom where both you and your students will experience creative bliss.

    Do you want even more tips to make your art room dreams come true? Check out the resources below:

    What’s one thing you can let go of today?

    What’s your best piece of advice to simplify your art space?

    To continue the conversation, join us in The Art of Ed Community!

    Magazine articles and podcasts are opinions of professional education contributors and do not necessarily represent the position of the Art of Education University (AOEU) or its academic offerings. Contributors use terms in the way they are most often talked about in the scope of their educational experiences.


    Source link

  • How Florists Find Inspiration in Famous Art – Veronica Winters Painting

    How Florists Find Inspiration in Famous Art – Veronica Winters Painting


    How Florists Find Inspiration in Famous Art


    Delve into the creative world where floral design meets fine art! Discover how local florists find inspiration in timeless masterpieces, translating their beauty into exquisite flower arrangements.

    Artistic Blooms: How Local Florists Draw Inspiration from Masterpieces

    paintings of angels

    Floristry stands at the crossroads of art and nature, where creativity meets the delicate beauty of flowers. Local florists are not just purveyors of blooms; they are artists who leverage their craft to transform floral arrangements into stunning visual masterpieces. One overlooked aspect of their artistry is the inspiration they glean from renowned artworks. This article delves into how local florists by state draw on artistic masterpieces to enhance their floral designs.

    The Influence of Art on Floral Arrangements

    Uncover how florists use masterpieces for floral designs. Discover the process behind transforming art into floral arrangements.
    Photo: Daniela-e-photography

    Florists often find themselves inspired by the colors, forms, and themes inherent in famous artworks. By studying these masterpieces, they can curate arrangements that embody the essence of the original pieces while also standing firmly on their own as works of art. Here are two key ways that local florists use art for inspiration:

    ingres-Princesse-de-Broglie-1853-the-met-best-art-museums
    Ingres, Princesse de Broglie, 1853, the Met

    Composition and Color Palettes

    • Complementary Colors. Much like an artist chooses a palette to convey emotion, florists select flowers that resonate with each other’s hues. For example, the vibrant reds and greens seen in Van Gogh’s “Sunflowers” can translate into a floral arrangement that evokes similar joy and warmth.
    • Mood and Tone. Just as certain artworks evoke specific feelings, florists use sophisticated color schemes to influence the mood of their arrangements. A serene, pastel palette inspired by Claude Monet’s landscapes brings a sense of calm, making it perfect for tranquil settings.
    • Organic Shapes. Many famous paintings, particularly those from the Impressionist period, focus on organic shapes and forms found in nature. Florists replicate these organic lines in their arrangements, creating a sense of flow and movement reminiscent of artworks by artists like Renoir.
    • Symmetry and Balance. Artists often strive for harmony through symmetry or deliberate asymmetry. Florists employ these techniques, achieving visual balance by strategically placing different flower types and sizes, inspired by the compositional styles of great artist masters.

    Themes and Symbolism

    How Florists Find Inspiration in Famous Art

    Art often carries deep themes and symbols, which florists can integrate into their designs to convey messages beyond mere aesthetics. Here are two ways in which themes from art impact floral design:

    • Historical Context. Florists may draw on the cultural significance of certain pieces of art. For example, arrangements reminiscent of Frida Kahlo’s vibrant self-portraits can incorporate tropical flowers that reflect her Mexican heritage, creating a narrative through floral artistry.
    • Seasonal References. Just as art reflects the seasons or times of year, florists may create seasonal arrangements that mimic the aesthetics of seasonal art. A winter arrangement may draw inspiration from the crisp, cool colors of a piece by Caspar David Friedrich, featuring whites and icy blues.
    • Narrative Elements. Floral arrangements may also tell stories, much like a narrative painting. A bouquet inspired by Vincent van Gogh’s “Starry Night” may weave in deep blues and yellows, creating a piece that reflects the wonder of the night sky and evokes fascination.
    Caspar_David_Friedrich_-the polar sea
    Caspar David Friedrich, the polar sea, oil painting

    Local florists are adept at blending the beauty of nature with the depth of artistic expression. Their ability to draw inspiration from masterpieces not only enhances their floral designs but also allows them to create arrangements that resonate on a deeper level with their clients. By embracing color palettes, compositions, cultural narratives, and emotions drawn from art, florists create living works of art that celebrate the best of both worlds—nature and human creativity. Whether for special occasions or everyday enjoyment, these artistic blooms truly have the power to inspire and uplift.

    Veronica Winters, colored pencil drawing demonstration


    Source link

  • How to Transform Your Art Room with Zones to Simplify Your Life

    How to Transform Your Art Room with Zones to Simplify Your Life


    Managing a busy art room can be overwhelming, especially when juggling multiple student needs, materials, and projects at the same time. One of the most effective ways to bring order to the creative chaos is to set up art zones. Whether you’re working with elementary students or high school artists, designing clear, purposeful zones in your art room will help with classroom management, student independence, and workflow efficiency.

    Let’s explore how art zones in the art room can revolutionize your teaching and create a more organized, engaging space for students to explore their creativity.

    paint bottles

    What are art zones?

    Art zones are specific areas within your art room that serve a dedicated purpose. Instead of a one-size-fits-all setup, divide your classroom into areas to guide students through different aspects of the creative process. Students will be able to navigate the studio more independently as artists. Plus, it will free you up to provide meaningful instruction instead of constantly directing traffic. 

    Let’s take a look at six art room zones:

    1. Material Zone
      Keep supplies accessible with a Supply Shack, open shelving with labeled bins, “grab and go” caddies for daily essentials, or a checkout system for specialty items.
    2. Creation Zone
      This is your students’ space for making art and is the heart of the art room! Consider flexible seating options, further zones by media, and easy access to reference materials and resources.
    3. Cleanup Zone
      Transform cleanup into the smoothest part of your class routine and boost student ownership. Maintain order with a sink or handwashing area and clearly marked bins for trash, recycling, and reusable scraps. Make tossing trash fun with a basketball hoop!
    4. Artwork Zone
      Have clear systems and locations to store completed and in-progress works. Not only does this keep tracking student work more efficient and organized, but it protects work from getting damaged or lost.
    5. Reflection Zone
      Encourage thoughtful artmaking with a spot to slow down. Include sketchbooks and artist statement prompts. For a twist on the “reflection” theme, include mirrors for self-portrait studies!
    6. Early Finishers Zone
      Include extension activities for both elementary and secondary, like drawing prompts or a rotating collection of art books and magazines.

    art teacher in classroom

    How do I set up effective art zones?

    Creating art zones doesn’t have to be a complete classroom overhaul. Start small and redesign one key area that needs improvement. As you start implementing your zone, adjust based on student needs. You can always add a new zone each year!

    Ask yourself these questions to determine what zone you should focus on first:

    • What questions do students ask me the most?
    • What routine is consistently not hitting home for most students?
    • Where and when in my classroom is there a bottleneck of traffic?

    Then, consider these questions to navigate design and setup:

    • What big furniture items can I move/swap and which do I need to work with?
    • How can I ensure each component is easy to identify and clearly labeled?
    • What is the best way to visually separate this zone from others?

    Use these questions to guide how you teach and reinforce zone expectations:

    • What’s the most engaging way to tour the zone with students?
    • How can I model how to move through and use the zone as I teach?
    • What is specific encouragement I can give to reinforce correct zone usage?
    • What signage or anchor charts can I add for helpful reminders?
    • What are classroom jobs I can assign to maintain the zone?

    paintbrushes and cups in the sink

    What are some common challenges I may face setting up and implementing art zones?

    Even the best systems take time to perfect! That said, there are a few tips to avoid common art zone pitfalls. For example, you’ll have students that ignore the zones and ask for help anyway. If this is a widespread class issue, pause and regroup. Reteach the zone’s purpose and how to use it with the entire class. Model it and have students practice it together, much like a fire drill! If this is specific to one student, have a brief discussion to determine where the disconnect may be. 

    Another potential struggle may be that your zone gets messy—particularly the Cleanup Zone. Get ahead of the clutter and delegate cleanup jobs to foster leadership. Leave enough time at the end of class to clean and double-check before the bell rings. Use a fun animated timer or cleanup song to keep the energy up!

    Lastly, you may notice that your Early Finishers Zone is a distraction. Students may rush through their work to go play or they’re not engaged with the options. Ensure you keep artwork expectations high with clear rubrics. Provide structured choices and rotate the activities so there’s always a fresh selection.

    Discover more ways to make the most of your classroom space with the Rethinking Art Room Space Pack in PRO Learning. Watch these quick videos to find out why classroom space is so important and how to create and alter your existing space on a budget.

    You probably already have designated areas in your art room. Level up your classroom management with intentional zones to increase engagement and efficiency. When you spend less time on cleanup, missing artwork, or locating supplies, students will have more energy to focus on creating, communicating, and camaraderie! With clear zones, they’ll also gain confidence, independence, and a greater sense of responsibility.

    What art zone will you implement in your studio first?

    To chat about art room zones with other art teachers, join us in The Art of Ed Community!

    Magazine articles and podcasts are opinions of professional education contributors and do not necessarily represent the position of the Art of Education University (AOEU) or its academic offerings. Contributors use terms in the way they are most often talked about in the scope of their educational experiences.


    Source link

  • Toss or Keep? 8 Simple Guiding Questions to Declutter Art Supplies

    Toss or Keep? 8 Simple Guiding Questions to Declutter Art Supplies


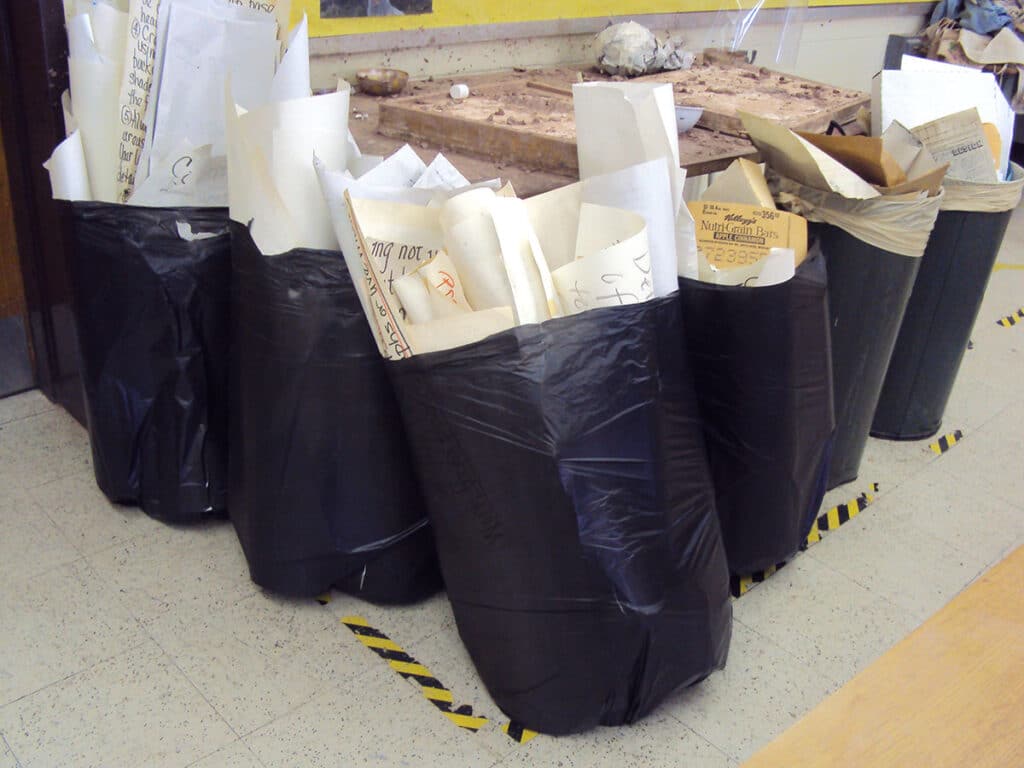
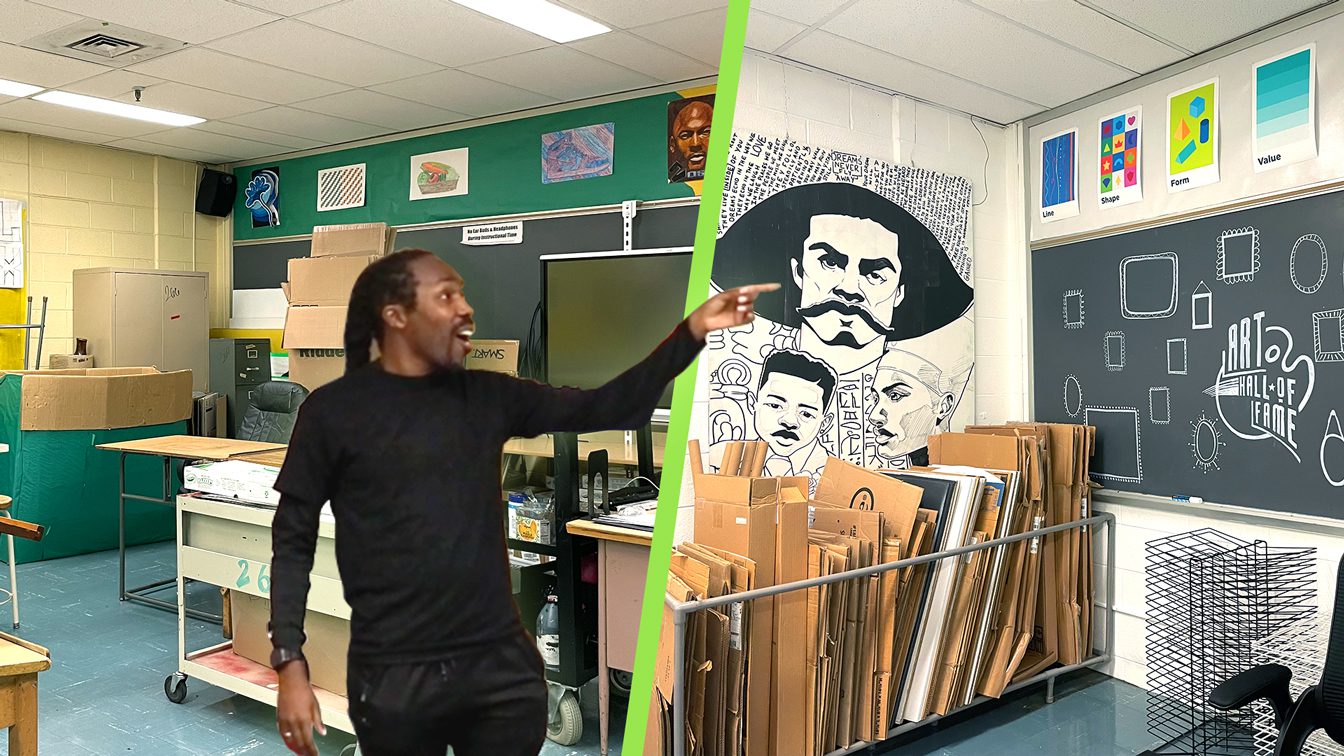
    Many of us inherited someone else’s art room… and someone else’s treasures. Piles of old artworks, interesting collections of still life objects, and boxes of archaic slides fill the shelves. You could definitely use the extra space but are you allowed to toss these items? Perhaps you’re the one who carefully curated the piles of art supplies in your art room. You blinked and now your space is overflowing. You need to reprioritize but would like an extra voice giving you permission to undo all of your efforts.

    Let’s walk through eight simple guiding questions to determine what art supplies you can toss and what you should keep in your art closet.

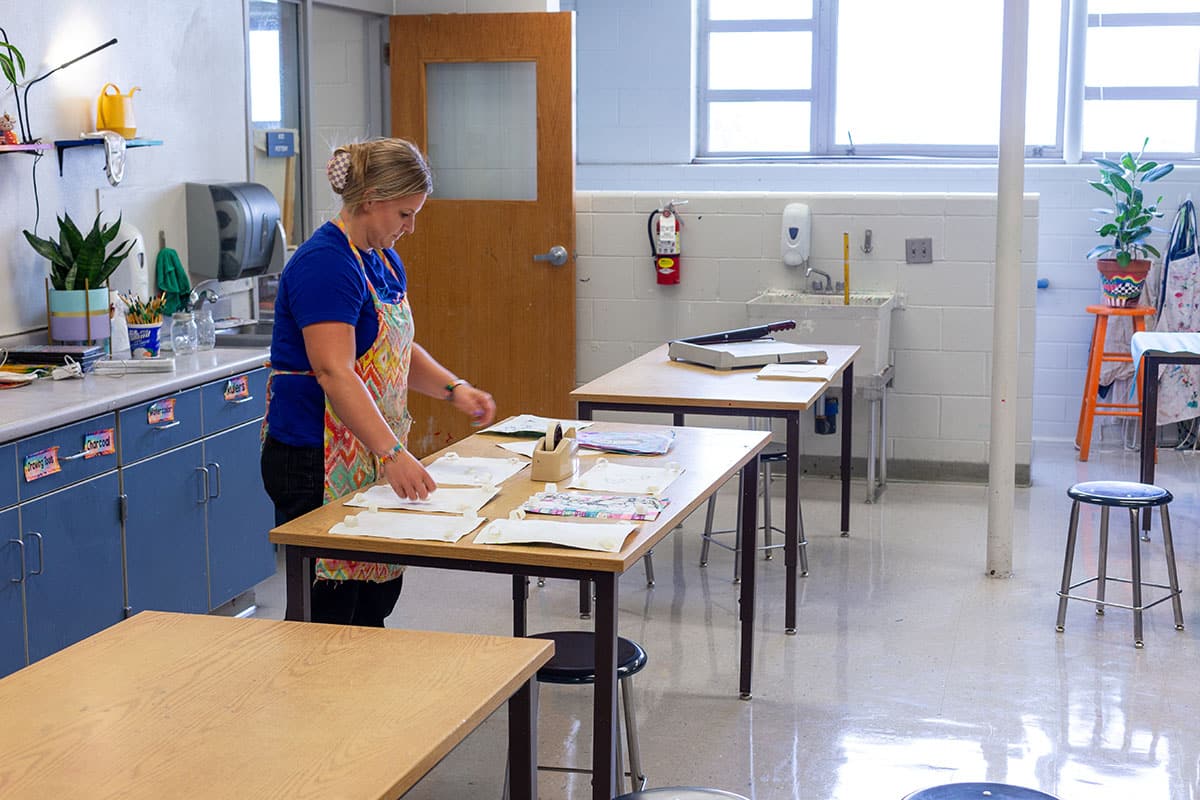
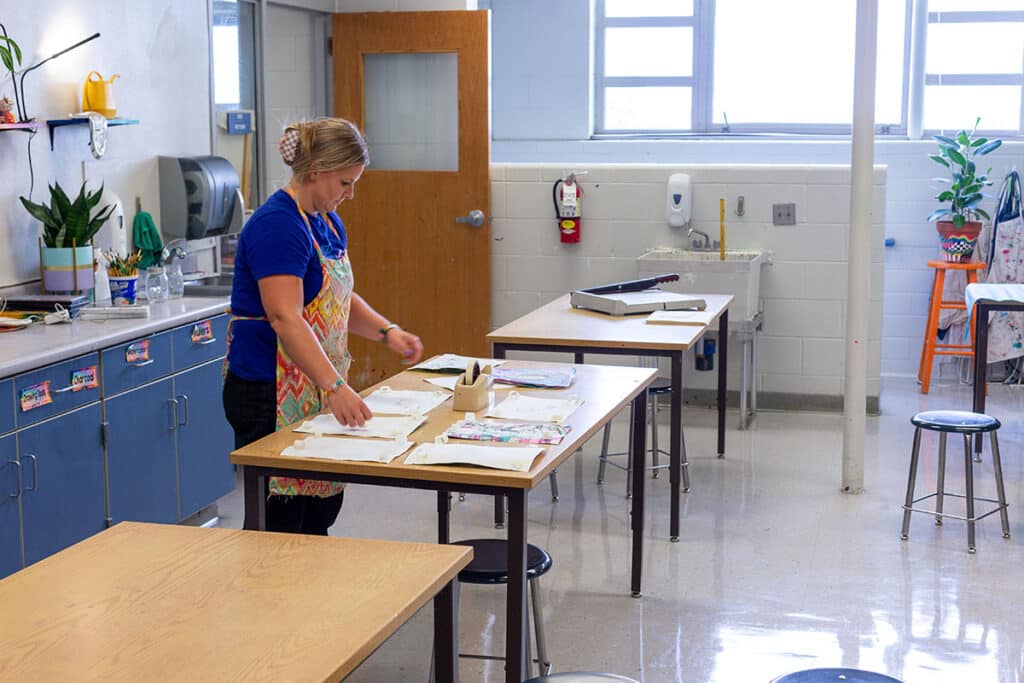
    Are you having trouble finding the motivation to tackle your messy art room? If you’re not sure how you’re going to make it to the end of these eight questions, pause and go binge-watch Art Room Makeover on YouTube. This short series will inspire you to channel your inner declutterer with a super satisfying and relatable art room cleanout and makeover.

    https://www.youtube.com/watch?v=YgjyHYeVioE

    Isn’t tossing wasteful?

    Art teacher budgets are often very tight. The idea of throwing something away that you can use to make great art and stretch your budget may make you cringe! Don’t worry—there are several other ways to pass on art supplies without throwing them in the dumpster.

    Here are five ways to be generous with your surplus:

    1. Donate to another art teacher in your building or district.
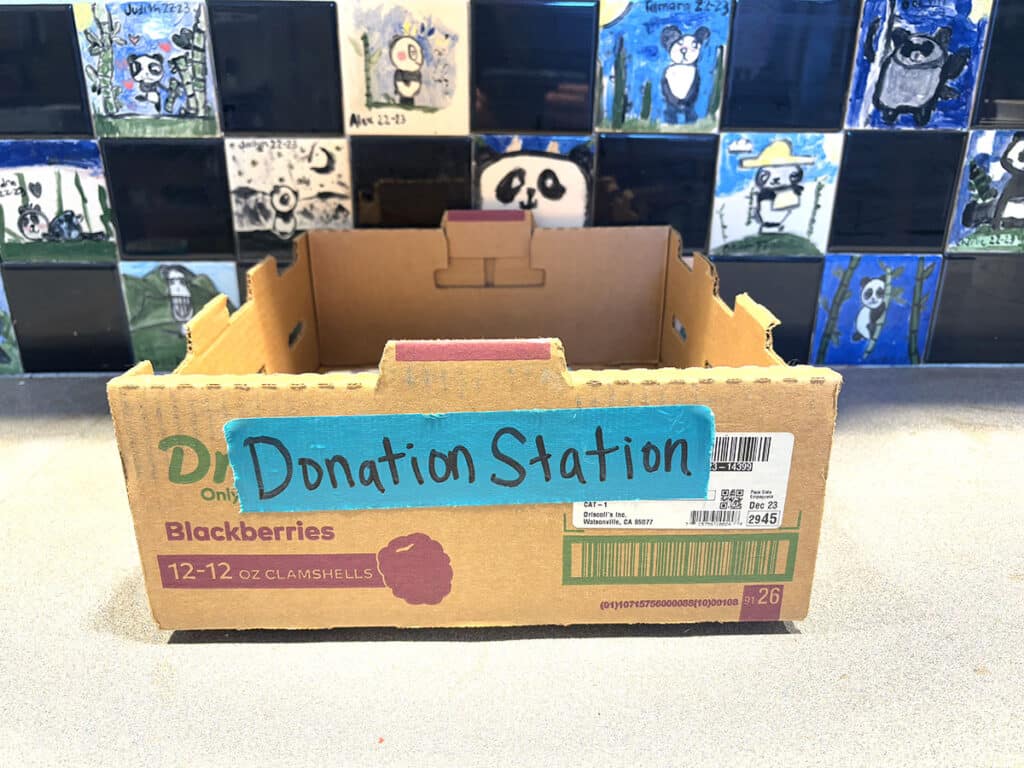
    2. Create a bin of “free” art supplies for students to take home.
    3. Gift to another colleague in your building.
    4. Drop off at your local arts council or community studio space.
    5. Post in your local buy-nothing group.

    trash bags of artwork and paper

    1. Will you use it this school year?

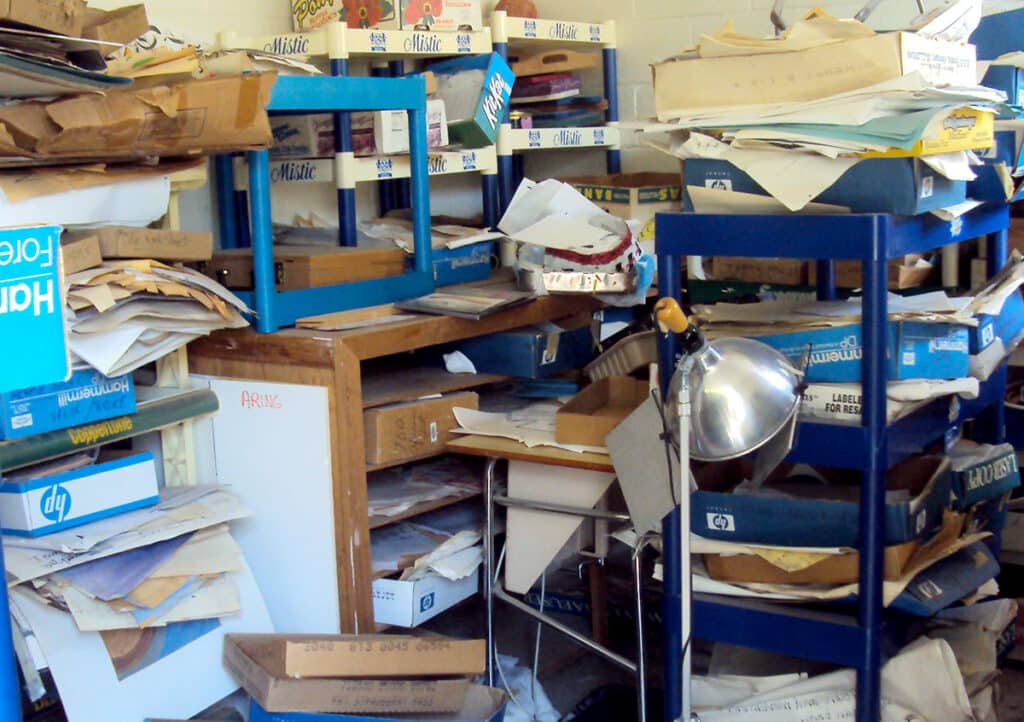
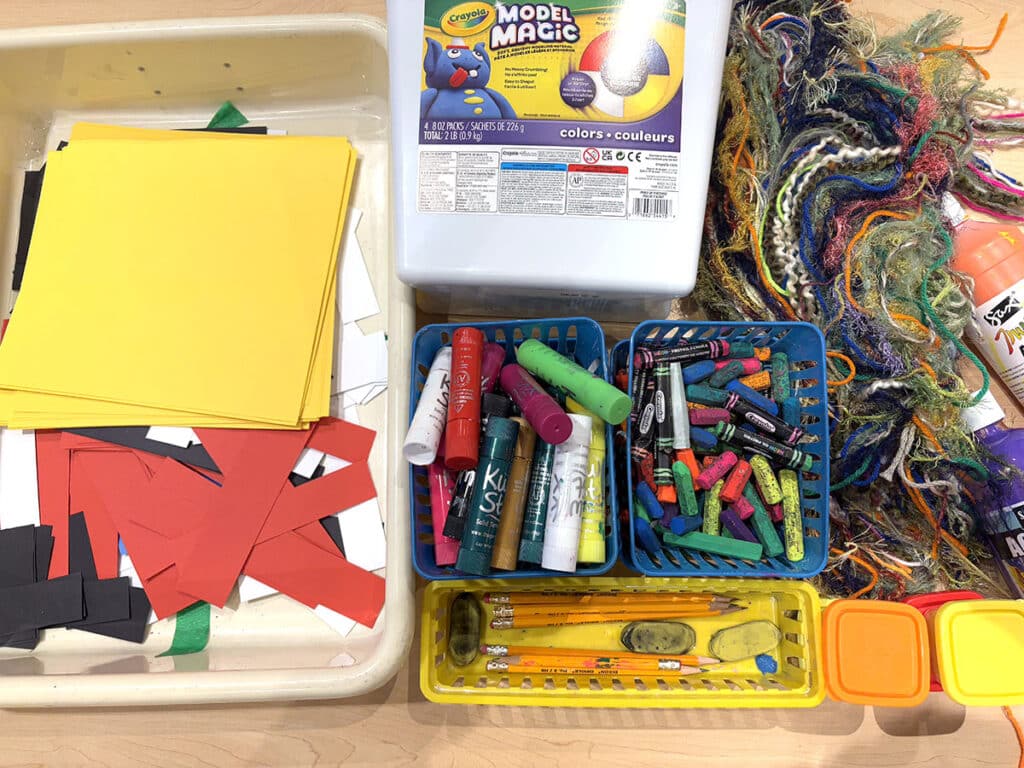
    We often collect items because “one day we’ll use them.” Before you know it, you have an art closet of curiosities overflowing with weird things. Will you use the item this school year and does it fit in with the media, techniques, and concepts in your curriculum and scope and sequence? If not, it’s time to toss it or rehome it.

    For example, you have a pile of large butcher paper that students painted on. You don’t want to toss it because it’s a lot of paper. If you know you have a paper mache unit next quarter, keep it to recover the tables. If you need a few extra messy mats, cut them up into individual sizes and laminate them.

    On the other hand, if you find garbage bags of plastic drink bottles, and you know you won’t have time to clean them and do an upcycled sculpture project with them anytime soon, drop them in the recycle bin! If, one day, you decide to do an upcycled sculpture project, do another schoolwide collection and you’ll have a fresh stash of bottles in no time.

    https://www.youtube.com/watch?v=7M70J1ae2Nk
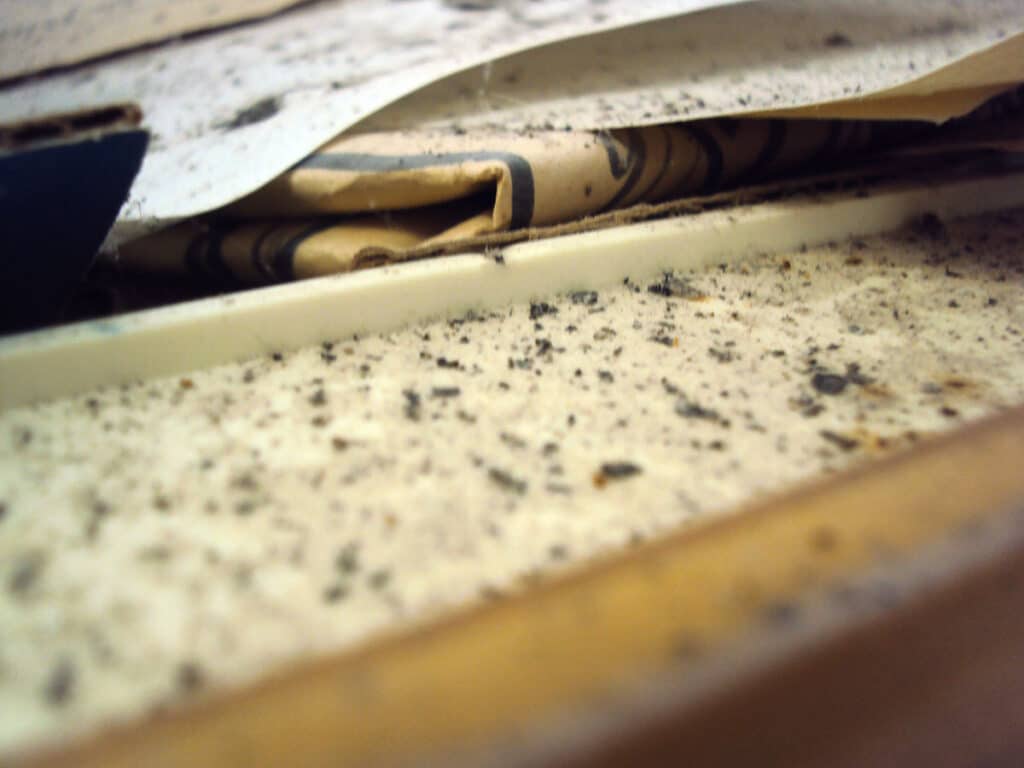
    2. Is it dirty?

    If you can clean the item fairly quickly and easily, go for it! Say you found a bin of watercolor palettes where each cake is smeared with black paint. Grab a sponge and wipe them off; in a few minutes, they’ll look brand new! If the item has dirt, mold, bugs, or mouse feces—throw it away. The item is no longer sanitary and safe and is not worth salvaging.

    piles of paper with dirt

    3. Is it district or school property?

    Maybe you uncovered some archaic equipment in your closet, like an overhead projector or slide carousel. You have a stack of broken stools or textbooks from the 1970s. These may be district or school property. Check with your department chair, art supervisor, or school administrator to discover the proper channels and procedures for removal.

    4. Is it hazardous?

    Some art supplies or tools are no longer safe or recommended in schools. For example, you may unearth a set of oil paints and linseed oil or you may dig out a box of old-school super sharp metal compasses. Talk to your maintenance staff to dispose of these items properly or donate them to your local arts council for professional artists to use.

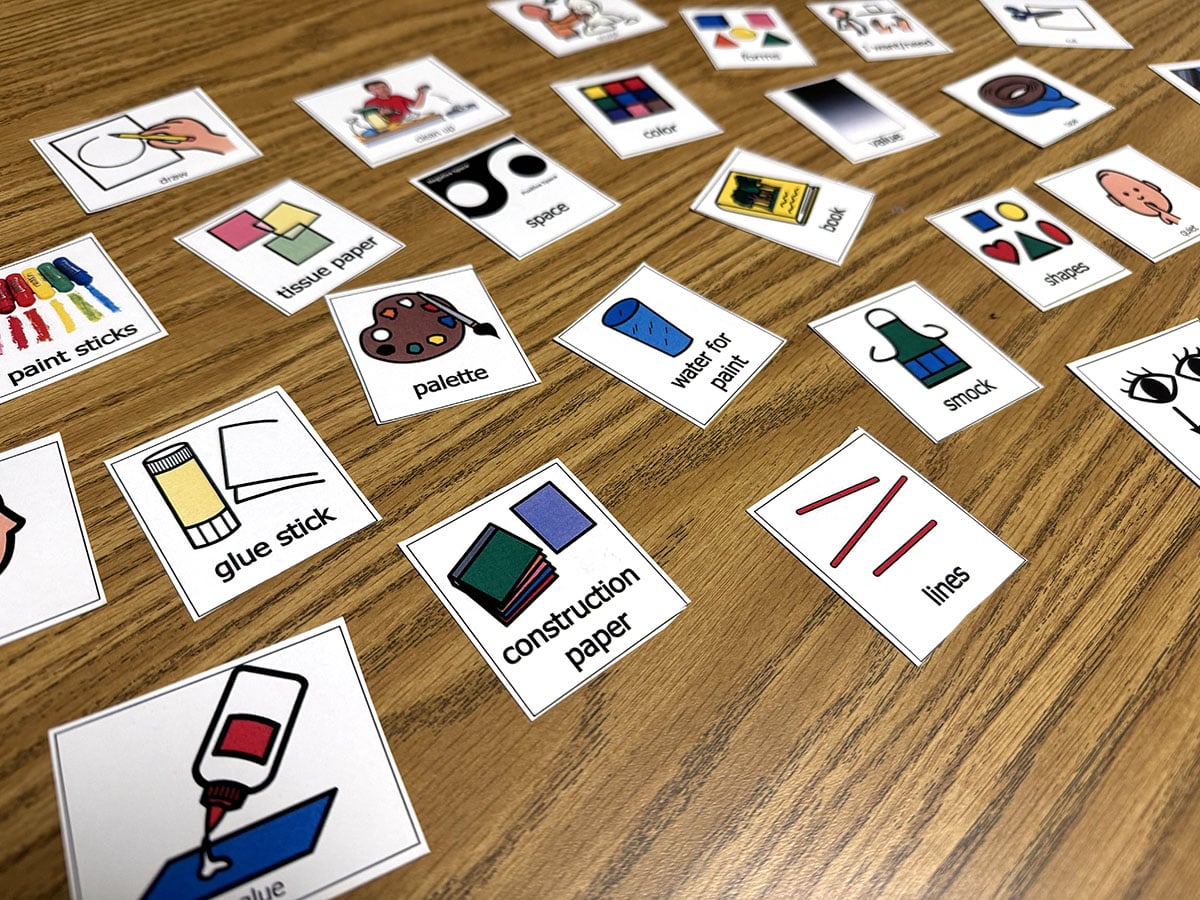
    5. Can you digitize it?

    Do you have drawers of hand-drawn anchor charts, old student artworks, or art history reproduction posters? What about filing cabinets chock-full of handwritten “dittos” or lesson plans generated on a typewriter? Determine if the content is still relevant. If you can use the artworks as exemplars for your projects, photograph them, and organize them digitally. Share those folders with fellow art teachers for them to use too! Sometimes, you find activity handouts that are gold—they just need to be digitally updated as well.

    piles of artwork and plastic shelves

    6. When was the last time you used it?

    Maybe, the items you’re uncovering are things you’ve collected. Think back to the last time you touched it and used it. Was it recently? How often do you use it? Let’s say you have a giant box of pinecones for students to draw each fall. Instead, take your students outside for 10 minutes to collect their own still life items from nature. When you’re done with the unit, toss the items back out into the woods. Reuse your valuable closet space to store completed relief sculptures for your end-of-year art show.

    7. Is it still functional?

    Broken items tend to creep their way back into our storage spaces because “one day we’ll fix them.” Let’s be real—if you were going to fix them, you would have fixed them! Does the item still serve its intended purpose? Does the tablet turn on? Do you still have the power plug to the printer? Do you have all of the pieces for the loom? If you don’t have the time or funds to fix the item before the end of the quarter, give yourself permission to move on.

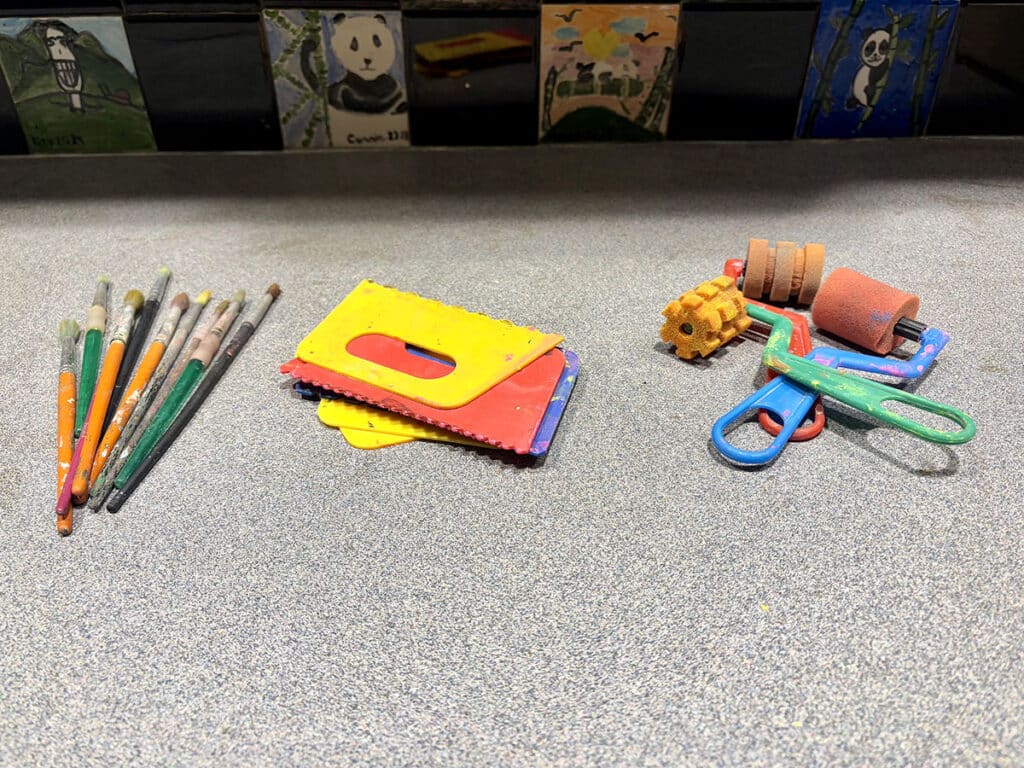
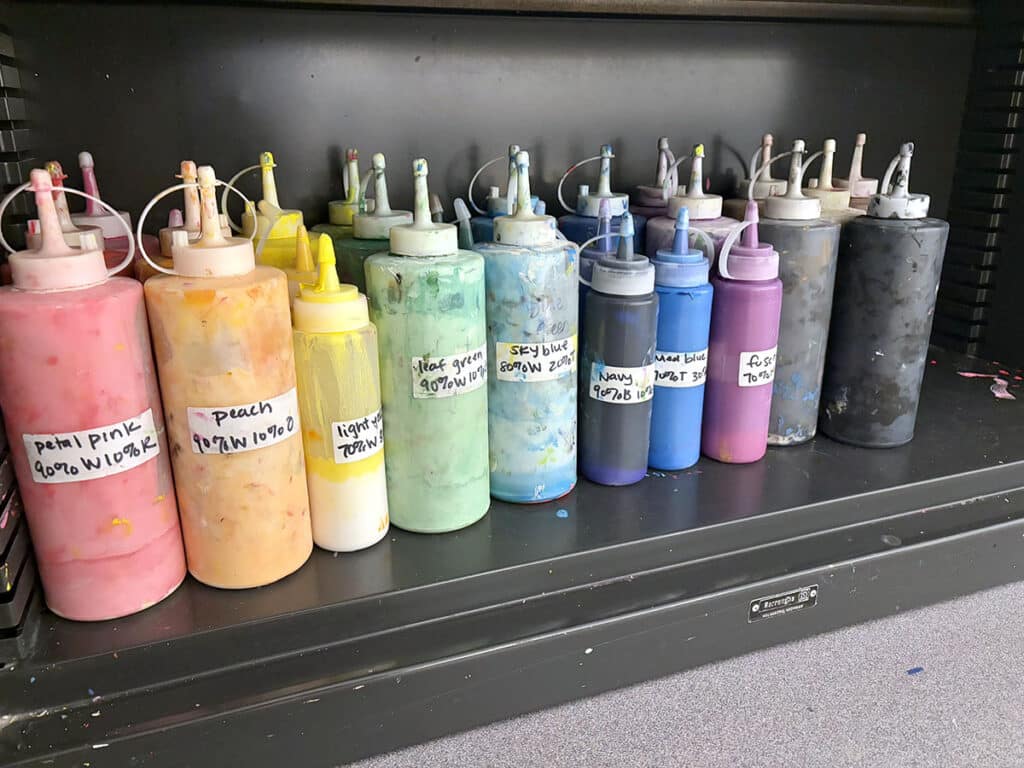
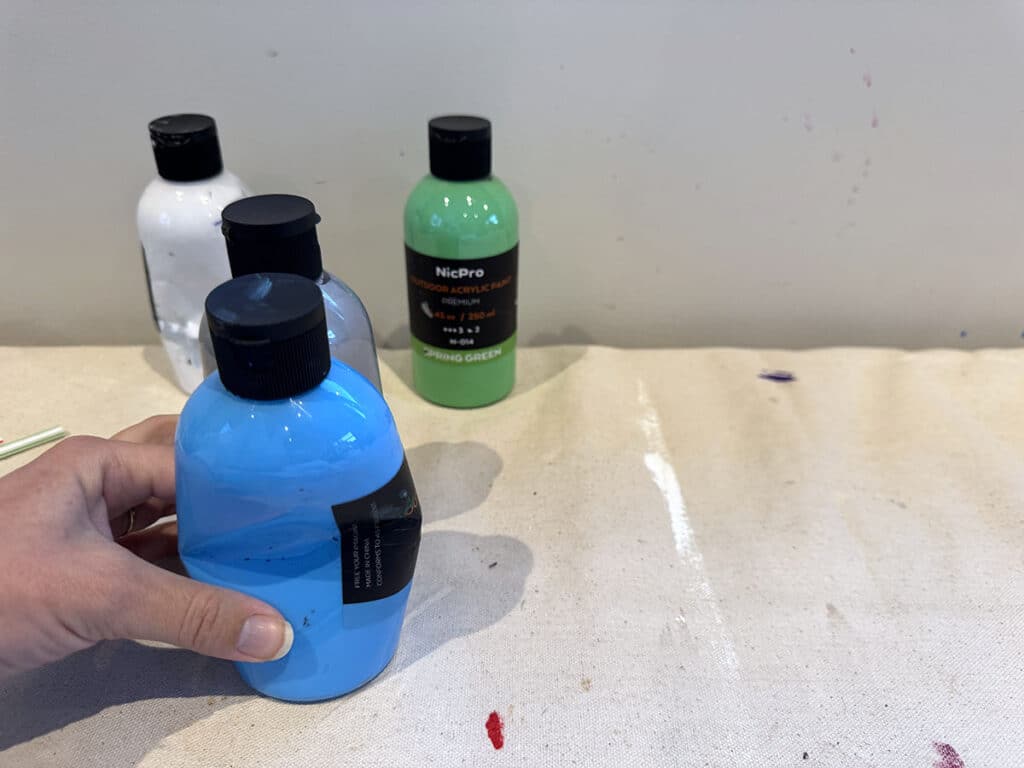
    However, you can save some items with minimal effort and money! Clay is expensive and it’s usually worth it to rehydrate a block of dried clay. You can also save really nice paintbrushes by soaking them in a solution to remove dried acrylic paint.

    https://www.youtube.com/watch?v=bCZdZ0simOs

    8. Do you have duplicates?

    Sometimes we get it into our minds that we need to have a whole class set of each item or supply. You can end up with a huge hoard of tools that you don’t regularly use! For instance, you may have 30-40 brayers taking up two bins in your closet. However, you may only use 10 because you usually do printmaking in small groups or stations. Think about how you teach and the flow of your studio and consider gifting spares to another art teacher. You can always borrow them back if needed!

    Decluttering your art room isn’t just about tossing old art supplies—it’s about making an inspiring space that fuels creativity and efficiency. By applying these eight guiding questions, you’re reclaiming control over your classroom. Every decision, from determining whether an item fits into your current curriculum, to deciding if it’s worth repurposing or donating, brings you one step closer to a space that truly works for you and brings you freedom.

    What guiding questions would you add to this list?

    Are you an art teacher who tosses or keeps?

    To chat about decluttering with other art teachers, join us in The Art of Ed Community!

    Magazine articles and podcasts are opinions of professional education contributors and do not necessarily represent the position of the Art of Education University (AOEU) or its academic offerings. Contributors use terms in the way they are most often talked about in the scope of their educational experiences.


    Source link

  • Ep 140 Little Things that Can Make a Big Difference to Your Art Part 1

    Ep 140 Little Things that Can Make a Big Difference to Your Art Part 1


    Welcome to today’s art podcast episode. Today we’re going to chat about how sometimes the smallest things can make a big difference to our art. It’s those little aha moments that can thrust our art forward.


    Subscribe: iTunes | Stitcher | Spotify | Amazon Music | RSS

    This podcast is sponsored by Evolve. Evolve can teach anyone how to paint in a realism style to a professional level in a year. They offer online lessons, support and also provide the materials you need. To find out more sign up for a free masterclass at https://kickinthecreatives.com/evolvewebinar

    evolve oil painting how to

    Little things that can make a difference to your art

    • Using hard and soft edges
    • Drawing what you see rather than what you think you know
    • Squinting so you can see the lights and darks and making sure you have enough contrast in a piece
    • Using basic colour theory – eg. complementary colours to make a colour pop
    • Doing a little bit regularly rather than a lot in one go.
    • sketching with a pen to force you to commit
    • using the rule of thirds – I can remember how much this helped me when I first started painting again. Thinking about elements you can place on those thirds can really help a painting look good.
    • Balancing colours – don’t just put a colour in one place try and inject a little somewhere else to balance and create harmony
    • committing to one thing for a period of time – eg. 30 days to practice drawing hands or learn the basics of watercolour – this can really help you improve, rather than skipping around.
    • Using proper watercolour paper for watercolour and mixed media (less puddles)/sometimes using better materials helps.
    • Using a softer pencil for smoother shading – 2B and softer

    Presenting your art

    • Giving your art a title
    • photographing your art in good light
    • Wrapping your art nicely before posting
    • Writing a handwritten message to say thank you when someone buys your art
    • writing something about your art or a story to go with it on Social media. It could be how you created it, why you created it or just a story that you can link to the art.
    • depending on the type of art considering a mount or border between your art and frame if you are framing it.
    • Use an app to show what your art could look like in a room scene Frame X is a cheap one and I also use Smartist. If you know how to use Photoshop you can also find some good royalty free frame images.

    Support us on Kofi

    Kofi buy us a coffee

    This week’s creative question

    Q. What topic would you like us to cover in a future episode and why?

    What topic would you like us to cover in a future episode and why?

    The best answers will be read out on a future podcast.

    You can Tweet us your answers @KickCreatives or let us know in the Facebook Group, which by the way if you haven’t already joined, I highly recommend that you do! We will put the question up there and also on the Facebook page… and of course, on our Instagram page @kickinthecreatives.

    join the Kick in the Creatives Facebook Group

    If you have any suggestions for the podcast or our challenges please feel free to get in touch.


    Source link

  • Kay Wyne Fine Art Blog: Desert Colors


    Desert Colors

    10″ x 10″ Oil on RayMar Panel

    (Framed, 13″ x 13″)

    Contemporary Landscape

    This painting is all framed up ready for a new home!  The colors of the desert and Tucson foothills is amazing.  I wanted to paint a trail with all of it’s scrubby, natural growth.  This painting is available.  Contact Kay for more info.  Thank you, KMW


    Source link

  • Ep 141 Little Things that Can Make a Big Difference to Your Art Part 2

    Ep 141 Little Things that Can Make a Big Difference to Your Art Part 2


    Welcome to today’s art podcast episode. Today we’re going to chat about how sometimes the smallest things can make a big difference to our art. It’s those little aha moments that can thrust our art forward. This is part two of two.

    Ep 141 Little Things that can Make a Big Difference to Your Art Part 2


    Subscribe: iTunes | Stitcher | Spotify | Amazon Music | RSS

    This podcast is sponsored by Evolve. Evolve can teach anyone how to paint in a realism style to a professional level in a year. They offer online lessons, support and also provide the materials you need. To find out more sign up for a free masterclass at https://kickinthecreatives.com/evolvewebinar

    evolve oil painting how to

    Little things that can make a difference to your art

    • Using hard and soft edges
    • Drawing what you see rather than what you think you know
    • Squinting so you can see the lights and darks and making sure you have enough contrast in a piece
    • Using basic colour theory – eg. complementary colours to make a colour pop
    • Doing a little bit regularly rather than a lot in one go.
    • sketching with a pen to force you to commit
    • using the rule of thirds – I can remember how much this helped me when I first started painting again. Thinking about elements you can place on those thirds can really help a painting look good.
    • Balancing colours – don’t just put a colour in one place try and inject a little somewhere else to balance and create harmony
    • committing to one thing for a period of time – eg. 30 days to practice drawing hands or learn the basics of watercolour – this can really help you improve, rather than skipping around.
    • Using proper watercolour paper for watercolour and mixed media (less puddles)/sometimes using better materials helps.
    • Using a softer pencil for smoother shading – 2B and softer

    Presenting your art

    • Giving your art a title
    • photographing your art in good light
    • Wrapping your art nicely before posting
    • Writing a handwritten message to say thank you when someone buys your art
    • writing something about your art or a story to go with it on Social media. It could be how you created it, why you created it or just a story that you can link to the art.
    • depending on the type of art considering a mount or border between your art and frame if you are framing it.
    • Use an app to show what your art could look like in a room scene Frame X is a cheap one and I also use Smartist. If you know how to use Photoshop you can also find some good royalty free frame images.

    Support us on Kofi

    Kofi buy us a coffee

    This week’s creative question

    Q. What topic would you like us to cover in a future episode and why?

    What topic would you like us to cover in a future episode and why?

    The best answers will be read out on a future podcast.

    You can Tweet us your answers @KickCreatives or let us know in the Facebook Group, which by the way if you haven’t already joined, I highly recommend that you do! We will put the question up there and also on the Facebook page… and of course, on our Instagram page @kickinthecreatives.

    join the Kick in the Creatives Facebook Group

    If you have any suggestions for the podcast or our challenges please feel free to get in touch.


    Source link