Paper overflows in every art room—giant sheets, colorful scraps, old artwork, specialty textures, drawing paper, and more. It multiplies overnight where it doesn’t belong and vanishes when you need it for a lesson. Organize paper and get ahead of the clutter with simple systems that empower students, run themselves, and reduce waste.
Let’s take a peek at easy systems to organize paper in your art room!

Add specific and detailed labels.
Paper storage doesn’t need to be elaborate or expensive—it just needs to be clear. The most effective systems are so intuitive that students don’t have to ask what goes where. This starts with bold, direct labeling. Instead of writing “Drawing Paper,” try specific labels like “Scraps: Use Me First!” or “9×12 Black Construction Paper.”
Here are three small shifts that make a big difference:
- Keep common paper accessible with open shelving and open bins.
- Pair scrap bins with fresh paper to encourage reuse.
- Add images to your labels to assist younger artists and multilingual learners.
Create an intentional scrap bin.
Scrap paper is both a blessing and a burden. When left unmanaged, it turns into a mess of torn bits, weird sizes, and frustration. But with the right setup, scraps can become creative gold.
Make a “Use Me First!” scrap bin right next to the fresh paper station. This subtle placement reminds students to check it out before grabbing new materials. If you have space, sort scraps by color scheme or material type using clear plastic drawers, a spread of baskets, or a hanging over-the-door pocket organizer.
https://www.youtube.com/watch?v=g28uc4LJsF8
Here’s how to encourage your students to use the scrap bin:
- Reward creativity that comes from reuse.
- Challenge students to use a certain number of scraps in an artwork.
- Create a “Scrap Challenge Day” where everyone transforms scraps into masterpieces.
- Introduce a collage unit.
Try envelopes for small “next time” scraps.
Speaking of scraps, what about those scraps students claimed for their art project but didn’t have a chance to use yet? At the beginning of the year, give students an envelope with a metal clasp to glue into the inside cover of their sketchbooks. This is the perfect spot to store paper scraps like small collage pieces they want to save for next time! Plus, the clasp allows students to close it securely so items don’t fall out.
Use vertical space for large paper.
Large paper is especially tricky if you don’t have flat files. It’s often too floppy to stack, too wide to fit in regular drawers, and too precious to crumple. If you’re comfortable rolling paper, store rolls in tall laundry hampers or gift wrap bins. Many of these items also have wheels, which is handy because paper can get quite heavy!
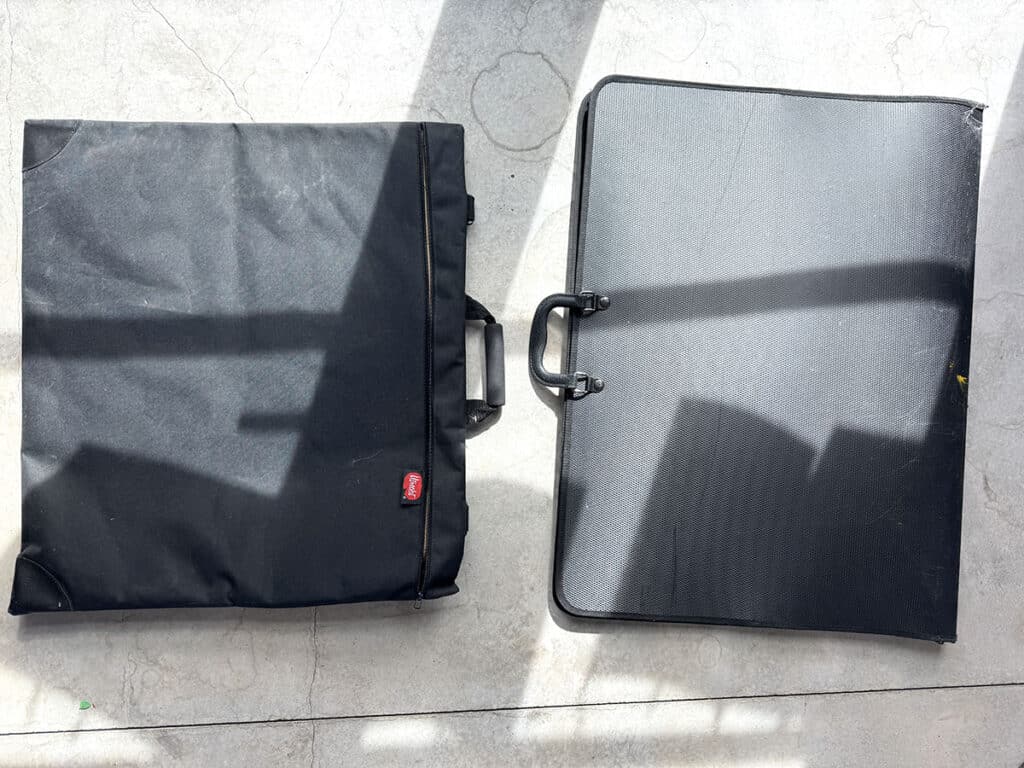
For specialty paper you don’t use often, keep it in the cardboard packaging it came in. Label the edge of the box and slide it into a vertical space, such as between cabinets. If you have a variety of specialty papers, keep them neatly stacked with binder clips or paper clips on each side. Put them into a large portfolio, label the portfolio, and slide it into a vertical space.

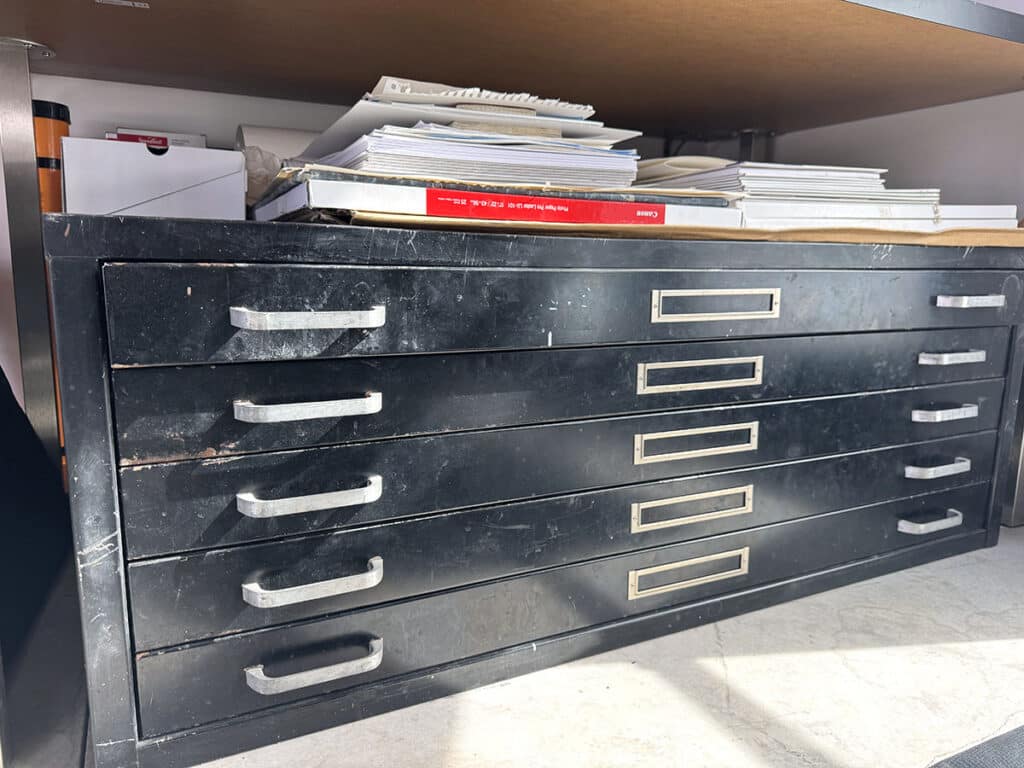
Sort flat files with trays and bright labels.
Flat files are a dream if you have one, and a black hole when they get clogged. Assign a weekly “Paper Captain” to organize the papers. Giving students this responsibility encourages studio ownership and waste reduction.
If you are storing smaller papers in a large flat file, use drawer organizers such as expandable dividers or paper trays to keep everything sorted and contained. If you’re storing larger papers, use binder clips or paper clips on multiple edges with large, bright labels. The labels can be as simple as a piece of fluorescent construction paper folded in half around a stack of watercolor paper that says in marker, “9×12 120 lb Watercolor Paper.” This way, when large stacks slide around, you can easily find the label and what you need!

Repurpose kitchen items for your art on a cart.
If you’re teaching in multiple rooms or need flexibility, rolling carts can be a lifesaver—but only if they’re well-organized. Try expandable racks to keep wet papers separated and baking trays for pre-cut papers, just like in the video below!
https://www.youtube.com/watch?v=Va6hOytGhoI
Here are some other kitchen hacks to organize paper:
- Use a metal bakeware organizer to stack fresh paper or completed projects.
- Organize papers in hanging file folders in a plastic file box.
- Keep small papers in accordion folders.
- Grab cardboard or plastic magazine file holders to contain paper.
- Glue labeled samples of each kind of paper to a clipboard for students to reference, so they don’t dig through your cart.
- Throw small scraps in clear gallon storage bags and clip or hook them onto your cart.
Implement the “One Sheet Rule.”
One of the fastest ways to run out of paper is letting students take as much as they want and start over as many times as they want. Give each student one sheet of paper and put away the rest. If they “mess up,” encourage them to embrace imperfection and figure out a way to incorporate the “mistake” into the final art. Introduce this policy at the beginning of the year to build a culture of creative problem solving!
To support sustainability and creative thinking, keep an “Oops Box” nearby. This is where slightly damaged paper can live another life as collage material, texture sheets, or sketchbook covers.

When your paper system works, you feel it. The art room flows better, students know where things go, and everyone respects paper instead of wasting or forgetting it. Best of all, you’re no longer spending precious prep time digging and sorting through paper instead of planning the next exciting project. Let’s spend more time making with paper and less time managing it!
What’s the best paper organization system you use in your art room?
Share a hack for keeping paper scraps tidy!
To chat about how to organize paper with other art teachers, join us in The Art of Ed Community!
Magazine articles and podcasts are opinions of professional education contributors and do not necessarily represent the position of the Art of Education University (AOEU) or its academic offerings. Contributors use terms in the way they are most often talked about in the scope of their educational experiences.

دیدگاهتان را بنویسید